
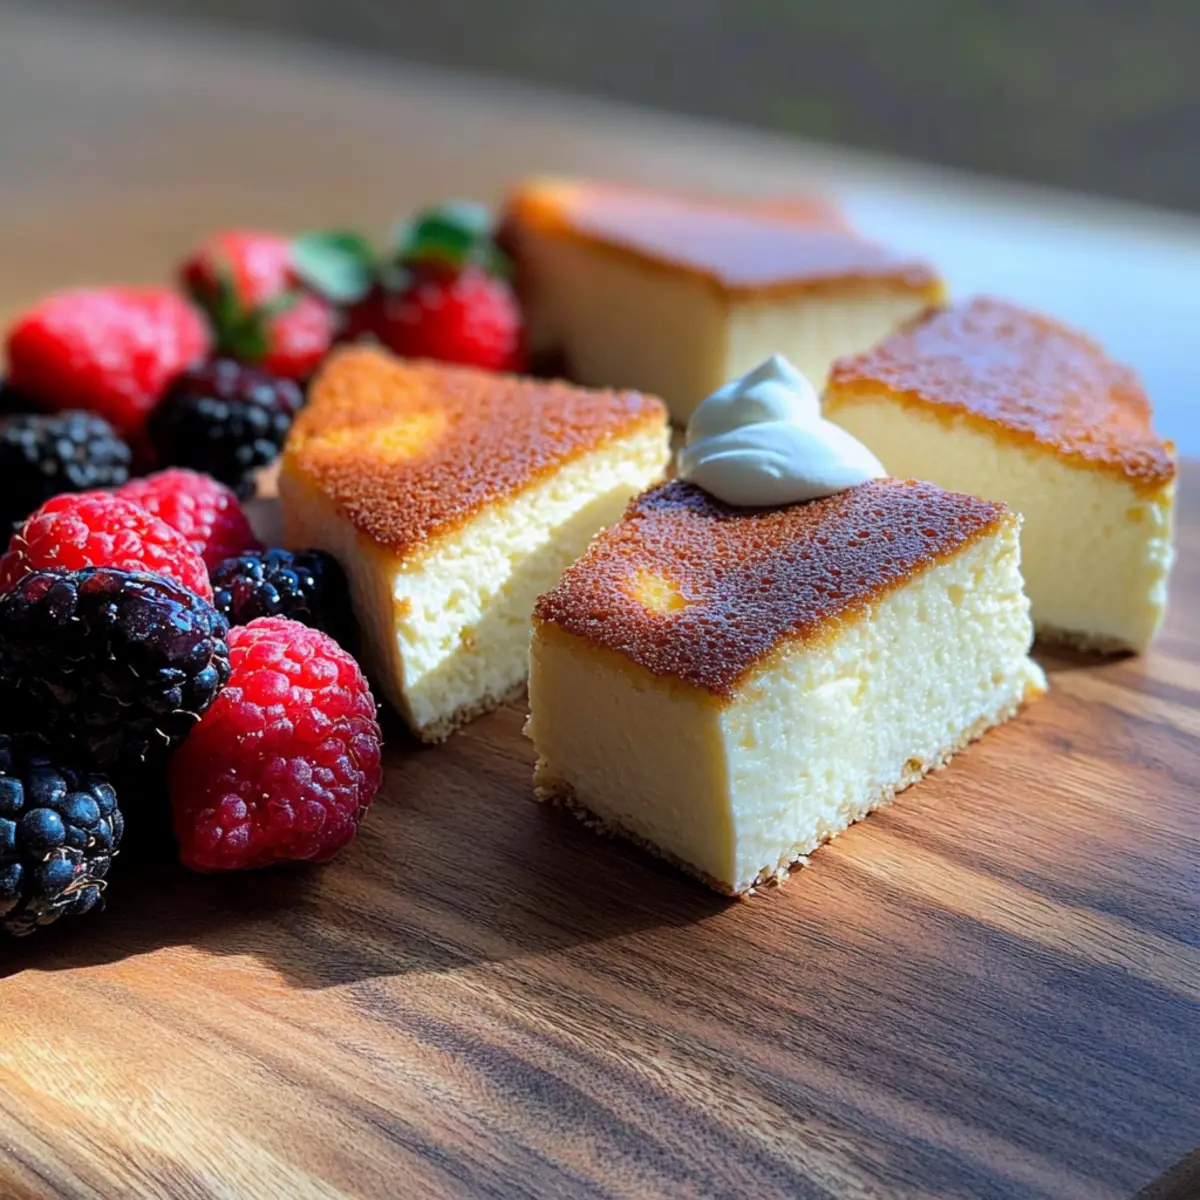
As I took my first slice of this gem, the airy texture of the Sugar-Free Yogurt Cake whisked me away to sunlit afternoons spent with friends, indulging in laughter and sweet treats without a care. This delightful recipe transforms a classic dessert into a guilt-free masterpiece that fits perfectly into a healthy lifestyle. With just four simple ingredients, you can create a luscious cake at only 140 calories per serving and a whopping 16 grams of protein! It’s not only easy to whip up but also serves as a fantastic option for those looking to satisfy their sweet cravings without the sugar overload. Are you ready to dive into a slice of silky goodness that makes every bite feel like a little celebration?
Why is this Sugar-Free Yogurt Cake special?
Simplicity you’ll love: This recipe requires only four straightforward ingredients, making it perfect for anyone, from seasoned chefs to kitchen novices.
Protein-packed delight: With 16 grams of protein and only 140 calories per serving, this cake allows you to indulge guilt-free!
Versatile options: Feel free to customize by adding lemon zest or berries, making it endlessly adaptable to your taste.
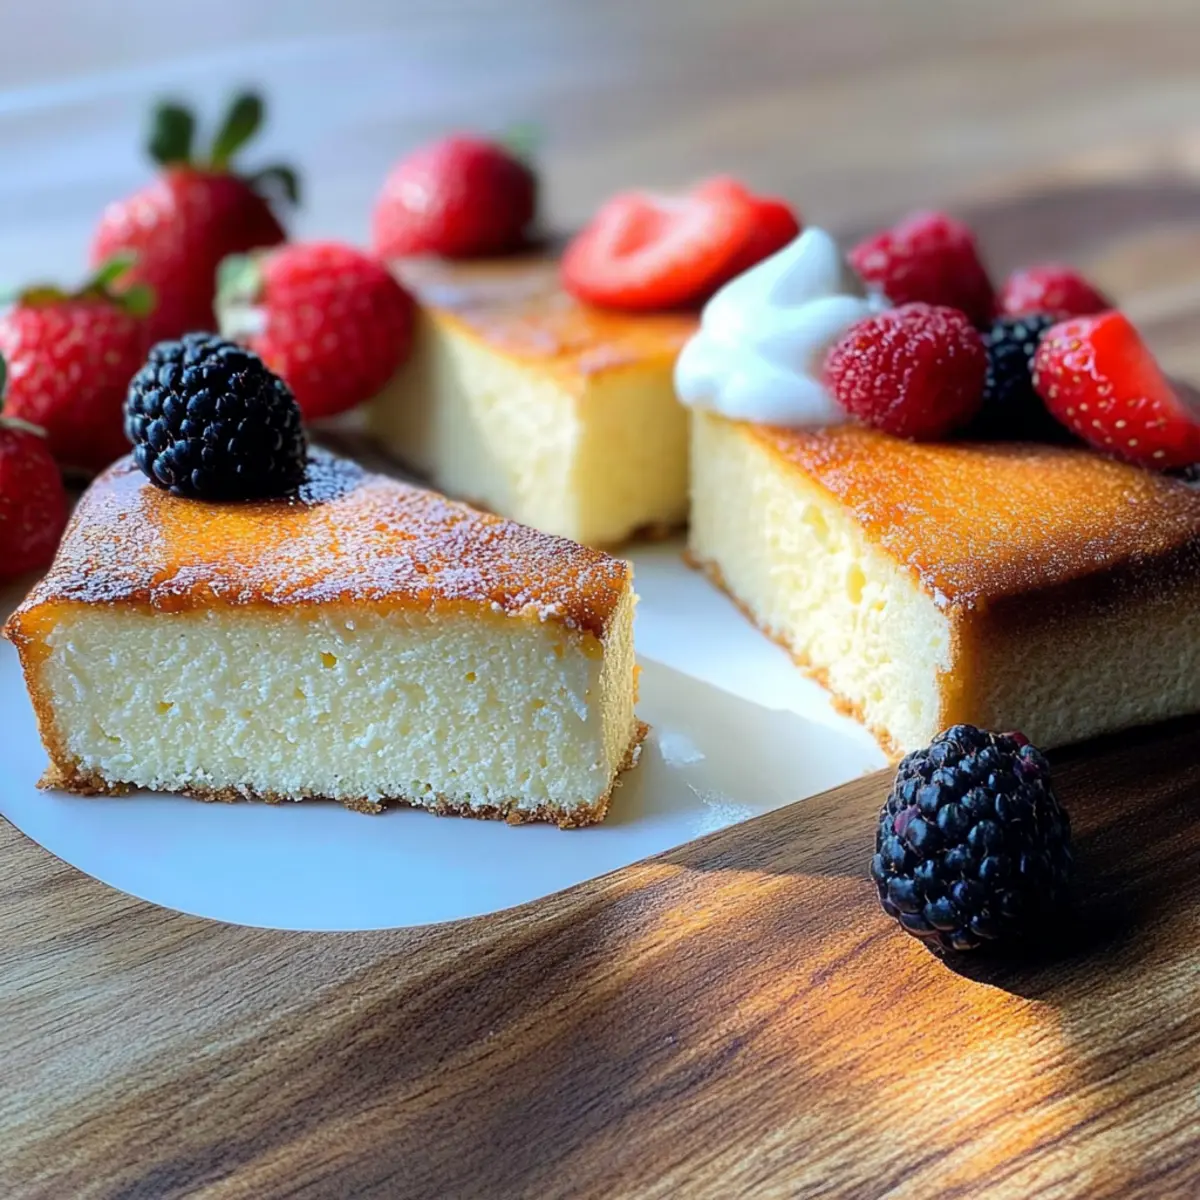
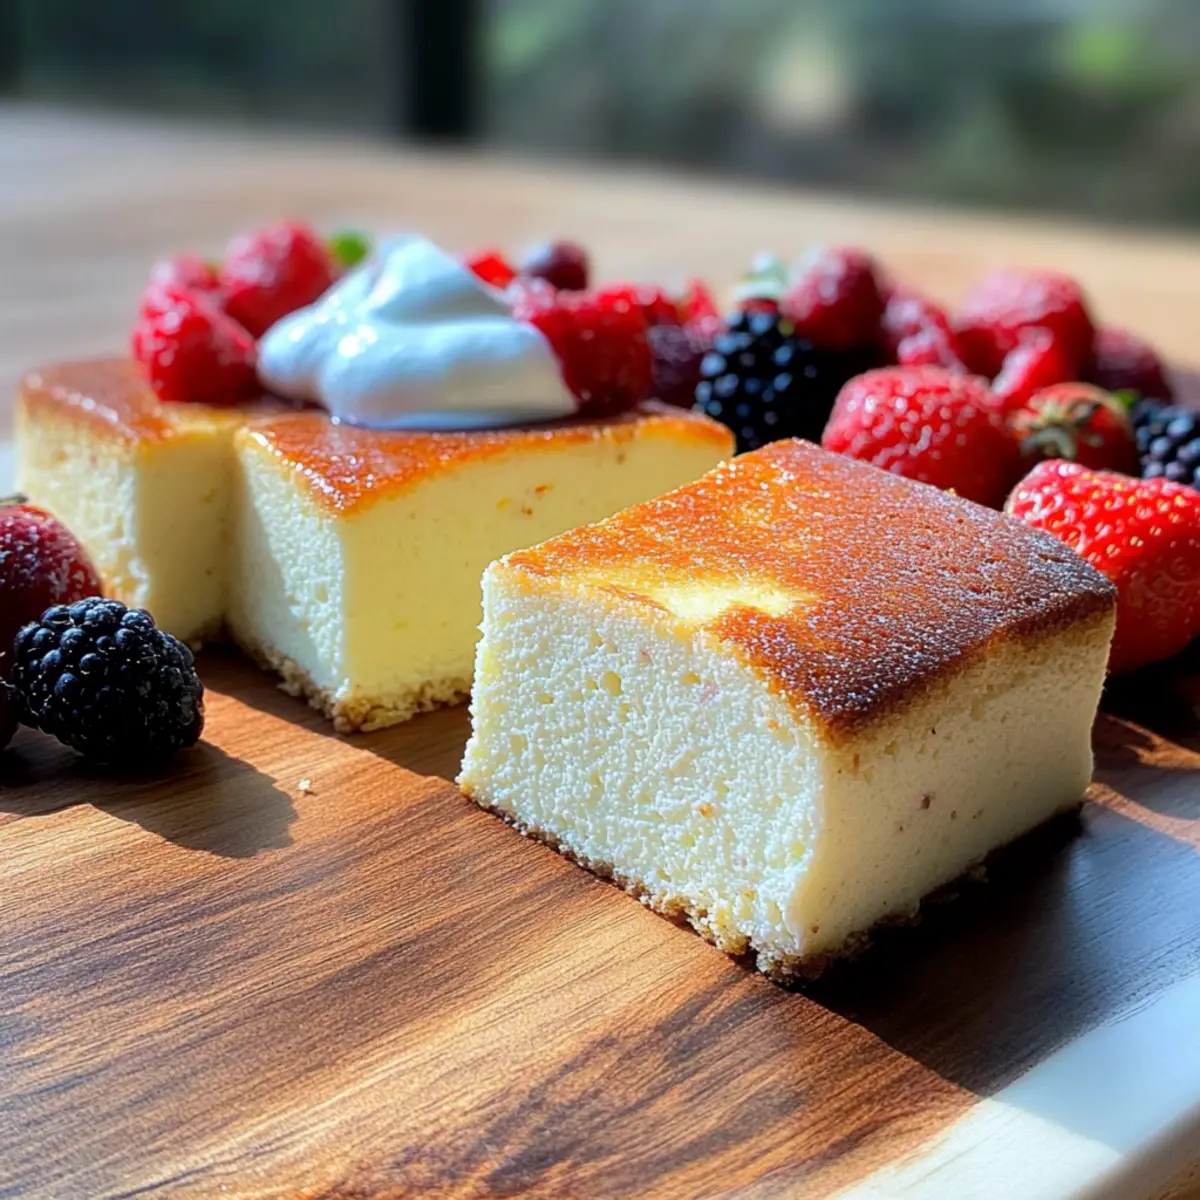
Impressive texture: The airy, cloud-like consistency is reminiscent of a fluffy angel food cake, offering a satisfying bite every time.
Quick to prepare: In less than an hour, you can whip up this light dessert that’s guaranteed to impress friends and family alike.
Pair it with a dollop of Greek yogurt for an extra touch, or explore more with my delicious Strawberry Cheesecake Protein balls for a sweet treat that fits your healthy lifestyle!
Sugar-Free Yogurt Cake Ingredients
• Enjoy crafting your guilt-free dessert with these simple ingredients!
For the Batter
- Large Eggs – Essential for structure and moisture; make sure to separate the yolks from the whites for that perfect texture.
- Non-Fat Greek Yogurt – Adds a creamy richness while providing a protein boost, all keeping those calories in check.
- Monkfruit Sweetener – A fantastic low-calorie sugar alternative that sweetens without the guilt; adjust to your personal taste!
- Cornstarch – Ensures stability and a tender crumb in the cake; you can swap with arrowroot powder for a gluten-free alternative.
Step‑by‑Step Instructions for Sugar Free Yogurt Cake
Step 1: Preheat the Oven
Begin by preheating your oven to 330°F (160°C). This initial step is crucial, as it ensures that your Sugar Free Yogurt Cake bakes evenly. Meanwhile, gather your equipment, including a mixing bowl and an electric mixer, as you will need them shortly to create the perfect batter.
Step 2: Separate the Eggs
Carefully separate the egg yolks from the egg whites, ensuring that no yolk contaminates the whites. You want your egg whites to whip up beautifully to form stiff peaks later. Place the yolks in one large mixing bowl and set the egg whites aside in a separate clean, dry bowl.
Step 3: Whip the Egg Whites
Using your electric mixer, beat the egg whites on medium-high speed until they form stiff peaks, which usually takes about 3-5 minutes. This step is essential for achieving the airy texture of your Sugar Free Yogurt Cake. Once ready, gently set them aside, taking care not to deflate the volume.
Step 4: Mix the Egg Yolks and Sweetener
In the bowl with the egg yolks, add the monkfruit sweetener and vanilla extract. Beat this mixture until it becomes light and fluffy, which should take about 2-3 minutes. The texture should be creamy and pale, indicating that the ingredients are well combined to create a delightful base for your cake.
Step 5: Incorporate the Greek Yogurt
Next, mix the non-fat Greek yogurt into the egg yolk mixture until thoroughly combined. This will give your Sugar Free Yogurt Cake its creamy texture and protein boost. Make sure to fold it in gently to preserve the lightness of the mixture, resulting in a fluffy and delicious cake batter.
Step 6: Sift in the Cornstarch
Using a sifter, gently sift the cornstarch over the yogurt mixture. Fold it in carefully, ensuring that there are no lumps left in the batter. This step adds stability and a tender crumb to the cake, making every bite a delightful experience.
Step 7: Fold in the Egg Whites
Now it’s time to incorporate the beaten egg whites into your yogurt batter. Gently fold the egg whites into the mixture using a spatula, taking care to maintain the volume. This light and airy folding technique is key to achieving the perfect texture for your Sugar Free Yogurt Cake.
Step 8: Prepare the Baking Dish
Line a 7×11-inch baking dish with parchment paper for easy removal later. Pour the cake batter into the prepared baking dish, smoothing the top evenly. This will help create a nice, even bake, ensuring that every slice of your cake is just as delicious as the last.
Step 9: Create a Water Bath
To keep your cake moist while baking, place the baking dish in a larger tray filled with boiling water, ensuring that it is submerged about 1/4 to 1/3 of the way. This water bath approach prevents drying out and helps achieve that delightful texture in your Sugar Free Yogurt Cake.
Step 10: Bake the Cake
Slide the cake into your preheated oven and bake it for 45 minutes at 330°F. After this initial baking time, increase the temperature to 350°F (180°C) for an additional 15 minutes. Keep an eye on the cake to ensure it doesn’t overbake; it should have a golden top and a slight spring when pressed.
Step 11: Cool the Cake
Once baked, turn off the oven and crack the door open slightly. Allow the Sugar Free Yogurt Cake to cool in the oven for 1-2 hours. This gradual cooling process is crucial for preventing any collapse, ensuring that your cake retains its airy structure and delightful texture.
Step 12: Serve and Enjoy
When fully cooled, carefully lift the cake out of the baking dish using the parchment paper. Cut into slices, and serve chilled or at room temperature. For an extra touch, consider adding a dollop of Greek yogurt or a drizzle of sugar-free fruit compote to elevate your delightful dessert experience!
What to Serve with Sugar-Free Yogurt Cake?
Elevate your indulgent yet guilt-free dessert experience with delightful accompaniments that enhance its light, fluffy goodness.
-
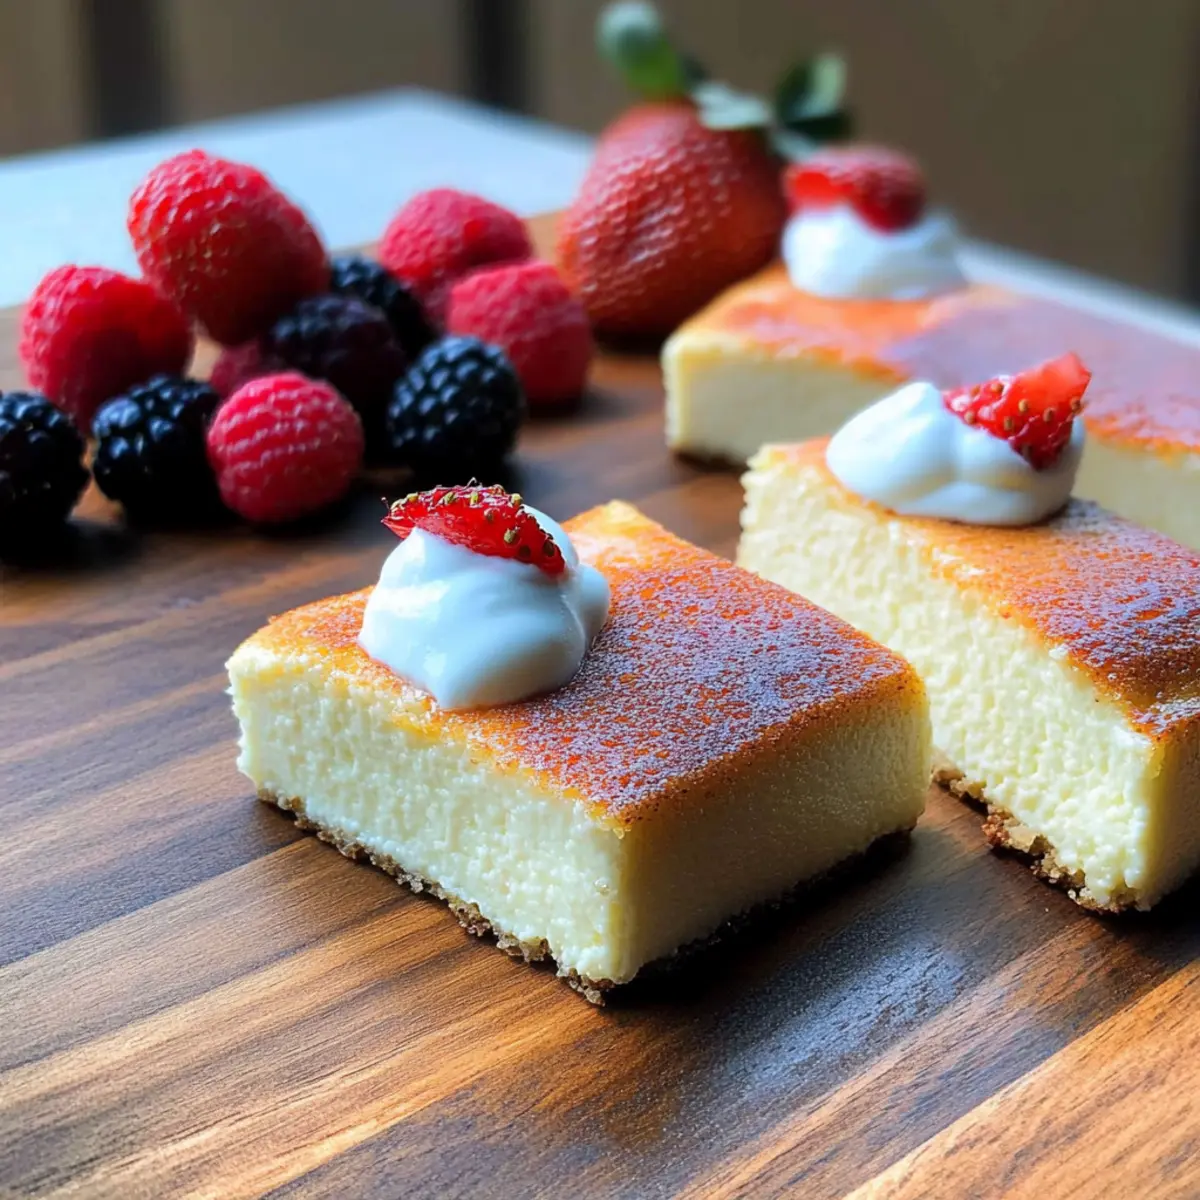
Fresh Berries: A handful of mixed berries adds vibrant color and a burst of natural sweetness, perfectly balancing the cake’s richness.
-
Creamy Greek Yogurt: Serving a dollop of Greek yogurt on the side brings a luscious creaminess that complements the airy texture beautifully.
-
Sugar-Free Fruit Compote: A drizzle of homemade sugar-free fruit compote elevates your dessert, marrying fruity brightness with the delicate cake.
-
Chopped Nuts: Toasted almonds or walnuts lend a satisfying crunch, adding a savory contrast to the sweetness of the yogurt cake.
-
Luxury Tea Selection: A hot cup of herbal or green tea provides fragrant warmth, enhancing the cake’s subtle flavors while providing a soothing experience.
-
Light Whipped Cream: A light dollop of whipped cream gives an elegant finish, adding richness while still keeping the dessert light and airy.
-
Dark Chocolate Shavings: A sprinkle of dark chocolate shavings introduces a decadent touch that enhances the cake’s flavor profile without overwhelming it.
Pair these delightful options with your Sugar-Free Yogurt Cake and enjoy a truly satisfying sweet experience!
Expert Tips for Sugar Free Yogurt Cake
-
Whipping Whites: Use a clean, dry bowl when whipping egg whites to ensure they reach stiff peaks for that light texture.
-
Avoid Yolk Contamination: Make sure no egg yolk mixes with the whites. Even a tiny bit can prevent the whites from whipping properly.
-
Moisture Matters: Always use a water bath when baking; it helps retain moisture and avoids drying out the Sugar Free Yogurt Cake.
-
Cooling Technique: Let the cake cool in the oven to stabilize its structure. A sudden temperature drop may cause it to collapse.
-
Check for Doneness: Keep an eye on the cake towards the end of the baking time to prevent over-baking, which can dry it out.
Make Ahead Options
These Sugar-Free Yogurt Cakes are ideal for meal prep! You can prepare the cake batter up to 24 hours in advance by mixing the egg yolks, yogurt, monkfruit sweetener, and cornstarch. Store the batter in an airtight container in the refrigerator to keep it fresh and maintain its airy texture. When you’re ready to bake, simply fold in the whipped egg whites and continue with the water bath method for baking. Additionally, once baked, the cake can be stored in the fridge for up to 3 days; just allow it to cool completely before refrigerating. This way, you’ll have a delicious, guilt-free dessert ready to enjoy whenever you need a sweet treat!
Sugar-Free Yogurt Cake Variations
Feel free to let your creativity shine while preparing this delightful dessert, as there are so many ways to make it your own!
-
Citrus Burst: Add the zest of one lemon for a refreshing, bright flavor that lingers in every bite. The citrus notes elevate the cake, giving it a zesty twist you won’t forget!
-
Berry Bliss: Toss in a handful of fresh or frozen berries to the batter, creating pockets of fruity goodness throughout. This adds vibrant color and a burst of natural sweetness, making the cake even more enticing.
-
Nutty Addition: Incorporate chopped nuts like almonds or walnuts for a crunchy texture contrast. This twist not only boosts flavor but also adds healthy fats, creating a more satisfying slice!
-
Chocolate Lover’s Dream: Stir in cacao powder or sugar-free chocolate chips for a deliciously rich, decadent variation. Who wouldn’t love a chocolate cake that fits their healthy lifestyle?
-
Spice it Up: Consider adding a pinch of cinnamon or nutmeg to the batter for a warm, spicy note. These spices harmonize beautifully with the yogurt’s tang, creating a cozy treat.
-
Dairy-Free Delight: Swap the non-fat Greek yogurt with coconut yogurt for a dairy-free option that still maintains that luscious texture. Coconut yogurt can bring a hint of tropical flair to the cake!
-
Protein Power-Up: For an added protein boost, stir in a scoop of your favorite protein powder. This not only enhances the cake’s nutritional value but also keeps you fuller for longer.
Feel inspired? Try these variations or experiment with your ideas! For a delightful accompaniment, enjoy a slice with a dollop of Greek yogurt, and don’t forget to check out my delicious Carrot Cake Overnight recipe for a sweet twist that’s still on the healthier side!
How to Store and Freeze Sugar-Free Yogurt Cake
Fridge: Store any leftover cake in an airtight container for up to 3 days. This keeps your Sugar-Free Yogurt Cake fresh and moist for those sweet cravings later on.
Freezer: Freeze slices individually by wrapping them tightly in plastic wrap, then in aluminum foil. They can last up to 3 months in the freezer, making it easy to enjoy whenever you want a guilt-free treat!
Thawing: To enjoy frozen cake, transfer it to the fridge overnight to thaw. For quick enjoyment, let it sit at room temperature for about 30 minutes before serving.
Reheating: If you prefer it warm, pop individual slices in the microwave for about 15-20 seconds. This will revive that fluffy, light texture, making it feel freshly baked!
Sugar-Free Yogurt Cake Recipe FAQs
How do I select ripe ingredients for this recipe?
Absolutely! When selecting eggs, look for ones that are clean and have a consistent shell texture without cracks. For Greek yogurt, check the expiration date, and choose a thick variety without added sugars for the best results. Monkfruit sweetener is typically available in a granular form; ensure it’s stored in a cool, dry place to maintain its freshness.
How should I store leftover Sugar-Free Yogurt Cake?
For optimal freshness, store any leftover Sugar-Free Yogurt Cake in an airtight container in the fridge. It will stay good for about 3 days. Be sure to keep it covered to prevent it from drying out and losing that deliciously airy texture.
Can I freeze this Sugar-Free Yogurt Cake?
Absolutely! To freeze your cake, first slice it into portions. Wrap each piece tightly in plastic wrap and then in aluminum foil. This way, they can last up to 3 months in the freezer. When you’re ready to enjoy a slice, simply thaw it in the fridge overnight or let it sit at room temperature for around 30 minutes.
What should I do if my cake collapses after baking?
Very! A common reason for cakes collapsing is a rapid temperature change. To prevent this, always cool your Sugar-Free Yogurt Cake in the oven with the door slightly ajar for 1-2 hours. If it does collapse, don’t worry! You can still enjoy the flavor by layering it with yogurt and fruit for a delicious parfait.
Is this cake suitable for people with allergies?
This recipe is quite versatile! For those allergic to eggs, I recommend experimenting with a vegan egg substitute to see if it works in your baking. Keep in mind, though, that this may affect the texture. Additionally, monitor ingredients if you’re cooking for anyone with gluten intolerances, as the cornstarch must be gluten-free. Always read labels carefully!
Can I adjust the sweetness of the Sugar-Free Yogurt Cake?
Absolutely! Feel free to adjust the monkfruit sweetener to your taste; start with the recommended amount and add more if you prefer a sweeter cake. You could also mix in other sugar substitutes like erythritol or stevia, depending on what you enjoy. The goal is to make it enjoyable for your palate!
Sugar Free Yogurt Cake – Light, Fluffy, Guilt-Free Delight
Ingredients
Equipment
Method
- Preheat your oven to 330°F (160°C).
- Separate the egg yolks from the egg whites.
- Whip the egg whites on medium-high speed until stiff peaks form, about 3-5 minutes.
- Mix the egg yolks with the monkfruit sweetener until light and fluffy.
- Incorporate the Greek yogurt into the egg yolk mixture.
- Sift in the cornstarch and fold it gently into the mixture.
- Fold the beaten egg whites into the yogurt batter.
- Line a 7x11-inch baking dish with parchment paper and pour in the batter.
- Create a water bath by placing the baking dish in a larger tray filled with boiling water.
- Bake for 45 minutes, then increase the temp to 350°F (180°C) and bake for an additional 15 minutes.
- Cool the cake in the oven for 1-2 hours after baking.
- Lift the cake out using the parchment paper, slice, and serve.
Leave a Reply