
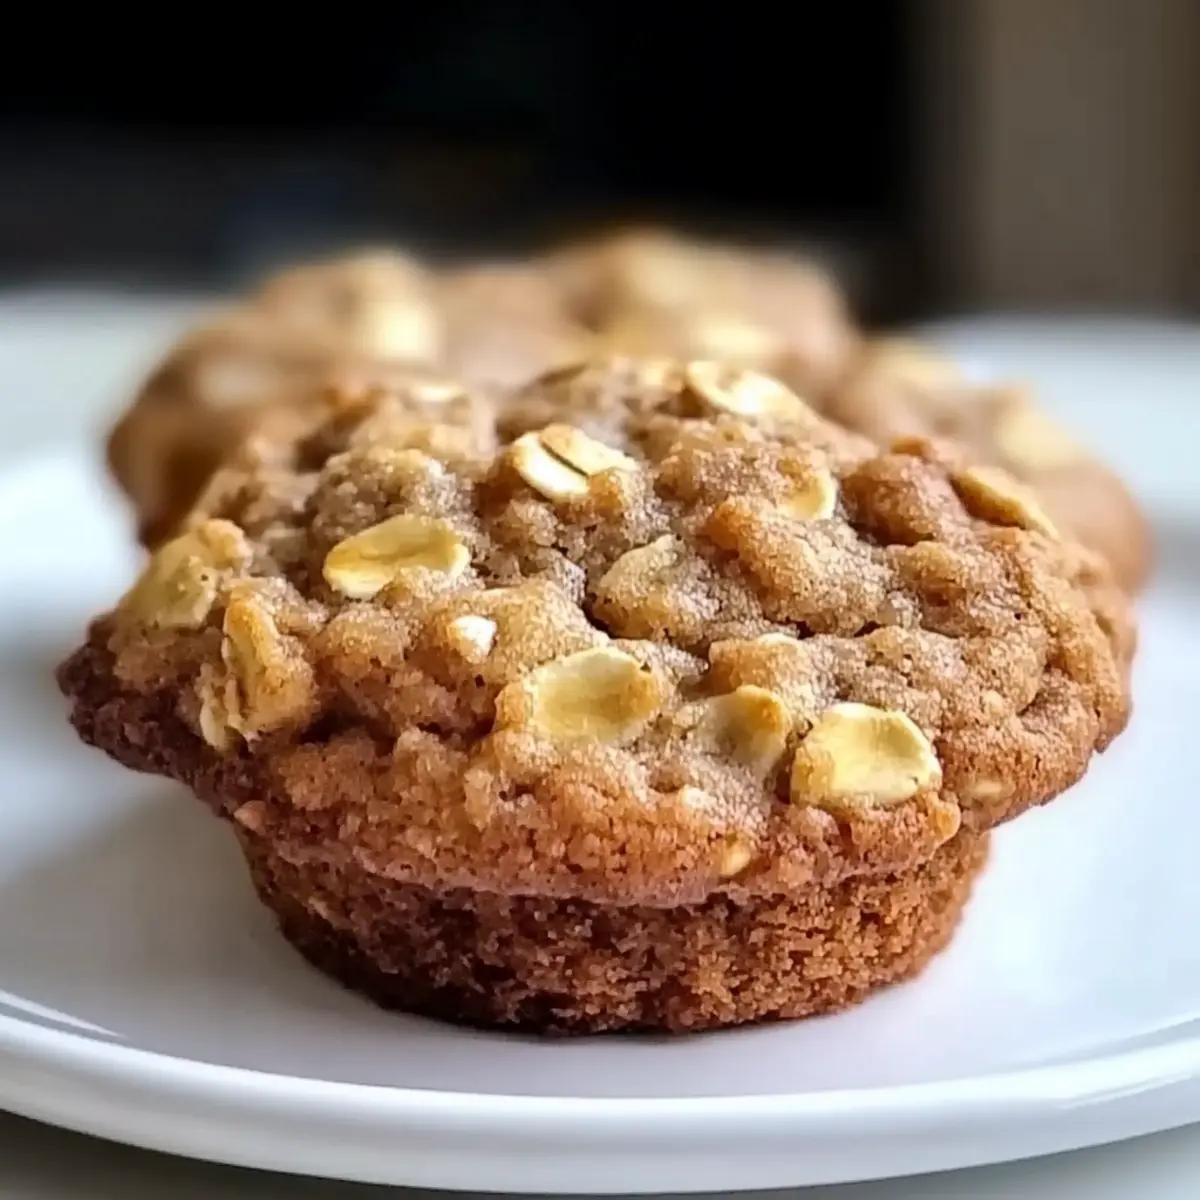
The aroma of freshly baked cookies drifts through my kitchen, instantly lifting my spirits. With just four simple ingredients, you can whip up a batch of 4-Ingredient Crispy Chocolate Oat Cookies that are not only gluten-free but also incredibly easy to make. Perfect for those busy afternoons or last-minute visitors, these cookies offer a delightful crunch and a satisfying, chewy texture. Plus, you can customize them to suit your taste—swap in your favorite nut butter or sneak in some dried fruits for a fun twist. Are you ready to elevate your snacking game with a treat that’s both wholesome and indulgent? Let’s get baking!
Why are these cookies a game-changer?
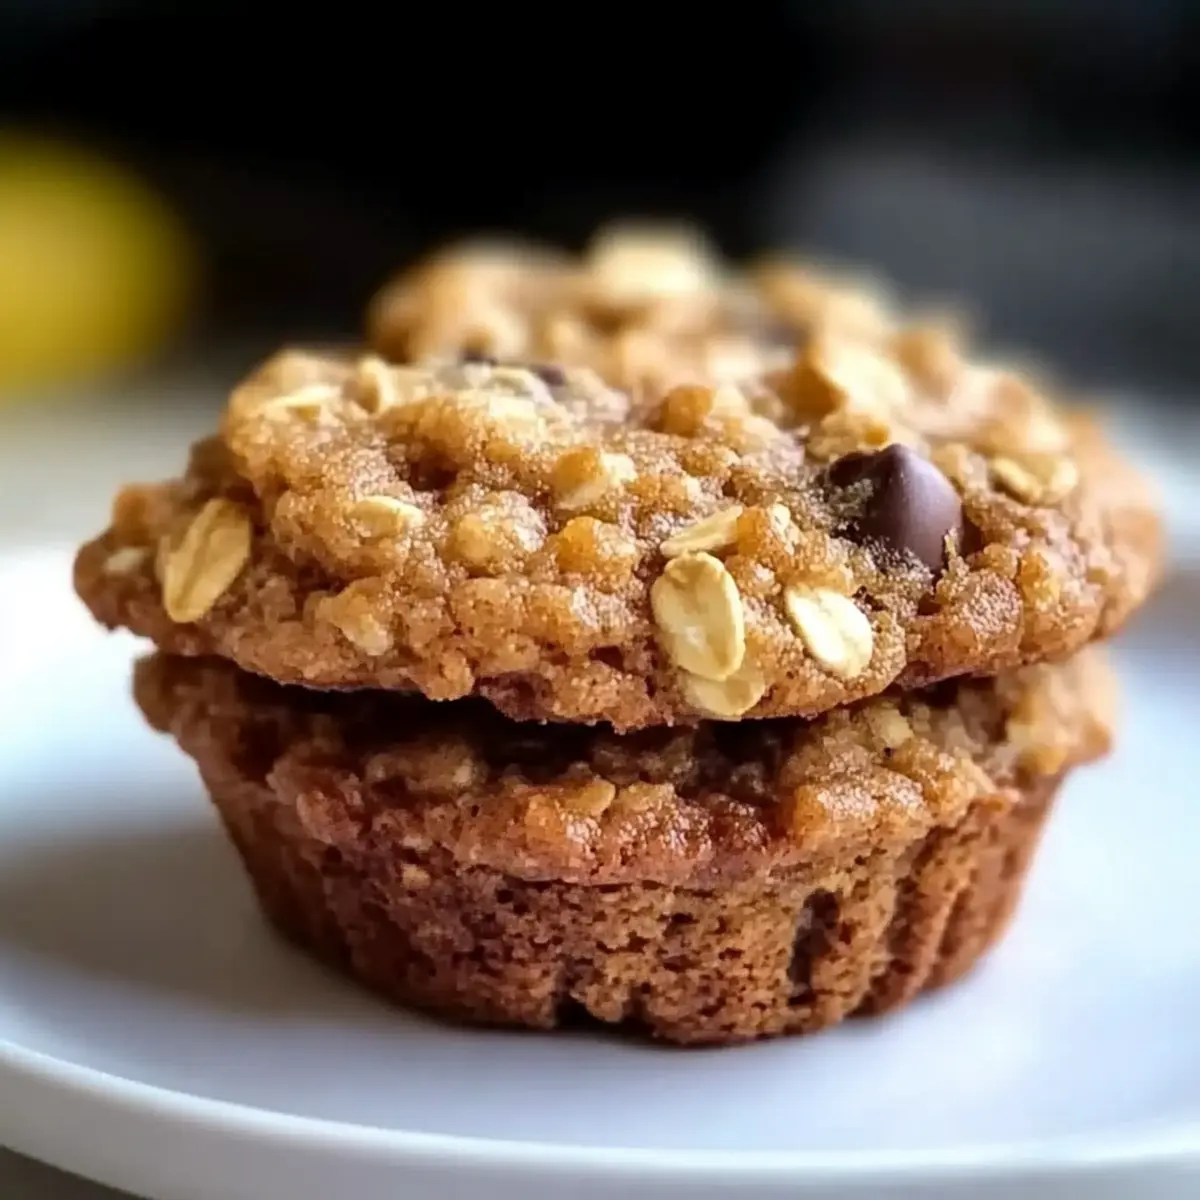
Simplicity at Its Best: With just four ingredients, these cookies are perfect for bakers of any skill level. Gluten-Free Delight: Enjoy crunchy satisfaction without the gluten, making them suitable for everyone. Quick Prep Time: Ready to pop in the oven in under 15 minutes, they are ideal for busy days. Customizable Options: Feel free to swap in your favorite nut butter or add some dried fruit for a unique twist, just like my Banana Oatmeal Chocolate cookies. Crowd-Pleasing Treat: Serve these at gatherings, and watch them disappear—they’re that delicious!
Crispy Chocolate Oat Cookies Ingredients
• Whip up a batch of these delicious cookies with just four simple ingredients!
For the Cookie Base
- Oats – Adds chewiness and structure; choose gluten-free oats for a safe treat.
- Peanut Butter – Brings creaminess and richness; swap with almond butter for nut allergies.
- Honey (or Maple Syrup) – Serves as a natural sweetener and binds everything together; maple syrup makes it vegan-friendly.
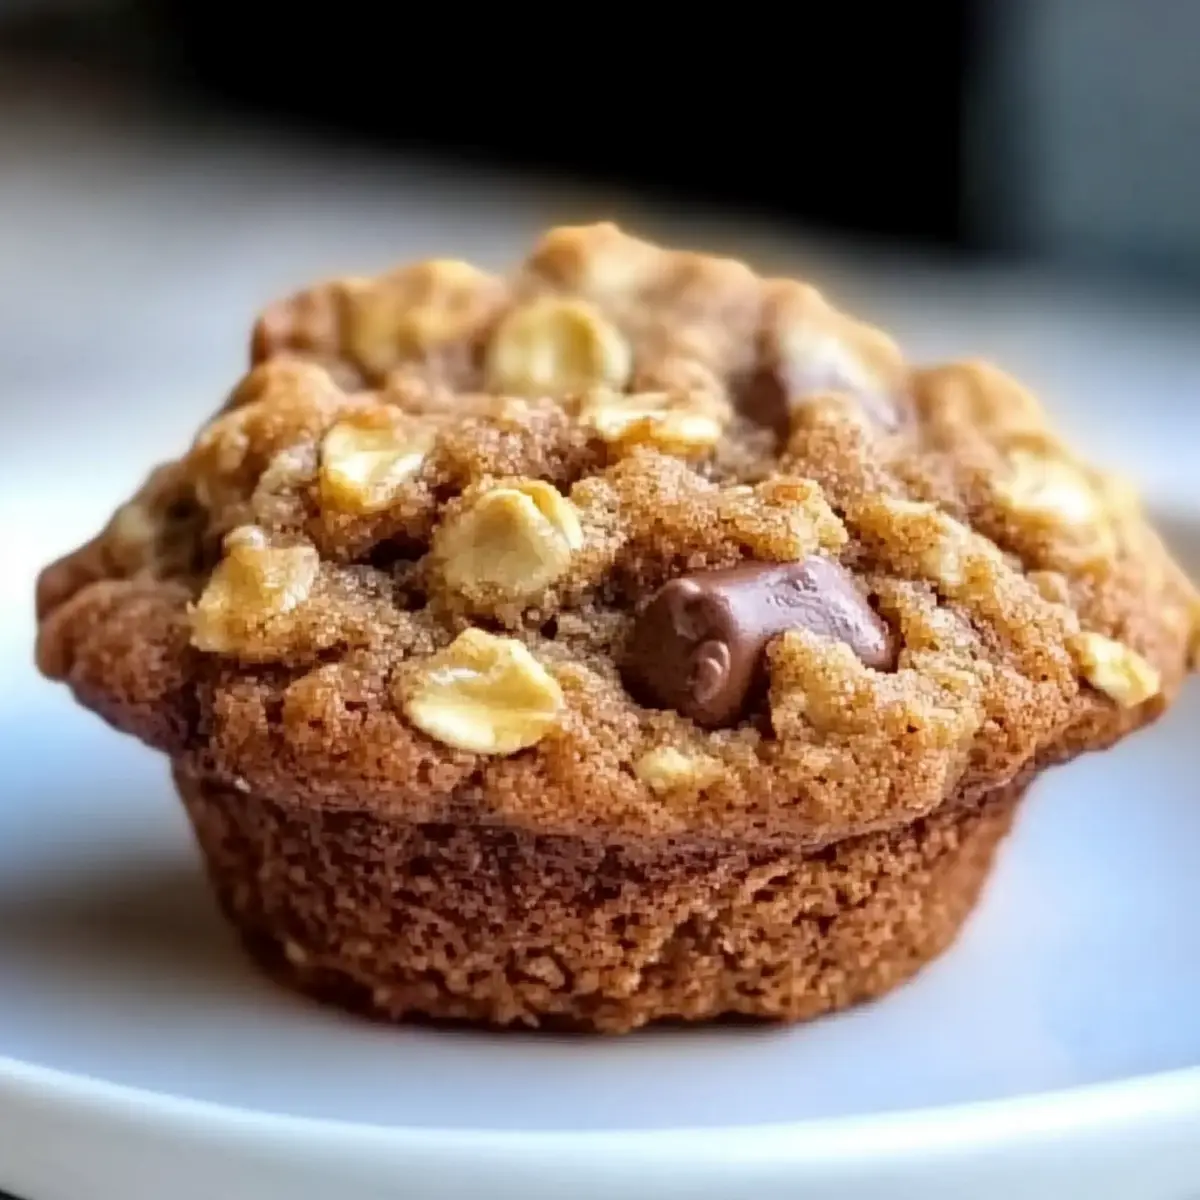
- Chocolate Chips – Infuses sweetness and decadence; opt for dark chocolate for a bolder taste or dairy-free chips to keep it vegan.
Optional Mix-Ins
- Dried Fruits – Toss in raisins or cranberries for a touch of chewiness and added flavor.
- Nuts – Chopped walnuts or pecans can offer a delightful crunch if you’re looking to elevate your cookie.
Now that you have all the ingredients ready, it’s time to bake your crispy chocolate oat cookies! Enjoy your delicious homemade snacks!
Step‑by‑Step Instructions for 4-Ingredient Crispy Chocolate Oat Cookies
Step 1: Preheat the Oven
Preheat your oven to 350°F (175°C) to ensure the cookies bake evenly. While the oven warms up, line a baking sheet with parchment paper, which helps prevent sticking and allows for easy cleanup. This preparation sets the stage for your delightfully crispy chocolate oat cookies.
Step 2: Mix the Cookie Base
In a mixing bowl, thoroughly combine the oats, peanut butter, and honey (or maple syrup). Use a sturdy spatula or spoon to mix until all ingredients are well incorporated and form a smooth, sticky batter. The mixture should start pulling away from the sides of the bowl, indicating it’s ready for the next step in making your cookies.
Step 3: Add Chocolate Chips
Fold in the chocolate chips gently until they are evenly distributed throughout the batter. Make sure each spoonful of mixture has a generous amount of chocolate for that deliciously rich flavor in each bite. Now your cookie mixture is coming together, ready to be shaped into irresistible cookies.
Step 4: Shape the Cookies
Using a tablespoon or cookie scoop, portion out the mixture onto the prepared baking sheet, leaving space between each for spreading. Flatten each cookie slightly with the back of the scoop so they bake evenly. This step helps create those lovely crispy edges that make these chocolate oat cookies so delightful.
Step 5: Bake in the Oven
Place the baking sheet in the preheated oven and bake the cookies for 10-12 minutes. Keep an eye on them, especially towards the end, as the edges should turn golden brown. The aroma will fill your kitchen, signaling that your crispy chocolate oat cookies are almost ready!
Step 6: Cool the Cookies
After baking, remove the cookies from the oven and let them cool on the baking sheet for about 5 minutes. This allows them to firm up before transferring. Once slightly cooled, carefully move them to a wire rack to cool completely, ensuring they reach that perfect crunchy texture.

Variations & Substitutions for Crispy Chocolate Oat Cookies
Customize these delicious cookies to suit your taste and dietary needs!
-
Nut-Free: Substitute peanut butter with sunflower seed butter for a nut-free version that still rocks that creamy texture.
This swap keeps the cookies fluffy while ensuring no nut allergies get in the way of deliciousness. -
Vegan Delight: Replace honey with maple syrup for a completely vegan-friendly treat.
The maple syrup brings its natural sweetness, maintaining that delightful chewiness without any animal products. -
Extra Crunch: Add in chopped nuts like walnuts or pecans for a hearty crunch!
Mix-ins not only provide additional textures, but they’ll also elevate the cookie’s overall flavor profile, making each bite extraordinary. -
Fruity Twist: Toss in some dried fruits like raisins or cranberries for a hint of sweetness and chewiness.
This adds a pop of color and a delightful surprise in every bite, making them even more irresistible. -
Flavor Boost: Sprinkle in a pinch of cinnamon for a cozy, warm twist.
The aroma of cinnamon will whisk you away to a comforting place, enhancing the overall flavor experience. -
Dairy-Free Option: Opt for dairy-free chocolate chips for a completely guilt-free indulgence!
Enjoy decadence while staying true to your dietary preferences—your taste buds won’t even notice the difference. -
Choco-Lover’s Dream: Use dark chocolate chips for an elevated, richer chocolate flavor.
This variation encourages the taste of pure cocoa to shine through, perfect for those chocolate lovers out there!
Feel inspired to mix it up? Try out these variations to create a personalized batch of cookies tailored just for you! If you’re also in the mood for more banana goodness, don’t forget to check out my Banana Bread Moist recipe for a delightful breakfast treat!
How to Store and Freeze Crispy Chocolate Oat Cookies
Room Temperature: Keep your cookies in an airtight container at room temperature for up to 1 week to maintain their delightful crunch.
Freezer: For longer storage, freeze the cookies in a single layer on a baking sheet until solid, then transfer to a freezer-safe container or bag for up to 1 month.
Reheating: When ready to enjoy, thaw at room temperature or warm in the oven at 350°F (175°C) for 5-7 minutes for that fresh-out-of-the-oven taste.
Refreshing Flavor: If you prefer, you can pop them in the microwave for a quick reheating option; just 10-15 seconds will revive their chewy, delicious nature!
Expert Tips for 4-Ingredient Crispy Chocolate Oat Cookies
• Storage Matter: Keep your cookies in an airtight container at room temperature to maintain their crunchiness for up to a week.
• Perfect Texture: Bake just until the edges are golden; they will continue to firm up as they cool, so don’t overbake.
• Nut Butter Swap: Try different nut butters like almond or cashew for unique flavors, but ensure they’re well-mixed for even consistency.
• Sweetness Adjustments: If you prefer a less sweet option, reduce the amount of honey or maple syrup slightly without compromising binding.
• Add-Ins Galore: Mix in your favorite dried fruits or nuts for added texture and flavor; just remember to adjust the proportions if necessary.
Make Ahead Options
These 4-Ingredient Crispy Chocolate Oat Cookies are perfect for meal prep enthusiasts! You can combine the dry ingredients—oats, peanut butter, and honey (or maple syrup)—up to 24 hours in advance, storing them in an airtight container to keep everything fresh and moist. If you’d like, you can also shape the cookies and refrigerate them for up to 3 days before baking. This way, when you’re ready to serve, all you need to do is pop them straight into the oven for about 10-12 minutes. Not only will you save time during busy weeks, but these cookies will be just as delicious and crunchy!
What to Serve with 4-Ingredient Crispy Chocolate Oat Cookies
These delightful cookies are perfect for complementing your favorite meals or snacks, turning an ordinary treat into an extraordinary experience.
- Creamy Yogurt Dip: Serve with a side of Greek yogurt for a tangy contrast that balances the sweetness and adds creaminess.
- Fresh Fruit Salad: A refreshing mix of seasonal fruits provides a burst of vitamins and vibrant colors, enhancing your snack experience.
- Nutty Granola: Pair with a bowl of granola for a crunchy contrast and an added layer of texture—great for breakfast or snacking.
- Warm Milk: Enjoy your cookies alongside a comforting glass of warm milk, creating a nostalgic feel reminiscent of childhood treats.
- Ice Cream: Top a scoop of vanilla ice cream with a crumbled cookie for a decadent dessert that marries crunch with creaminess.
- Homemade Hot Chocolate: Warm up with a mug of rich hot chocolate—it’s the perfect way to indulge and savor every crumb.
- Coffee or Tea: A cup of coffee or herbal tea pairs wonderfully, enhancing the chocolate flavors while providing a cozy atmosphere.
- Nut Butter Dip: Create a luscious dip using almond or cashew butter, elevating the overall experience with even more nutty richness.
- Cheese Platter: Add a surprising twist by including mild cheeses; their creaminess plays beautifully against the cookie’s crunch.
Crispy Chocolate Oat Cookies Recipe FAQs
How do I choose the right oats for this recipe?
Absolutely! It’s essential to use gluten-free oats if you need a gluten-free treat. Look for certified gluten-free labels to ensure no cross-contamination occurs. Whole grain rolled oats are preferable for the best texture, adding both chewiness and a satisfying crunch to your cookies.
How should I store my cookies, and how long will they last?
You can keep your crispy chocolate oat cookies in an airtight container at room temperature for up to 1 week. For longer storage, place them in the fridge, where they will maintain freshness for about 2 weeks, or freeze them for up to a month. Just remember to let them cool completely before sealing them away!
Can I freeze the cookies, and what’s the best method?
Certainly! To freeze your cookies, lay them in a single layer on a baking sheet and freeze them until solid, which usually takes about 1-2 hours. Once frozen, transfer them to a freezer-safe bag or container, separating layers with parchment paper to prevent sticking. They will stay fresh for up to 1 month. When you’re ready to enjoy, pop them in the oven at 350°F (175°C) for 5-7 minutes, and voila—they’ll taste just like fresh!
What should I do if my cookies turn out too dry?
If your cookies come out too dry, it might be due to overbaking or not enough moisture in the dough. Make sure to check them a minute or two before the minimum bake time, as they will continue to firm up as they cool. For future batches, consider adding an extra teaspoon of peanut butter or a splash of milk to the mixture to achieve a softer texture.
Are there any dietary considerations I should be aware of?
Yes! If you or anyone you’re serving has nut allergies, you can substitute peanut butter with sunflower seed butter. Also, for vegans, using maple syrup in place of honey makes these cookies fully plant-based. Always inquire about specific allergies your guests might have, especially when using chocolate chips, as some contain traces of milk.
Irresistible Banana Oatmeal Muffins for Healthy Mornings
Ingredients
Equipment
Method
- Preheat your oven to 350°F (175°C) and line a baking sheet with parchment paper.
- In a mixing bowl, combine the oats, peanut butter, and honey (or maple syrup) until smooth.
- Fold in the chocolate chips gently until evenly distributed throughout the batter.
- Portion out the mixture onto the baking sheet, flattening each cookie slightly.
- Bake in the oven for 10-12 minutes until the edges are golden brown.
- Let them cool on the baking sheet for about 5 minutes before transferring to a wire rack.
Leave a Reply