Go Back
+ servings
Dill Pickle Pasta Salad

Tangy Dill Pickle Pasta Salad Ready in Just 25 Minutes

This Dill Pickle Pasta Salad combines tender pasta with a tangy dressing and crunchy dill pickles, perfect for any gathering.
Prep Time 10 minutes
Cook Time 15 minutes
Total Time 25 minutes
Servings: 6 servings
Course: Salad
Cuisine: American
Calories: 300

Ingredients
  

For the Salad
  • 2 cups Elbow macaroni Dry pasta
  • 1-2 large Dill pickles Diced
  • 3-4 oz Cheddar cheese Finely cubed
  • 2.5 oz Sliced black olives Drained, optional
For the Dressing
  • 1/2 cup Mayonnaise Or substitute with Greek yogurt
  • 1 tablespoon Pickle juice
  • 2 tablespoons Milk Or plant-based milk
  • 1/2 teaspoon Salt Adjust to taste
  • 1/4 teaspoon Pepper Adjust to taste
  • 1/2 teaspoon Garlic powder Or fresh garlic
  • 1/2 teaspoon Onion powder
  • 1/2 teaspoon Dry dill
  • a pinch Cayenne pepper Omit for a milder experience

Equipment

  • Large pot
  • Medium bowl
  • mixing bowl
  • Colander

Method
 

Step-by-Step Instructions for Dill Pickle Pasta Salad
  1. Bring a large pot of salted water to a rolling boil. Add the elbow macaroni and cook for about 7-8 minutes until nearly al dente. Drain and rinse under cold water.
  2. In a medium bowl, whisk together mayonnaise, pickle juice, and milk. Stir in salt, pepper, garlic powder, onion powder, dry dill, and cayenne pepper. Refrigerate for 10 minutes.
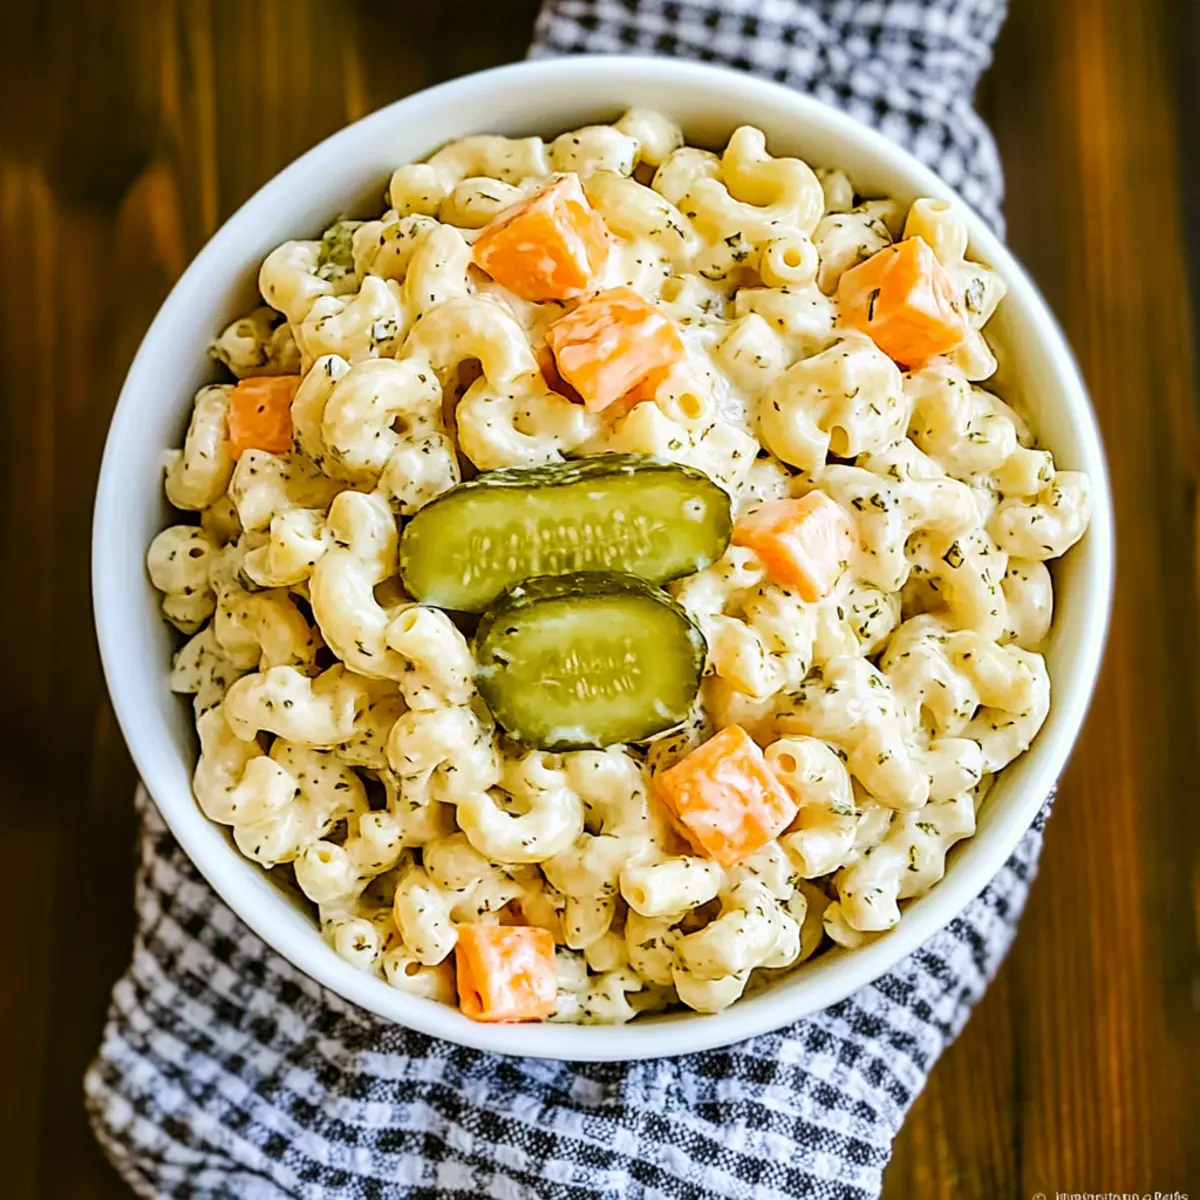
  3. Dice the dill pickles and cube the cheddar cheese. Drain the sliced black olives.
  4. In a large mixing bowl, combine the cooled pasta, chopped pickles, cubed cheese, and drained olives. Pour in the chilled dressing and mix until well combined.
  5. Taste and adjust the seasoning if needed. Serve immediately or refrigerate for an hour to enhance flavors.

Nutrition

Serving: 1cupCalories: 300kcalCarbohydrates: 34gProtein: 8gFat: 15gSaturated Fat: 2gCholesterol: 20mgSodium: 480mgPotassium: 200mgFiber: 2gSugar: 2gVitamin A: 300IUVitamin C: 2mgCalcium: 150mgIron: 1mg

Notes

Let the salad chill for at least an hour before serving to allow flavors to meld. It’s even better the next day!

Tried this recipe?

Let us know how it was!