
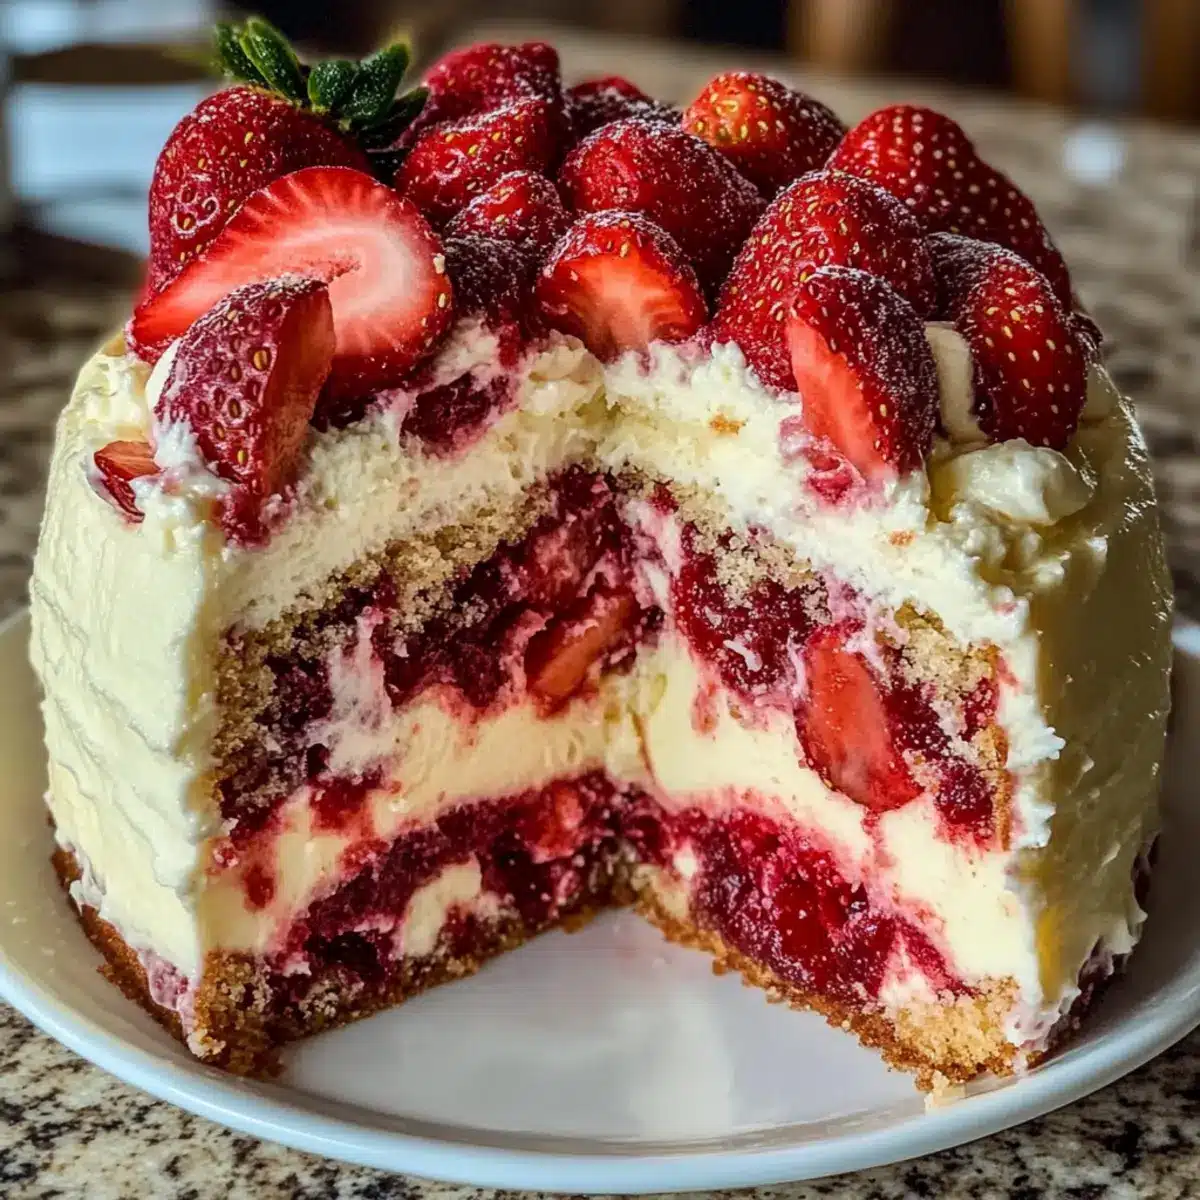
While flipping through old recipe cards, I stumbled upon a treasure that instantly transported me back to my childhood—Strawberry Earthquake Cake. This delightful dessert is not only easy to make but also packed with memories, effortlessly combining fresh strawberries with luscious cheesecake swirls and a delightful crunch from white chocolate and nuts. Just imagine pulling this beauty from the oven, its vibrant colors and enticing aroma beckoning everyone to gather around, making it perfect for celebrations or those cozy nights when you want to indulge. And the best part? It’s quick to whip up, leaving you more time to enjoy the sweet moments with loved ones. Ready to make a cake that feels like a warm hug? Let’s dive into the recipe!
Why is Strawberry Earthquake Cake Special?
Nostalgic Flavors: This cake takes you back to simpler times with its delightful blend of strawberries and creamy cheesecake swirls.
Easy to Make: You don’t need to be a master baker! The straightforward steps make it accessible for everyone.
Perfect for Any Occasion: Whether it’s a birthday or just a sweet treat for movie night, this cake is incredibly versatile.
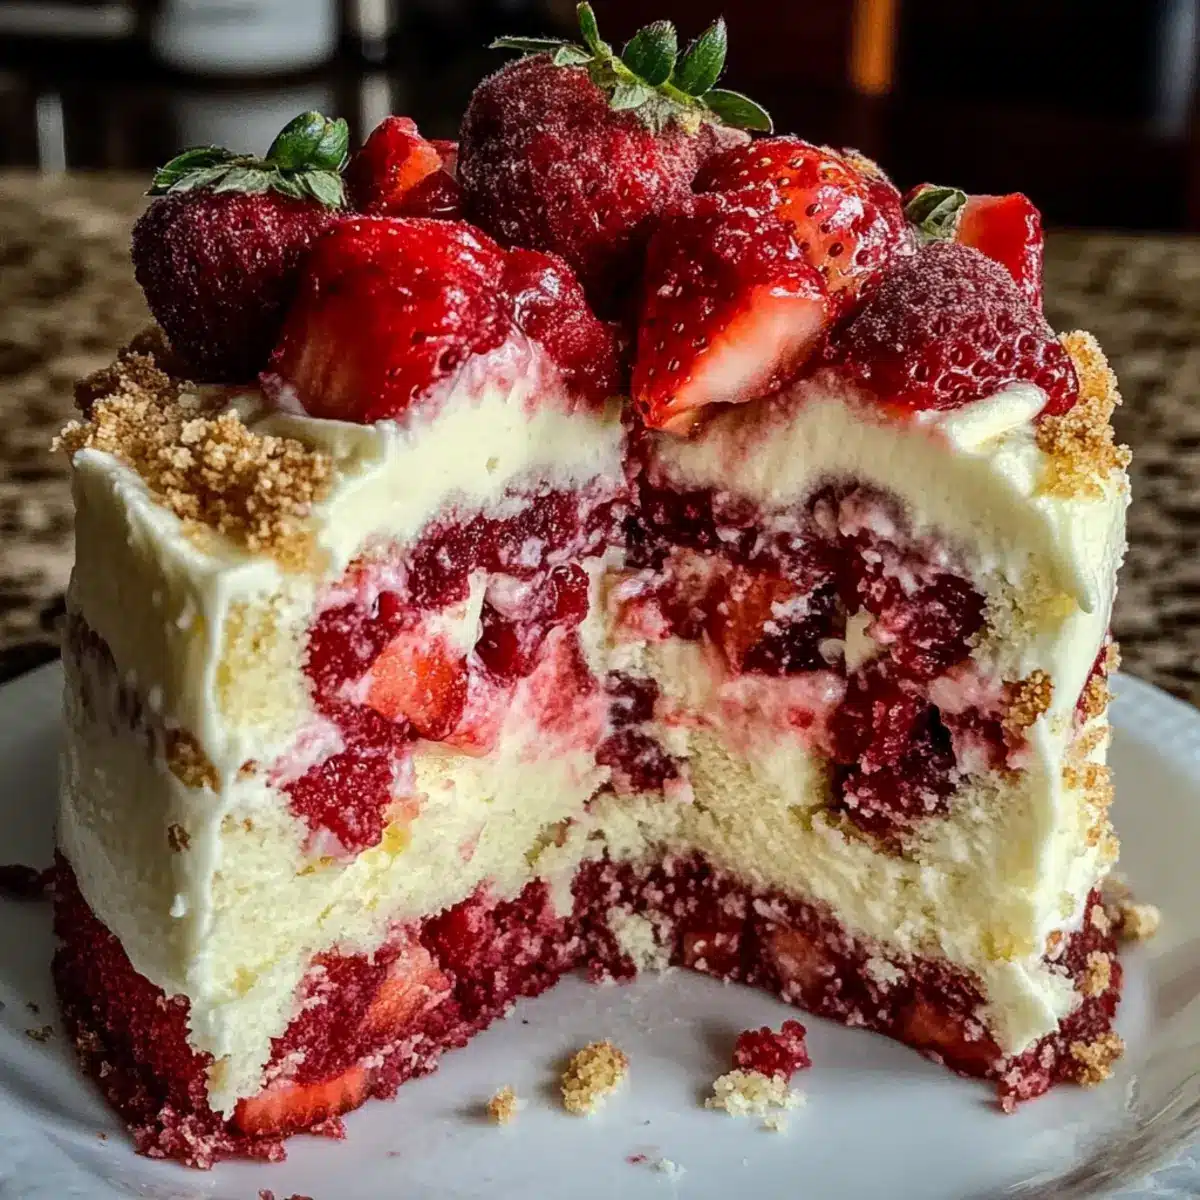
Texture Explosion: The moist cake, melted white chocolate, and crunch from nuts create a dynamic bite in every slice.
Crowd-Pleasing: This dessert is sure to impress, making it a go-to recipe for gatherings, reminiscent of those cherished family moments.
Pair this with a scoop of vanilla ice cream or a dollop of freshly whipped cream, and you have an indulgent treat that’s impossible to resist.
Strawberry Earthquake Cake Ingredients
• Get ready to create a delightful masterpiece!
For the Cake
- Strawberry Cake Mix – Forms the cake’s sweet base; choose your favorite brand.
- Fresh or Frozen Strawberries (1.5 cups) – Adds fruity flavor; ripe berries work best—thaw and drain if using frozen.
- White Chocolate Chips (1 cup) – Brings a creamy sweetness that melts beautifully.
- Sweetened Shredded Coconut (1 cup) – Gives your cake a tropical twist.
- Chopped Pecans/Walnuts (0.5 cup) – Optional for added nutty crunch.
- Vanilla Extract (1 teaspoon) – Deepens the cake’s flavor profile.
- Ingredients from Cake Mix (eggs, oil, water) – Follow the mix instructions for these essentials.
For the Cheesecake Layer
- Cream Cheese (8 oz, softened) – Creates that rich, creamy texture; full-fat is your best bet!
- Unsalted Butter (0.5 cup, softened) – Enhances richness in the cheesecake swirl.
- Powdered Sugar (2.5 cups) – Sweetens the cheesecake layer perfectly.
This Strawberry Earthquake Cake will be the centerpiece of your celebration or cozy night in—let’s make it together!
Step‑by‑Step Instructions for Strawberry Earthquake Cake
Step 1: Preheat the Oven
Begin by preheating your oven to 350°F (175°C). While the oven warms, grab a 9×13-inch pan and generously grease it with butter or non-stick spray. This will help release your beautiful Strawberry Earthquake Cake once it’s baked. Set the pan aside, ready for the delicious batter to come.
Step 2: Prepare the Cake Mix
In a large mixing bowl, prepare the strawberry cake mix according to the package instructions. This typically involves combining the mix with required ingredients like eggs, oil, and water. Stir the mixture until just combined, ensuring you don’t overmix, which could affect the cake’s texture. The batter should be smooth and slightly fluffy, filled with anticipation!
Step 3: Add the Delightful Fillings
Gently fold in the chopped strawberries, white chocolate chips, shredded coconut, and optional nutty goodness, such as pecans or walnuts. This step is crucial for incorporating vibrant flavors and textures into your Strawberry Earthquake Cake. Avoid overmixing; you want these delightful bits to remain intact, creating pockets of flavor throughout the cake.
Step 4: Layer the Batter
Pour half of the prepared batter into your greased pan, spreading it evenly across the bottom. This will form the base layer of the cake. Make sure the batter reaches the edges of the pan for a uniform bake. Now, watch as it transforms into a beautiful blank canvas ready for the cheesecake layer to follow.
Step 5: Make the Cream Cheese Mixture
In a separate mixing bowl, beat together the softened cream cheese and unsalted butter until smooth and creamy. This should take about 2-3 minutes with an electric mixer. Once combined, gradually add the powdered sugar and vanilla extract, mixing until you achieve a velvety smooth consistency. This cheesecake mixture will be the heart of your Strawberry Earthquake Cake.
Step 6: Add the Cream Cheese Swirls
Use a spoon to drop generous spoonfuls of the cream cheese mixture evenly over the first cake layer in the pan. This will create luscious swirls throughout the cake once it bakes. Don’t worry about spreading it perfectly; the beauty will come from the marbled effect that forms as it cooks.
Step 7: Finish with the Remaining Batter
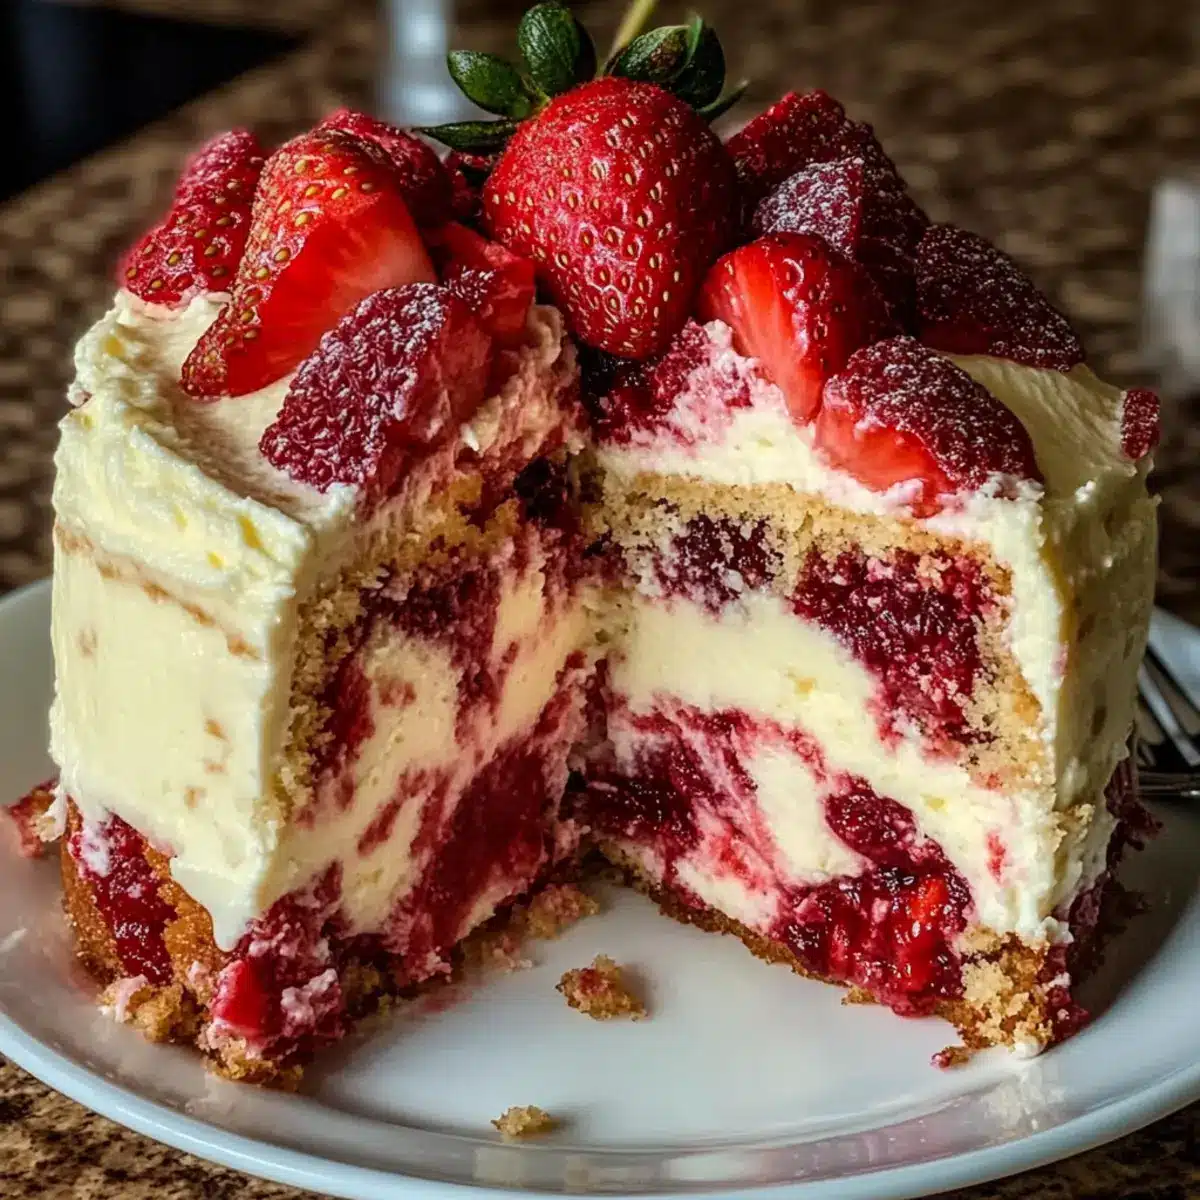
Next, pour the remaining batter over the cheesecake layer, ensuring it covers the cream cheese completely. Gently swirl with a knife to create a marbled effect, mixing just enough to incorporate. This step is key for the classic look of your Strawberry Earthquake Cake—the magic happens during baking as these layers meld together.
Step 8: Bake the Cake
Place your pan in the preheated oven and bake for 40-45 minutes. To test for doneness, insert a toothpick into the center of the cake; it should come out clean or with a few moist crumbs attached. Watch closely as the cake rises and the edges turn a lovely golden brown, signaling it’s time to come out of the oven.
Step 9: Cool Before Serving
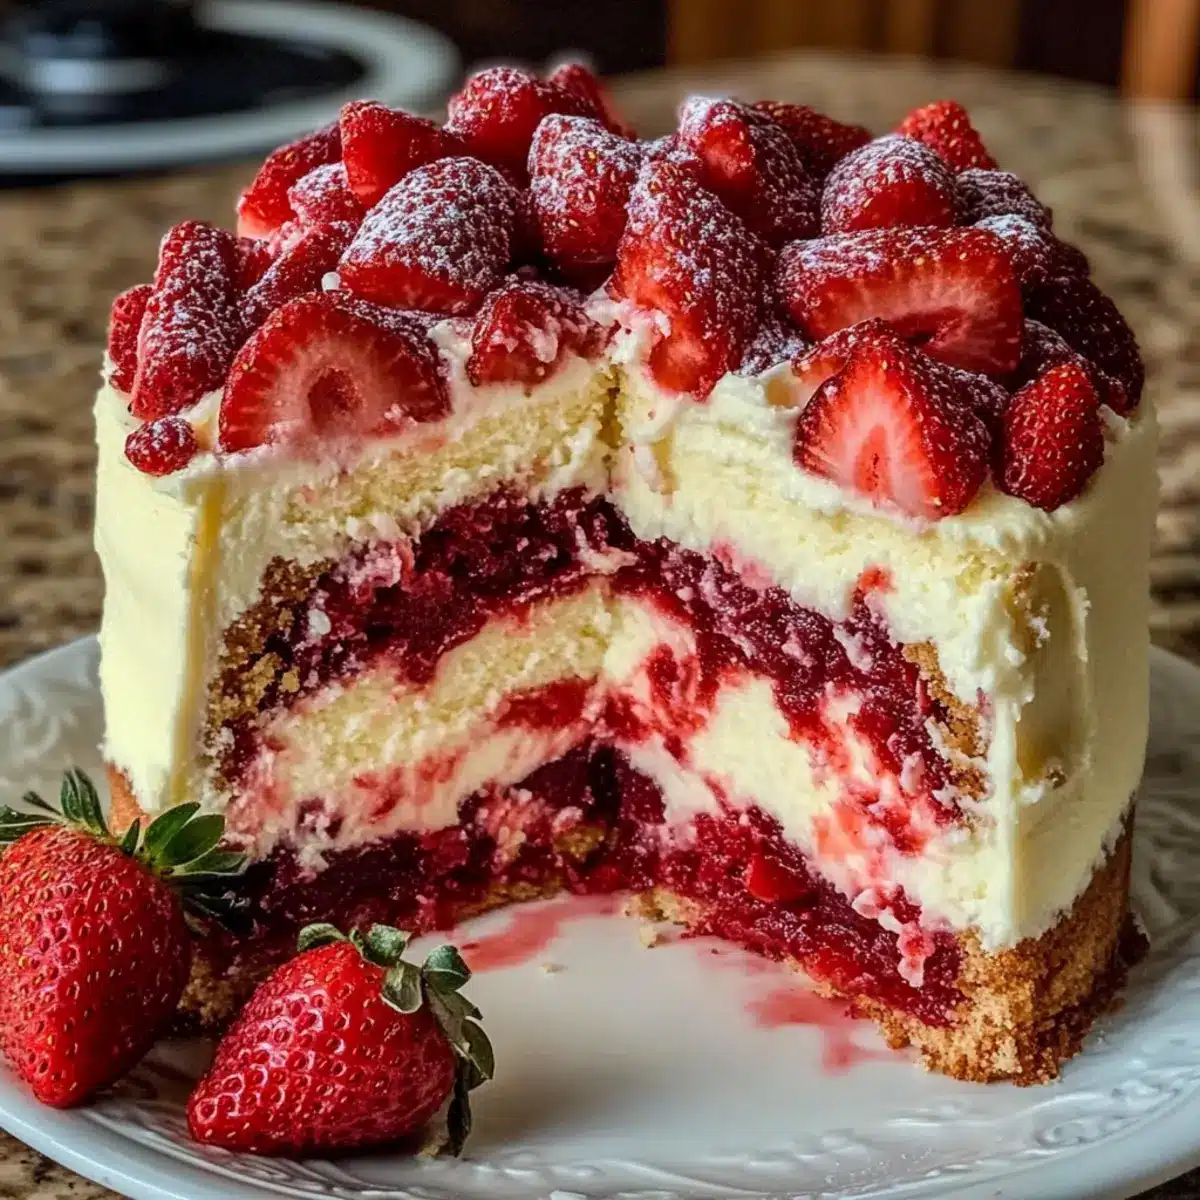
Once baked, remove your Strawberry Earthquake Cake from the oven and allow it to cool in the pan on a wire rack. This will take about 30-45 minutes. Cooling completely is essential to achieving perfect slices; the cheesecake layer needs that time to set. Once cooled, slice into squares and enjoy this vibrant, nostalgic dessert with family and friends!
How to Store and Freeze Strawberry Earthquake Cake
Fridge: Store leftover Strawberry Earthquake Cake in an airtight container in the refrigerator for up to 3 days. This keeps it fresh while preserving its delicious flavors.
Freezer: For longer storage, slice the cake into individual pieces and wrap them tightly in plastic wrap before placing them in a freezer-safe container. It can be frozen for up to one month.
Thawing: To enjoy your frozen cake, simply remove it from the freezer and let it thaw in the fridge overnight or at room temperature for a few hours.
Reheating: To enjoy a warm slice, reheat the cake in the microwave for about 15-20 seconds. This will revive its creamy cheesecake texture and melty chocolate goodness.
Strawberry Earthquake Cake: Customize Your Delight
Feel free to make this tantalizing cake your own with some fun twists and flavorful substitutions!
-
Dark Chocolate: Swap white chocolate for dark chocolate chips for a deeper, richer flavor profile.
-
Nut-Free: Use sunflower seeds or omit nuts entirely to make this cake safe for those with nut allergies.
-
Coconut-Free: Leave out the shredded coconut and add more strawberries for a fruitier delight without the tropical twist.
-
Gluten-Free: Substitute the strawberry cake mix with a gluten-free cake mix for a delightful treat that’s suitable for everyone.
-
Flavor Boost: Add a teaspoon of lemon zest to the batter for a refreshing citrus zing that pairs beautifully with strawberries.
-
Cream Cheese Substitute: For a lower-fat option, try Greek yogurt instead of cream cheese in the cheesecake layer—still creamy but a bit lighter.
-
Vanilla Bean: Incorporate real vanilla bean instead of extract for a more luxurious flavor experience.
-
Fruity Swirls: Enhance the cheesecake layer by mixing in a tablespoon of strawberry puree for extra fruity swirls.
These variations can elevate your Strawberry Earthquake Cake and provide unique flavors to share with family and friends. Don’t forget to check out some other delectable recipes like these Carrot Cake Overnight Oats or Maple Bacon Pancake Muffins for more inspiration!
Expert Tips for Strawberry Earthquake Cake
Softened Ingredients: Ensure both the cream cheese and butter are truly softened before mixing to achieve a creamy cheesecake layer.
Avoid Overmixing: After adding toppings, mix gently. Overmixing can lead to a dense cake rather than the light texture of a perfect Strawberry Earthquake Cake.
Check for Doneness: Insert a toothpick in the center. It should come out clean or with a few crumbs. If it’s wet, give it a few extra minutes in the oven.
Swirling Technique: For a beautiful swirl effect, use a knife to gently cut through the layers a few times without overdoing it—this adds visual appeal to each slice.
Cooling Time: Be patient and allow the cake to cool completely before slicing to ensure clean edges and a well-set cheesecake layer.
Make Ahead Options
These Strawberry Earthquake Cake preps beautifully, making it an ideal choice for busy home cooks! You can prepare the cake batter and the cream cheese mixture up to 24 hours in advance. Just mix the cake batter and cream cheese filling as directed, then refrigerate them separately in airtight containers to keep them fresh. When you’re ready to bake, simply combine the layers and proceed with the baking instructions. This way, you’ll save time and still enjoy a dessert that’s just as delicious as if made fresh. For optimal quality, avoid mixing the batter too much, which helps maintain a light texture and flavor. Enjoy your delightful treat with less hassle!
What to Serve with Strawberry Earthquake Cake
Looking to create the perfect spread around your indulgent cake? Let’s explore some delightful pairings that will elevate your dessert experience.
-
Vanilla Ice Cream: The creamy, cool texture contrasts beautifully with the warm cake, complementing the fruity strawberry flavor.
-
Fresh Strawberries: A side of fresh berries enhances the fruity essence of the cake, adding a vibrant touch and refreshing contrast.
-
Whipped Cream: Light and airy whipped cream provides a luscious finish, balancing the cake’s sweetness and indulgence with silky smoothness.
-
Chocolate Drizzle: A warm, drizzled chocolate sauce offers a rich, decadent twist that pairs harmoniously with the sweetness of strawberries and cheesecake.
-
Mimosa Cocktail: A light and bubbly mimosa is a delightful way to celebrate occasions with this cake, adding a refreshing citrus element.
-
Nutty Biscotti: Crunchy biscotti can act as a delightful palate cleanser, making each bite of cake feel even more special and indulgent.
Imagine each savory bite of your celebration enhanced by the perfect pairing—creating a memorable moment that lingers long after the last slice is gone.
Strawberry Earthquake Cake Recipe FAQs
What kind of strawberries should I use for the cake?
Absolutely! For the best flavor, use ripe, juicy fresh strawberries that are bright red with no dark spots. If you opt for frozen strawberries, remember to thaw and drain them well to avoid excess moisture in your batter.
How should I store the Strawberry Earthquake Cake?
You can store your leftover cake in an airtight container in the refrigerator for up to 3 days. It’s always best served fresh, but this method keeps it alluring and tasty for a few days.
Can I freeze leftover cake?
Very! For the best results, slice the Strawberry Earthquake Cake into individual portions and wrap each slice tightly in plastic wrap. Place them in a freezer-safe container, and they will stay delicious for up to one month. Just remember to label with the date!
What’s the best way to thaw my frozen cake?
To thaw, remove your desired portion from the freezer and let it sit in the fridge overnight, or if you’re in a rush, leave it at room temperature for about 2-3 hours. This way, it retains its delightful texture while gradually warming up.
What if I don’t have cream cheese, can I use something else?
If you’re out of cream cheese, you can substitute it with mascarpone cheese for a similar creamy texture, or use Greek yogurt for a lighter option. Keep in mind, the flavor will differ slightly, but it can still be delicious!
How can I prevent my cake from becoming dense?
To maintain that light, fluffy texture, be careful not to overmix the batter after adding your strawberries and other ingredients. Mix until just combined, and always ensure that your cream cheese and butter are softened properly before blending. This step is crucial for achieving the cake’s dreamy consistency!
Strawberry Earthquake Cake - A Creamy, Fruity Delight
Ingredients
Equipment
Method
- Preheat your oven to 350°F (175°C) and grease a 9x13-inch pan.
- Prepare the strawberry cake mix according to package instructions.
- Gently fold in the chopped strawberries, white chocolate chips, shredded coconut, and chopped nuts.
- Pour half of the prepared batter into the greased pan.
- In a separate bowl, beat together cream cheese and unsalted butter until smooth, then add powdered sugar and vanilla.
- Drop spoonfuls of the cream cheese mixture over the first cake layer.
- Pour the remaining batter over the cheesecake mix and swirl with a knife.
- Bake in the preheated oven for 40-45 minutes, checking for doneness with a toothpick.
- Allow the cake to cool in the pan on a wire rack for 30-45 minutes before slicing.
Leave a Reply