
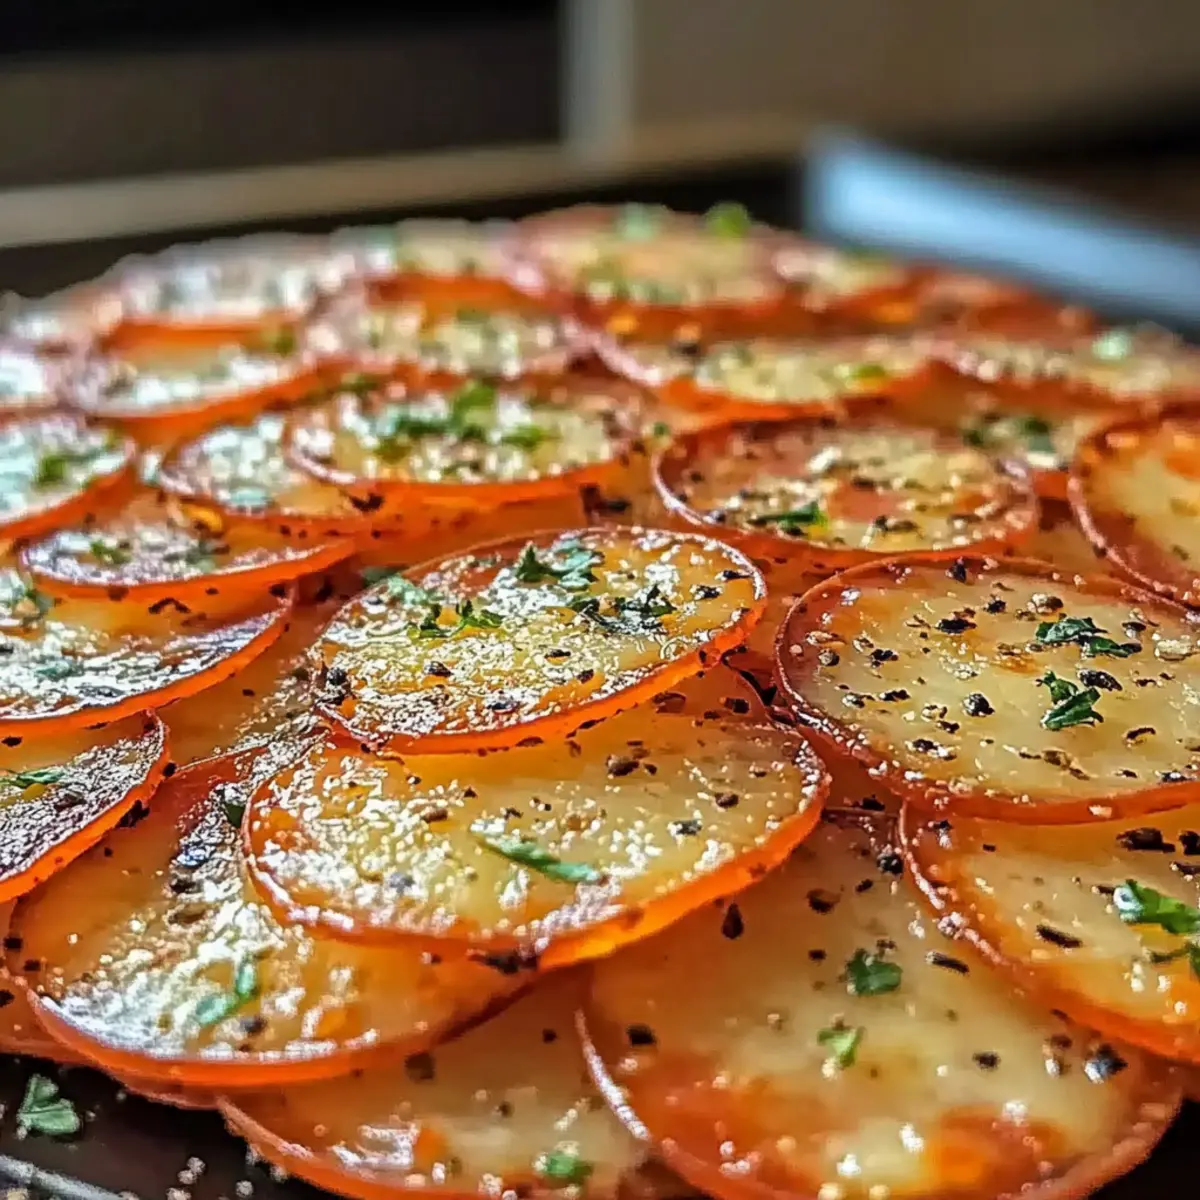
As I rummaged through my kitchen pantry searching for a quick snack, I stumbled upon the perfect solution: Pepperoni Cheese Crisps. The combination of crispy pepperoni and melted cheese is not only a tasty delight but also a crowd-pleaser—ideal for game day or an easy appetizer. These keto-friendly, gluten-free bites are a fabulous way to satisfy those savory cravings without any fuss. With just a handful of ingredients and minimal prep time, you’ll be on your way to perfecting this crunchy treat in no time. Ready to elevate your snack game and impress your friends with an irresistible homemade morsel? Let’s dive into the cheesy goodness!
Why Are These Cheese Crisps Irresistible?
Satisfying Crunch: Each bite of these Pepperoni Cheese Crisps delivers an exhilarating crunch that keeps you coming back for more.
Keto-Friendly Delight: Perfectly suited for a keto diet, these crisps provide a guilt-free snacking option without sacrificing flavor.
Quick and Easy: With minimal prep time, you can whip these up in under 15 minutes, making them the ideal last-minute appetizer.
Customize Your Way: Feel free to mix and match cheese and spices, from spicy pepper jack to zesty garlic powder, ensuring each batch is uniquely yours.
Crowd-Pleasing Appetizer: Whether you’re hosting game night or a casual get-together, these crisps are bound to impress your guests, just like my Honey Garlic Cheese or Cheeseburger Meatloaf Savor.
Pepperoni Cheese Crisps Ingredients
• Perfect for a quick keto-friendly snack!
For the Cheese Blend
- Shredded Mozzarella Cheese – Offers a stretchy, gooey texture and is essential for that melty goodness.
- Shredded Cheddar Cheese – Adds a sharp, tangy taste; feel free to swap in Monterey Jack for a milder flavor.
- Grated Parmesan Cheese – Provides nutty depth; Pecorino Romano works as a great substitute if needed.
For the Pepperoni
- Pepperoni Slices – Supplies that savory zing; use turkey pepperoni for a lighter touch or go bold with spicy pepperoni.
For Seasoning
- Italian Seasoning – Elevates the flavor profile; replace with a mix of dried herbs like oregano and basil for a different twist.
- Garlic Powder – Infuses a warm, savory note; fresh minced garlic can bring an extra layer of flavor if preferred.
- Red Pepper Flakes (Optional) – Adds a kick of heat; omit it if you want milder crisps.
For Garnish
- Fresh Parsley (Optional) – A fresh touch to garnish; you can skip it or use chopped chives for a different flavor.
Step‑by‑Step Instructions for Pepperoni Cheese Crisps
Step 1: Preheat the Oven
Begin by preheating your oven to 375°F (190°C). While the oven warms up, take a baking sheet and line it with parchment paper or a silicone mat to ensure your Pepperoni Cheese Crisps bake evenly without sticking.
Step 2: Combine the Cheeses
In a mixing bowl, combine the shredded mozzarella, cheddar, and grated Parmesan cheese. Use a fork or whisk to blend them thoroughly, ensuring a smooth mixture that will create a melty base for your crisps.
Step 3: Season the Cheese Mix
Sprinkle in the Italian seasoning and garlic powder over the cheese blend, then toss well to distribute the flavors evenly. If you enjoy a little heat, feel free to add red pepper flakes at this stage, giving your Pepperoni Cheese Crisps an extra kick.
Step 4: Prepare the Pepperoni
Take your pepperoni slices and, if they are large, cut them in half for better distribution on the baking sheet. This ensures that the amounts are even and allows for optimal cheese-to-pepperoni coverage in each crispy bite.
Step 5: Arrange the Pepperoni
Lay the pepperoni slices flat on the lined baking sheet, making sure to space them out to allow the crisps to cook evenly. You want each piece to have breathing room, creating the perfect crispy texture without overlapping.
Step 6: Top with Cheese Mixture
Using a spoon, carefully distribute the cheese mixture evenly over each pepperoni slice. Make sure to cover the slices generously for maximum flavor and that delightful cheesy crust you’re aiming for with your Pepperoni Cheese Crisps.
Step 7: Bake to Perfection
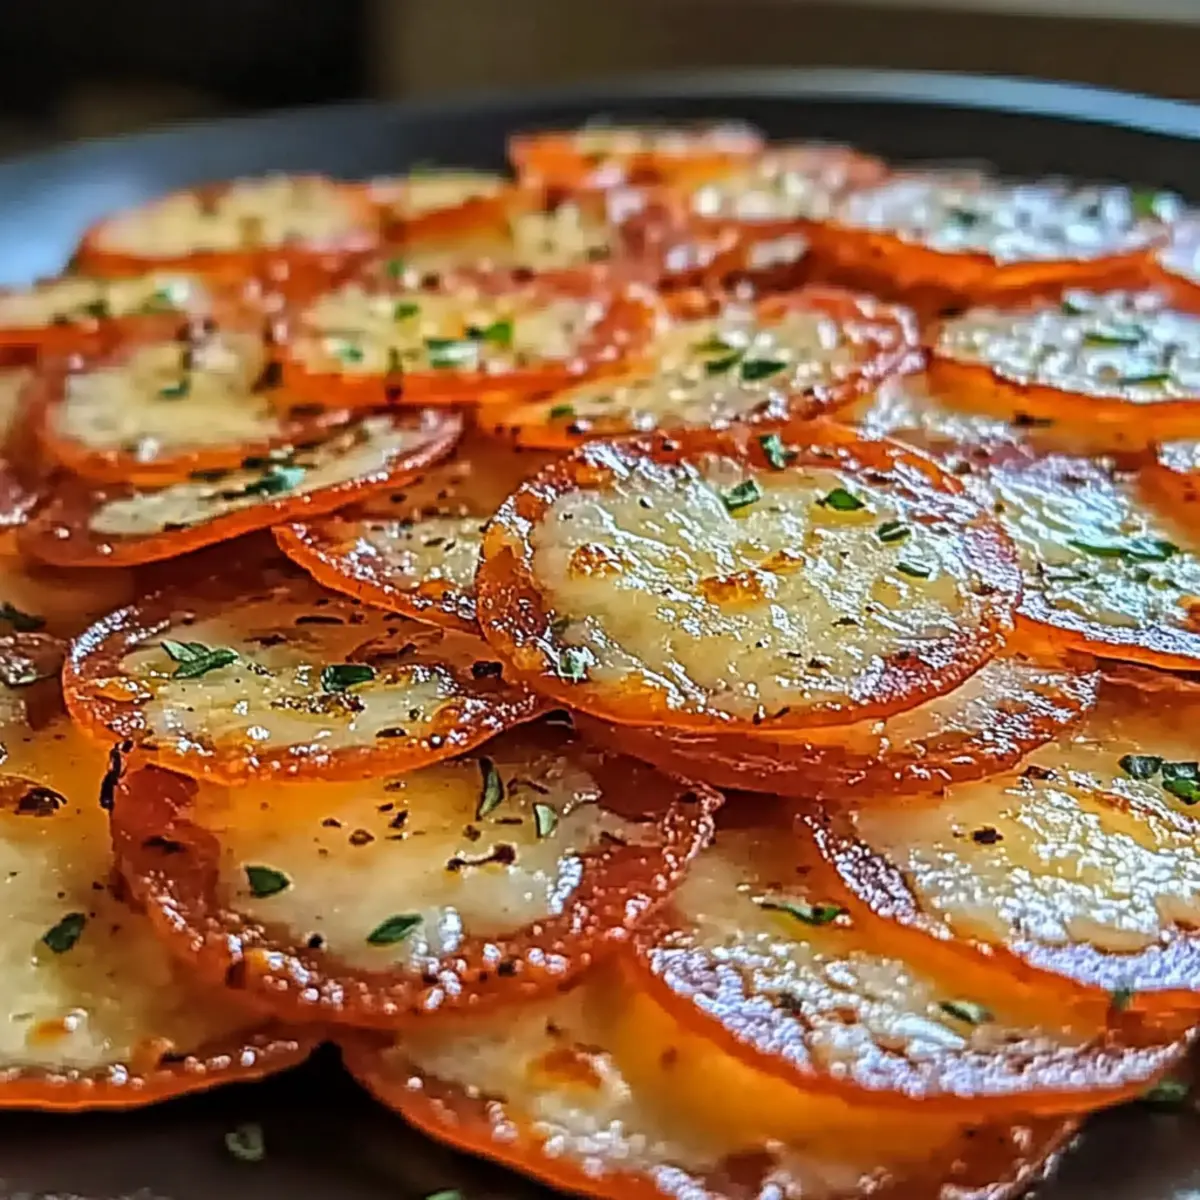
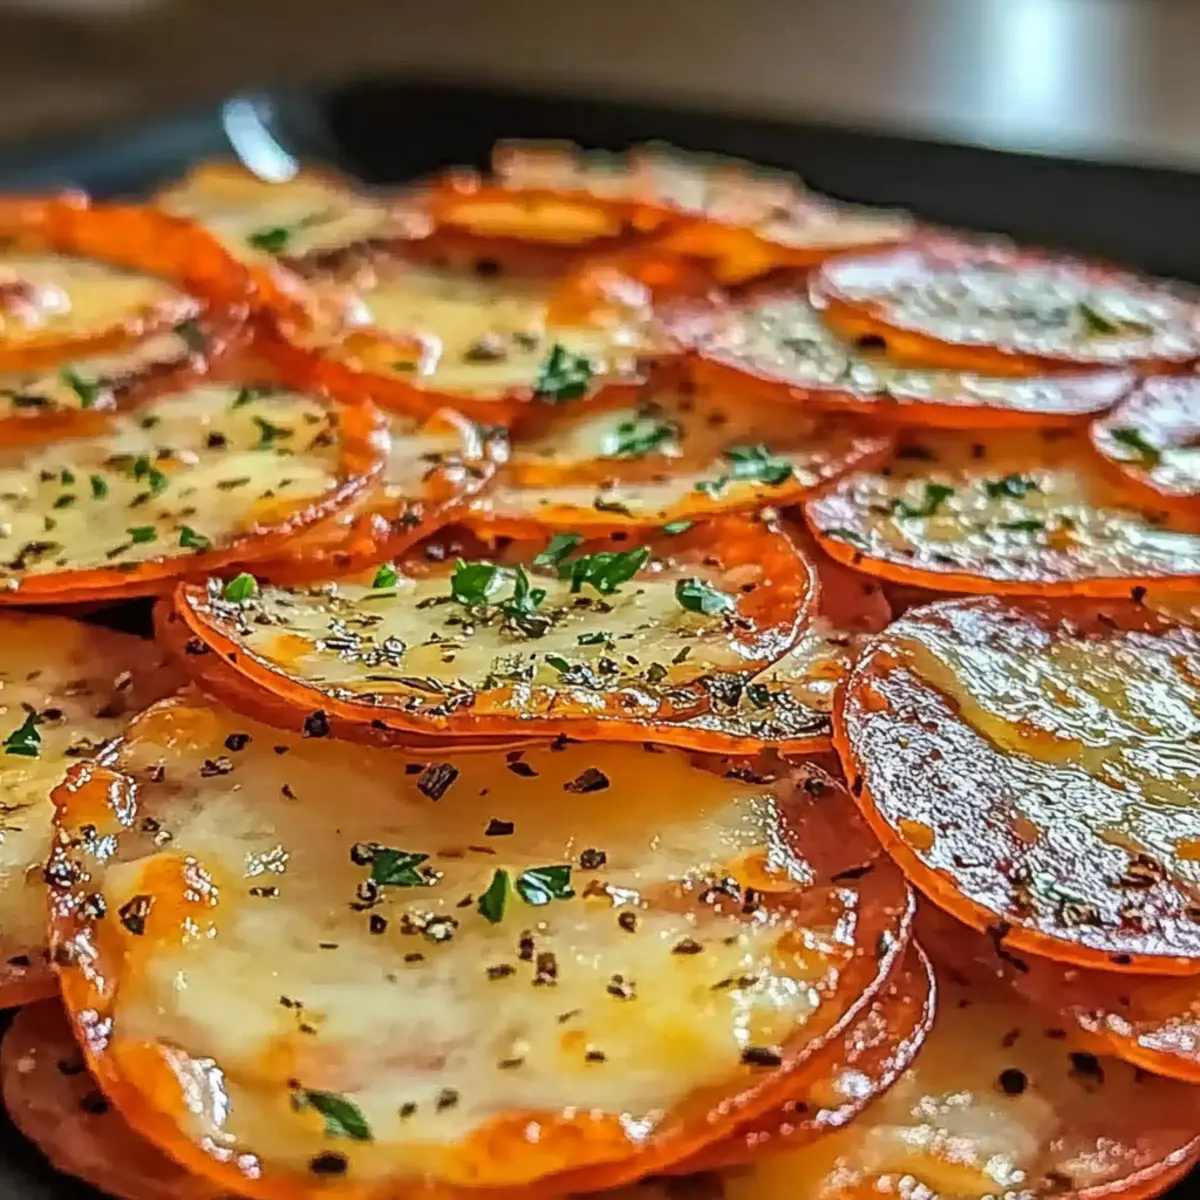
Place the baking sheet in the preheated oven and bake for 8-10 minutes. Watch closely as they cook—the cheese should be melted, bubbly, and turning a lovely golden color, while the pepperoni crisps up nicely.
Step 8: Cool on the Baking Sheet
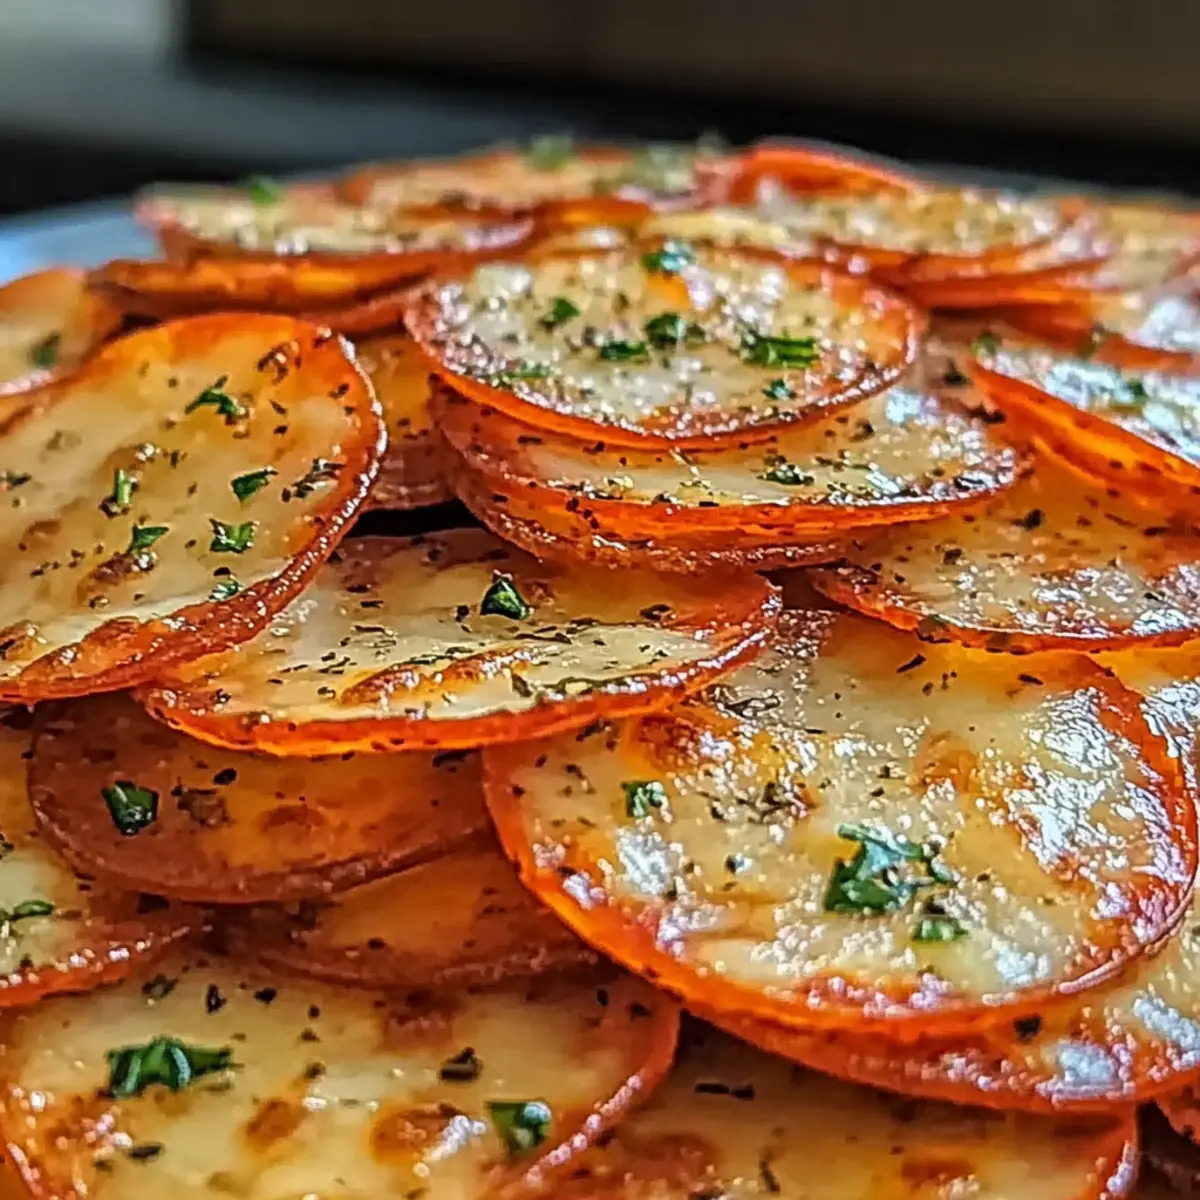
Once your Pepperoni Cheese Crisps are done baking, remove them from the oven and allow them to cool on the baking sheet for a few minutes. This cooling period helps them firm up, making for a perfect crunch in each bite.
Step 9: Transfer and Serve
Carefully transfer the cooled cheese crisps to a wire rack for further cooling or serve them directly. If you like, add a sprinkle of freshly chopped parsley for that vibrant touch before enjoying these tasty snacks.
Step 10: Store Leftovers
If you have any leftovers (which is rare!), store them in an airtight container at room temperature. They stay crispy for a day or two; reheat them in a toaster oven or air fryer for a few minutes to regain their crunch.
Expert Tips for Perfect Pepperoni Cheese Crisps
- Space It Out: Avoid overcrowding the baking sheet to ensure each Pepperoni Cheese Crisp gets enough heat for optimal crisping and avoids steaming.
- Full-Fat Cheese Wins: Always use full-fat cheese for the best flavor and texture; low-fat options may not melt or crisp as nicely.
- Experiment with Shapes: Use a muffin tin for round crisps or cut pepperoni slices into different shapes for a fun snack creativity.
- Keep an Eye: Monitor the baking closely; cheese can turn from golden brown to burnt very quickly, so don’t wander too far!
- Cooling Matters: Allow the crisps to cool completely on the baking sheet, as this helps them harden and achieve that perfect crunch.
- Flavor Variations: Don’t hesitate to try different cheese blends or seasonings in your Pepperoni Cheese Crisps for unique flavor profiles.
How to Store and Freeze Pepperoni Cheese Crisps
Room Temperature: Store your Pepperoni Cheese Crisps in an airtight container at room temperature for up to 2 days, ensuring they maintain their delightful crunch.
Fridge: If you want to keep them longer, consider refrigerating them in an airtight container for up to 5 days. Just be aware that they may lose some crispiness.
Freezer: For longer storage, freeze the cheese crisps in a single layer on a baking sheet until solid, then transfer to a freezer-safe bag for up to 2 months.
Reheating: To restore their crispiness, reheat the Pepperoni Cheese Crisps in a toaster oven or air fryer for a few minutes until warm and crunchy again.
Make Ahead Options
These Pepperoni Cheese Crisps are perfect for meal prep enthusiasts! You can prepare the cheese mixture (mozzarella, cheddar, and Parmesan blended with seasonings) up to 24 hours in advance. Simply refrigerate it in an airtight container. For added convenience, you can also slice and arrange the pepperoni on the baking sheet ahead of time, covering it with plastic wrap to keep it fresh. When you’re ready to serve, simply preheat your oven and top the pepperoni with the refrigerated cheese mixture, then bake for 8-10 minutes until bubbly and golden. This way, you’ll enjoy delicious, homemade snacks with minimal last-minute effort—just as delightful as if made fresh!
What to Serve with Pepperoni Cheese Crisps
Elevate your snacking experience by pairing these crunchy delights with complementary flavors and textures.
- Creamy Marinara Sauce: The tangy, rich flavor of marinara enhances the savoriness of the crisps, creating a delightful dipping experience.
- Savory Antipasto Platter: Serve alongside olives, pickles, and cured meats for a sophisticated spread that celebrates Italian flavors. With each bite, you’ll savor the balance of salty and savory notes.
- Fresh Salad: Pair with a light arugula or spinach salad dressed in lemon vinaigrette to counterbalance the cheese and pepperoni richness.
- Cheesy Garlic Bread: A side of warm, ooey-gooey garlic bread complements the cheesiness while adding a comforting touch.
- Pickled Vegetables: Their zesty crunch brings a vibrant contrast to the crispy bites, making for an exciting burst of flavor.
- Craft Beer or Wine: A cold craft beer or a glass of red wine enhances the culinary experience, adding a fun or elegant touch to your gathering.
- Sweet and Spicy Chutney: A dollop of chutney introduces a sweet but spicy flair that dances on your palate, perfect for an adventurous twist.
- Dark Chocolate Bonbons: For a surprising dessert pairing, the bitterness of dark chocolate offers a nice contrast to the salty crisps, creating a delightful finish.
Pepperoni Cheese Crisps Variations to Try
Feel free to get creative with these Pepperoni Cheese Crisps; there are so many delicious ways to customize them!
-
Smoky Gouda: Swap mozzarella with shredded gouda for a subtly smoky flavor. It pairs beautifully with pepperoni’s spice and adds depth to each bite.
-
Spicy Pepper Jack: For those who crave heat, use pepper jack cheese instead of cheddar. It elevates the crisp with extra zing, making each nibble a tiny thrill.
-
Veggie-Loaded: Add finely chopped bell peppers, onions, or even jalapeños to the cheese mixture. They bring freshness and texture, making the crisps even more satisfying.
-
Herbed Pesto Base: Spread a thin layer of pesto on the baking sheet before adding cheese and toppings. This gives the crisps an aromatic boost that will honestly have everyone asking for the recipe.
-
Parmesan Swirl: Instead of a uniform top, mix grated Parmesan into the cheese blend and sprinkle a bit more on top before baking. This creates a beautifully crispy cheese crust—seriously addictive!
-
Gluten-Free Zest: If you’re looking for gluten-free alternatives, skip the red pepper flakes and opt for a sprinkle of gluten-free seasoning blends to keep those flavors dancing without any worries.
-
Cheesy Garlic Delight: Include a touch of garlic powder in the cheese blend for an extra punch of flavor. When they bake, the garlic aroma fills the kitchen—so inviting!
-
Herber Nutty Finish: After baking, sprinkle a mix of chopped fresh herbs like basil or chives over the crisps. This not only dresses them up but also enhances their appeal, especially when served alongside a charcuterie board or with marinara for dipping.
These variations can make your next batch of Pepperoni Cheese Crisps truly unique. Experiment and find your personal favorite that resonates, just like the way my family adores these Strawberry Cheesecake Protein bites!
Pepperoni Cheese Crisps Recipe FAQs
How do I select the right cheese for the crisps?
Absolutely! For the best flavor and texture, go for full-fat shredded mozzarella, cheddar, and Parmesan. If you’re looking for alternatives, provolone works great for a milder taste, while Monterey Jack or pepper jack can add an intriguing kick. Just remember, avoiding low-fat cheeses will help maintain that delightful crispness!
How should I store my leftover Pepperoni Cheese Crisps?
Very easy! Keep your Pepperoni Cheese Crisps in an airtight container at room temperature for up to 2 days. This way, they’ll retain their crunchy goodness. If you want them to last longer, you can refrigerate them for up to 5 days, though they might become a tad less crispy. I often find myself finishing them directly after baking, though!
Can I freeze the Pepperoni Cheese Crisps?
Absolutely! To freeze, arrange your cooled Pepperoni Cheese Crisps in a single layer on a baking sheet and pop them into the freezer until they are solid. Once they’re frozen, transfer them to a freezer-safe bag. They can be kept in the freezer for up to 2 months. When you’re ready to enjoy, reheat them in a toaster oven or air fryer until they regain their crispiness.
What should I do if my cheese crisps seem to burn or don’t crisp up?
Common concern! To prevent burning, keep an eye on the oven while they bake, as cheese can go from perfectly golden to burnt pretty quickly. If they don’t crisp up, it might be that the baking sheet was overcrowded, preventing even airflow. Make sure to space the pepperoni slices well and use a proper non-stick surface like parchment paper for the best results.
Are these Pepperoni Cheese Crisps suitable for special diets?
Very much so! These cheese crisps are naturally gluten-free and keto-friendly, making them a fantastic snack option for those with dietary restrictions. If you have allergies, please verify the specific ingredients in the pepperoni and the cheeses you choose, as some brands may include fillers or gluten. Always check to ensure a safe and enjoyable treat for everyone!
Can I add additional toppings or flavors to my cheese crisps?
Of course! Feel free to customize your crisps by adding different spices, like smoked paprika, or experimenting with various cheeses such as gouda or even cream cheese. You could also incorporate chopped vegetables, like bell peppers or onions, into the cheese mix for added flavor and texture. The more the merrier when it comes to making them uniquely yours!
Pepperoni Cheese Crisps: Crunchy Keto Snack You’ll Love
Ingredients
Equipment
Method
- Preheat the oven to 375°F (190°C) and line a baking sheet with parchment paper or a silicone mat.
- In a mixing bowl, combine shredded mozzarella, cheddar, and grated Parmesan cheese.
- Sprinkle the Italian seasoning and garlic powder over the cheese mixture and toss well.
- Cut large pepperoni slices in half for better distribution.
- Lay pepperoni slices flat on the lined baking sheet, ensuring they have space.
- Carefully distribute the cheese mixture evenly over each pepperoni slice.
- Bake in the preheated oven for 8-10 minutes until cheese is melted and bubbly.
- Allow to cool on the baking sheet for a few minutes before transferring.
- Serve immediately, optionally garnished with fresh parsley.
- Store any leftovers in an airtight container at room temperature.
Leave a Reply