
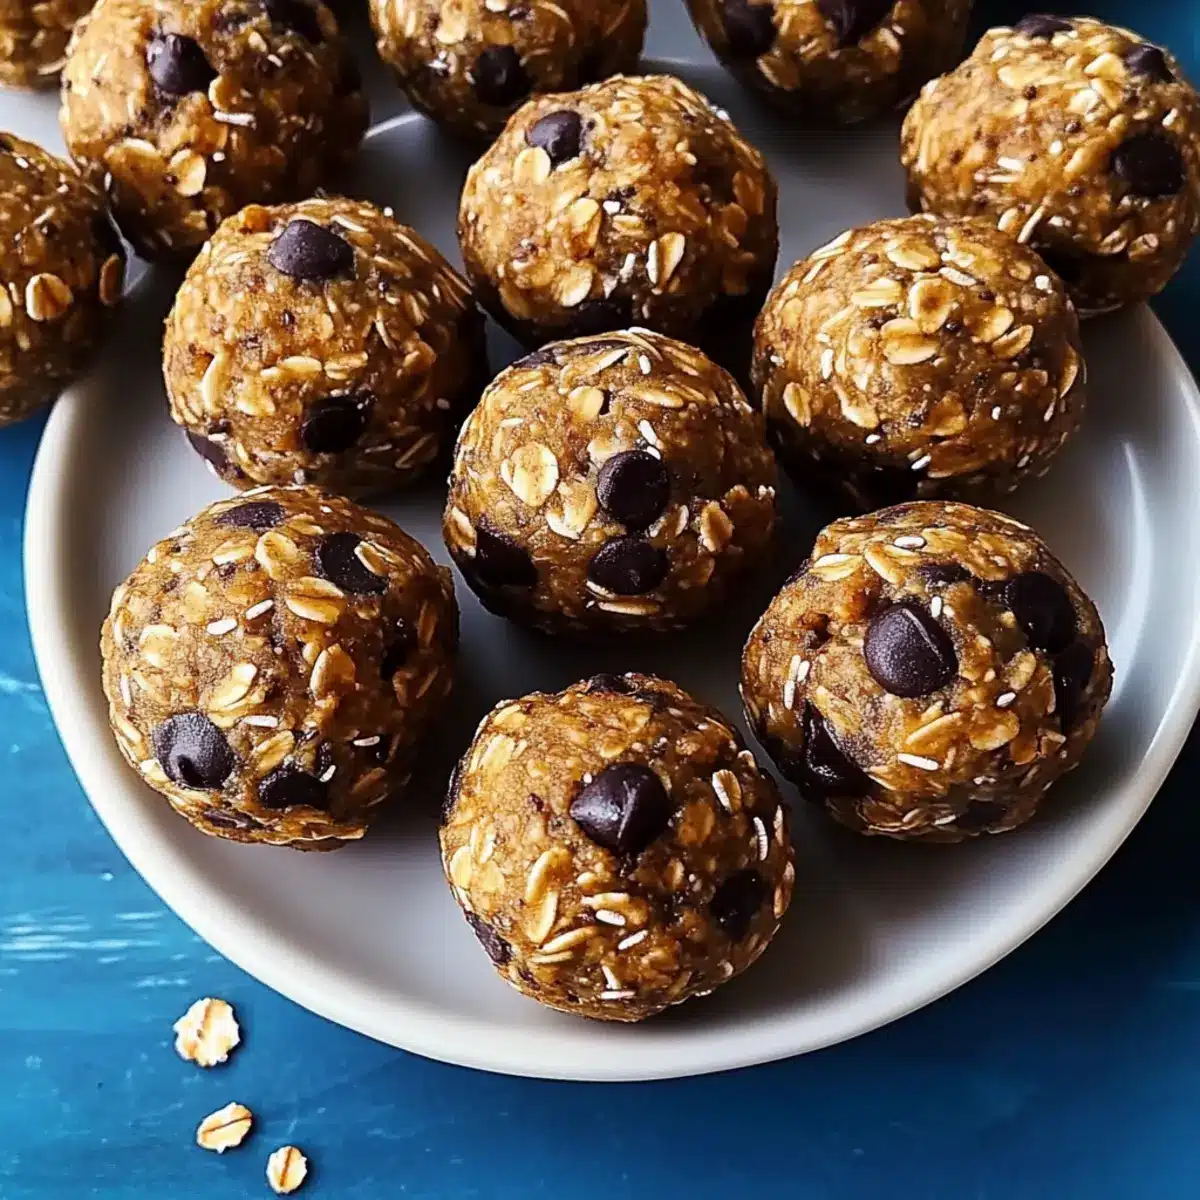
“With a quick glance at the clock, I realized snack time was approaching faster than I thought. Enter these No-Bake Protein Balls—a lifesaver for those busy afternoons when you’re craving something delicious yet wholesome. Packed with protein and ready in mere minutes, these little bites are perfect for fueling up after a workout or keeping kiddos energized during playtime. Plus, they can easily adapt to your pantry staples, making them a flexible and fun option for any home chef. Curious about how to whip up this delightful no-bake treat that checks all the right boxes? Let’s dive in!”

Why Are No-Bake Protein Balls a Must-Try?
Quick and Easy: These delightful bites come together in just minutes, making them ideal for anyone juggling a busy schedule.
Customizable Options: With simple ingredient swaps, you can personalize these energy balls to fit your dietary needs or preferences. Whether you prefer almond butter or have a sweet tooth for dark chocolate chips, the choices are endless!
Protein-Packed: Loaded with protein from natural ingredients like peanut butter and protein powder, they make a fantastic snack for post-workout recovery or a midday energy boost.
Healthy and Wholesome: Naturally sweetened and free from added sugars, these no-bake treats offer a wholesome alternative to sugary commercial snacks.
Kid-Friendly: Perfect for family snacking, kids love their chewy texture and taste, plus they are easy enough for little hands to help prepare.
Don’t forget to check out my other recipes for healthy snacking inspiration, like these Cheesecake Protein Balls or Energy Oatmeal Balls!
No-Bake Protein Balls Ingredients
For the Base
• Rolled Oats — Provides structure and fiber for the energy balls; can substitute with quick oats for a slightly different texture.
• Natural Peanut Butter — Acts as a binding agent while delivering healthy fats and flavor; almond butter or sunflower seed butter works for nut-free options.
• Honey or Maple Syrup — Adds sweetness and stickiness; agave syrup or brown rice syrup offers a vegan alternative.
• Vanilla Protein Powder — Increases protein content and creates a thicker texture; feel free to use any protein powder flavor or omit for a lighter version.
For the Mix-ins
• Mini Chocolate Chips — Adds sweetness and a delightful chocolatey touch; dark chocolate chips or chopped nuts provide a different flavor profile.
• Chia Seeds — Enhances nutrition with omega-3 fatty acids and fiber; flax seeds can be a good substitute or omit if you don’t have them.
For Flavoring
• Vanilla Extract — Provides depth and enhances flavor; almond extract can be used for an extra zing.
• Pinch of Salt — Balances sweetness and elevates the overall taste; don’t skip this for the best flavor outcome!
With these ingredients, your no-bake protein balls are just moments away! They are not only a delicious treat but also offer a nutritious boost that keeps you full and energized. Happy making!
Step‑by‑Step Instructions for No-Bake Protein Balls
Step 1: Mix Dry Ingredients
In a large mixing bowl, combine 1 cup of rolled oats, 1 scoop of vanilla protein powder, 2 tablespoons of chia seeds, and a pinch of salt. Stir the mixture together using a sturdy spoon or spatula until all the dry ingredients are evenly incorporated, creating a uniform blend with a fragrant, nutty aroma.
Step 2: Add Wet Ingredients
Next, add ½ cup of natural peanut butter, ¼ cup of honey (or maple syrup), and 1 teaspoon of vanilla extract to the dry mixture. Use your spoon or spatula to mix thoroughly, ensuring the wet ingredients integrate smoothly into the dry ingredients, forming a thick, sticky dough as you combine them over 2–3 minutes.
Step 3: Fold in Chocolate Chips
Once the dough is well combined, gently fold in ¼ cup of mini chocolate chips until they are evenly distributed throughout the mixture. This step not only adds a delightful sweetness to your No-Bake Protein Balls but also creates a chocolatey treat that’s visually appealing, making them perfect for kids and adults alike.
Step 4: Portion and Roll Dough
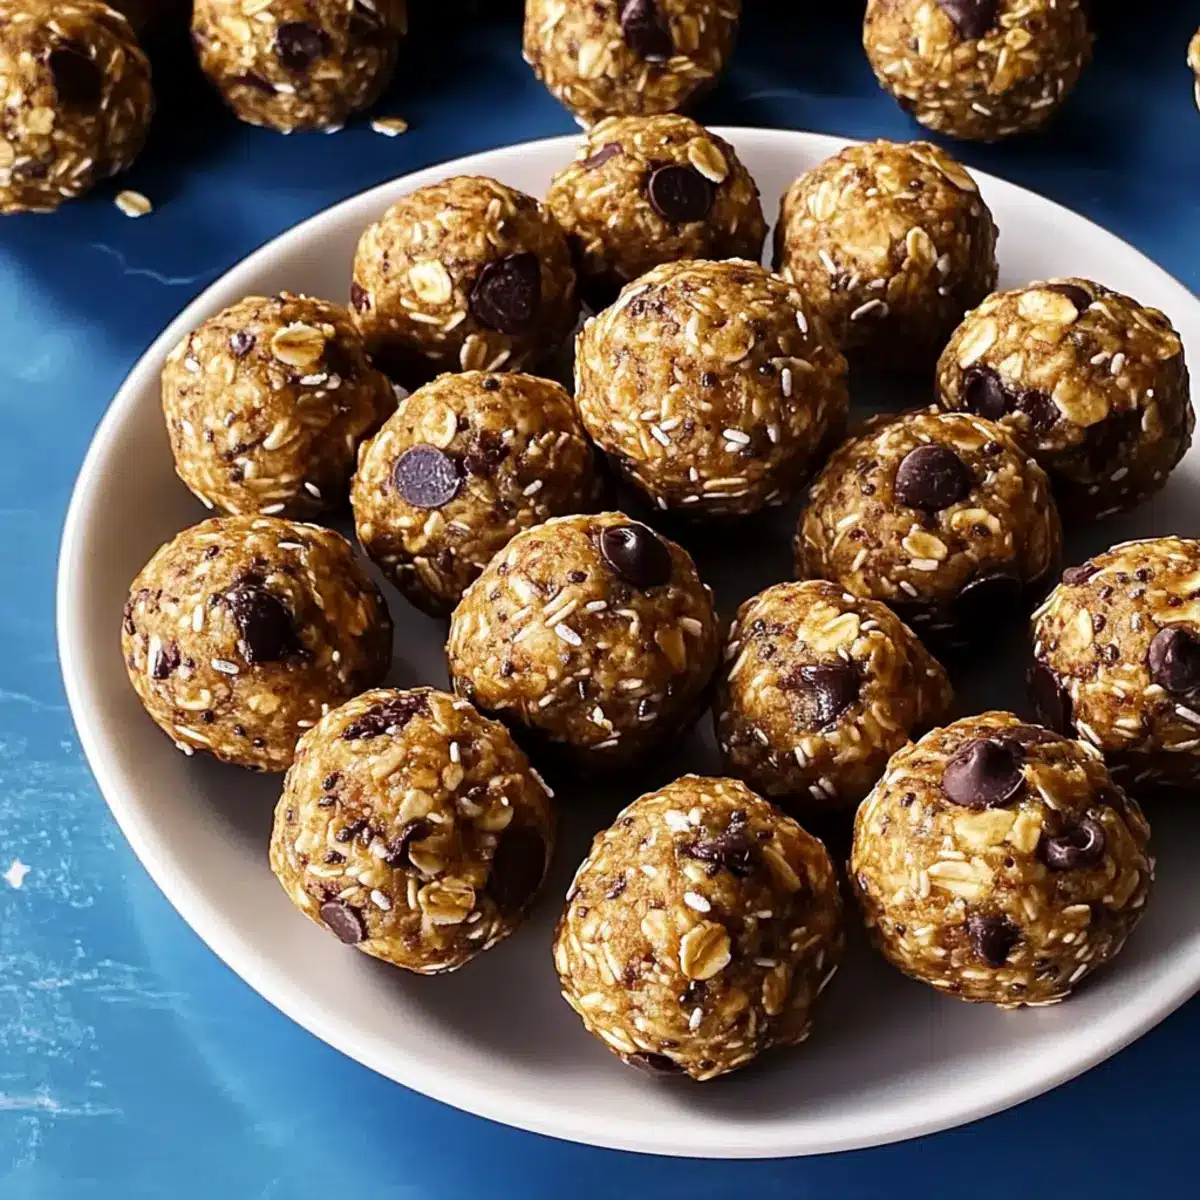
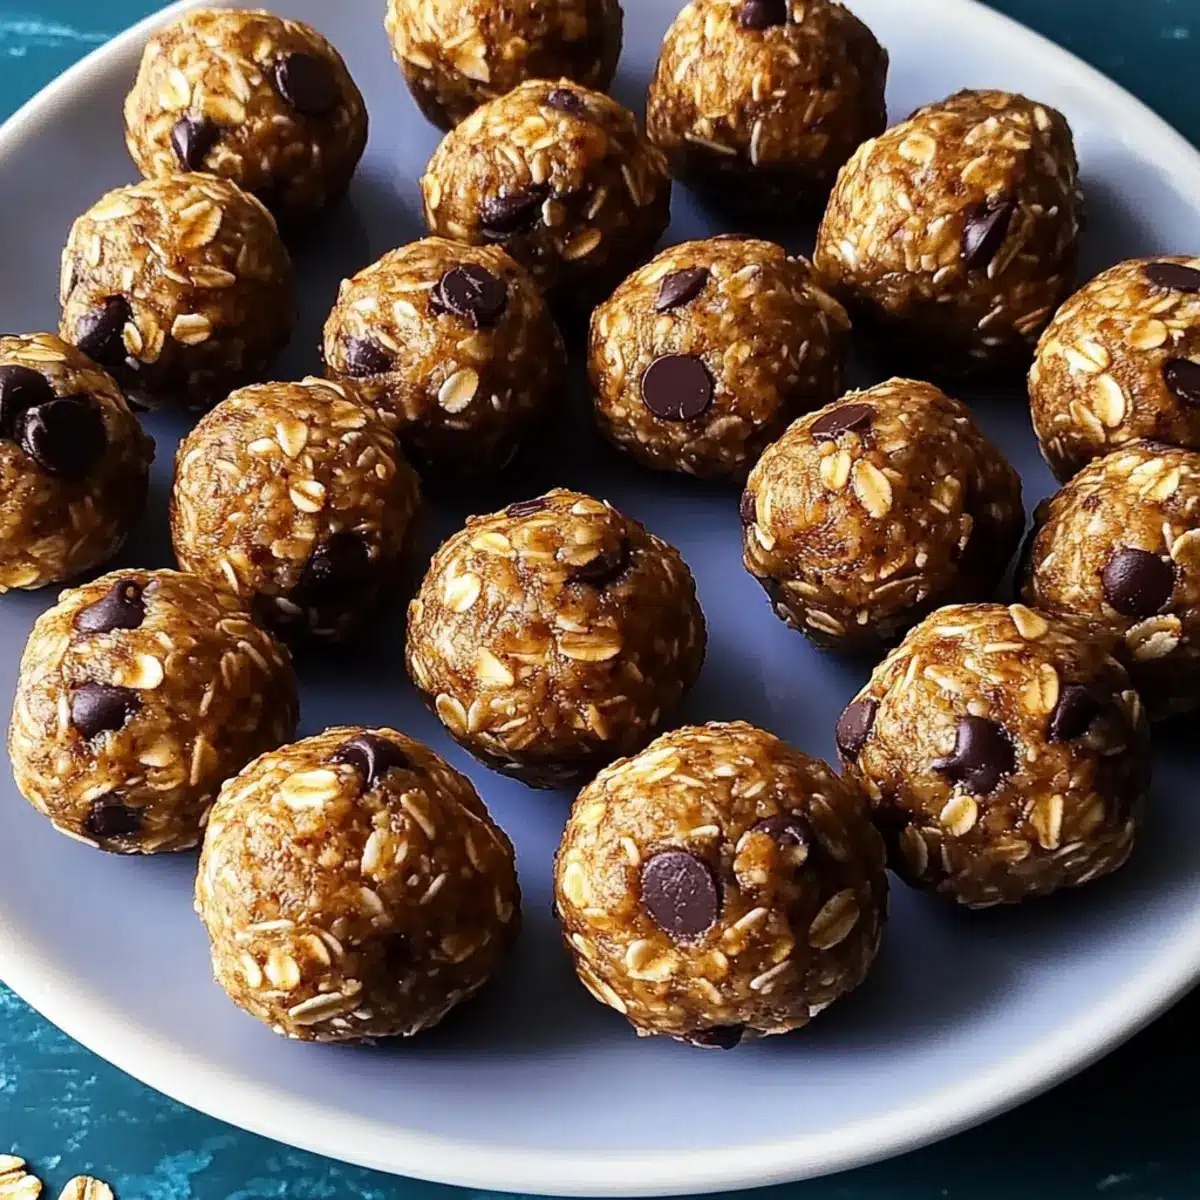
Prepare a parchment-lined baking sheet for easy cleanup. Using a tablespoon or small cookie scoop, portion out the dough and roll it into 1-inch balls with your hands. As you roll, you’ll notice the mixture becomes more cohesive; arrange the balls on the baking sheet, ensuring they are spaced about an inch apart for easy handling.
Step 5: Chill to Set
Place the baking sheet with the rolled balls into the refrigerator and chill for at least 30 minutes. This resting period allows the No-Bake Protein Balls to firm up and develop that perfect chewy texture. You’ll know they’re ready when they feel solid to the touch and slightly sparse, making them easier to enjoy.
Step 6: Store or Serve
Once chilled, your No-Bake Protein Balls are ready to serve! You can enjoy them chilled straight from the fridge or allow them to come to room temperature for a softer bite. Store any leftovers in an airtight container in the refrigerator for up to one week, or freeze them for later enjoyment.
Make Ahead Options
These No-Bake Protein Balls are perfect for meal prep enthusiasts! You can mix the dry ingredients (1 cup rolled oats, 1 scoop protein powder, 2 tablespoons chia seeds, and a pinch of salt) and store them in an airtight container for up to 3 days before you need them. Additionally, you can prepare the dough and shape the balls up to 24 hours in advance; just refrigerate on a parchment-lined baking sheet until you’re ready to serve. To maintain their chewy texture, store them in the fridge in an airtight container once rolled. When it’s time to indulge, enjoy them cold or let them sit at room temperature briefly for a softer bite—either way, they’ll be just as delicious!
Storage Tips for No-Bake Protein Balls
Fridge: Store your no-bake protein balls in an airtight container for up to 1 week. This helps maintain their chewy texture and fresh taste.
Freezer: For longer storage, these bites can be frozen for up to 3 months. Just make sure to wrap them well or place them in a freezer-safe container.
Thawing: When you’re ready to enjoy, thaw the frozen protein balls in the fridge overnight before consuming, ensuring they retain their perfect texture.
Snack Ready: Keep a batch handy in your fridge for quick snacks or post-workout fuel—these no-bake protein balls are a deliciously convenient option!
What to Serve with No-Bake Protein Balls?
These delightful bites are not just tasty on their own; they shine even brighter when paired with complementary dishes and drinks!
-
Fresh Fruit Salad: Bright, colorful fruit adds refreshing flavors and vibrant textures, elevating the protein balls’ wholesome goodness. The natural sweetness of fruits balances the nutty taste of the balls perfectly.
-
Greek Yogurt Parfait: Layer creamy Greek yogurt with granola and honey for a tantalizing treat. The smooth, rich yogurt pairs wonderfully with the chewy texture of the protein balls, creating a satisfying snack experience.
-
Nutty Granola Bars: Crunchy homemade granola bars offer a delightful contrast to the soft, chewy protein balls. Together, they form a fulfilling, energy-packed platter that’s great for on-the-go snacking.
-
Smoothie Bowl: A thick smoothie bowl topped with nuts, seeds, and coconut flakes complements the protein balls beautifully. The creaminess of the smoothie adds to the overall experience while enhancing the protein boost.
-
Dark Chocolate Drizzle: Drizzling melted dark chocolate over the protein balls gives them a decadent touch. The bitterness of dark chocolate enhances their sweetness, making for a perfect treat!
-
Iced Herbal Tea: A refreshing glass of iced herbal tea balances the rich flavors of the protein balls. Try chamomile or mint for a light, revitalizing drink that lets the snacks shine.
-
Coconut Milk Shake: Creamy coconut milk blended with a splash of vanilla makes for a luscious drink pairing. The tropical essence of coconut pairs exquisitely with the flavors of the protein balls, creating a dreamy combo.
Incorporating these elements into your snack time will not only elevate your meal but also keep your taste buds delighted!
Expert Tips for No-Bake Protein Balls
-
Natural Peanut Butter: Ensure you use natural peanut butter for the best binding results. Processed versions may contain unnecessary sugars that affect texture.
-
Adjusting Consistency: If your dough is too dry, don’t hesitate to add a splash of milk or extra nut butter to achieve the perfect rolling texture.
-
Incorporate Fun Add-Ins: For a burst of flavor and nutrition, consider adding dried fruits like raisins or cranberries, or mix in seeds for a fun twist on your No-Bake Protein Balls.
-
Proper Chilling: Be sure to chill the rolled balls for at least 30 minutes. This helps them set properly, ensuring a chewy and satisfying texture.
-
Experiment with Flavors: Don’t shy away from trying different protein powder flavors, such as chocolate or berry, to customize the taste of your balls to suit your cravings!
No-Bake Protein Balls: Delightful Variations
Feel free to mix things up! Customize these delicious no-bake bites to suit your taste and dietary needs.
-
Nut-Free: Replace peanut butter with sunflower seed butter for a nut-free alternative that remains just as creamy and delicious. Enjoy the great texture without the worry!
-
Vegan: For a completely vegan version, use agave syrup instead of honey and opt for maple syrup for added sweetness. This twist ensures everyone can indulge in their protein fix!
-
Flavor Boost: Swap vanilla protein powder for chocolate or strawberry to add a fun flavor twist to your bites. These flavor variations can turn your snacks into delightful surprises!
-
Extra Crunch: Add ¼ cup of chopped nuts, like almonds or walnuts, to the mixture for added crunch and nutritious benefits. The contrast of textures will keep you coming back for more!
-
Coconut Lovers: Incorporate ¼ cup of shredded coconut for a tropical flavor that pairs beautifully with chocolate chips. This can whisk you away to a sunny beach with every bite!
-
Fruit Infusion: Mix in some diced dried fruit such as apricots, cranberries, or raisins for a sweet, chewy element that elevates the texture and flavor profile.
-
Spicy Kick: For those who love a bit of heat, add a pinch of cayenne pepper or a dash of cinnamon to the mix for a surprising yet delightful kick.
-
On-the-Go Snack: For a convenient twist, mold the dough into protein bars rather than balls. This way, you can grab them easily during your busy days.
So many customizable options await! If you’re interested in trying more healthy snack ideas, don’t miss out on these mouthwatering Cheesecake Protein Balls and Energy Oatmeal Balls for even more delightful treats!
No-Bake Protein Balls Recipe FAQs
How do I choose ripe ingredients for my No-Bake Protein Balls?
Absolutely! For the best flavor and consistency, make sure your peanut butter is natural with no added sugars. As for oats, check if they’re fresh; older oats can lose flavor. Honey should be viscous and smooth—avoid crystallized honey for this recipe.
What’s the best storage method for my No-Bake Protein Balls?
Very simple! Store your no-bake protein balls in an airtight container in the refrigerator for up to 1 week. This keeps them chewy and fresh. If you’re making a larger batch, you can also freeze them. Just be sure to wrap them individually or place them in a freezer-safe container to avoid freezer burn.
Can I freeze No-Bake Protein Balls? How?
Yes, you can freeze them for up to 3 months! After rolling, place your balls on a parchment-paper-lined baking sheet and freeze them until solid—about 1–2 hours. Then, transfer them to a freezer-safe bag or container. When you’re ready to enjoy, simply thaw in the fridge overnight or let them sit at room temperature for about 30 minutes.
What if my No-Bake Protein Balls are too dry?
No worries! If your dough feels too dry and crumbly, simply add a splash of milk or a bit more peanut butter until it reaches the desired consistency. This will help bind the ingredients together, making them easier to roll into balls. You can also add a little more honey or maple syrup for moisture and sweetness.
Are No-Bake Protein Balls safe for kids and those with allergies?
Absolutely! These no-bake protein balls are generally safe for kids, and you can adjust the ingredients to cater to specific dietary needs. For nut allergies, use sunflower seed butter in place of peanut butter. Just be cautious with chocolate chips—look for allergy-friendly options if needed. Always check labels to ensure they meet dietary restrictions for yourself and your family.
How can I personalize my No-Bake Protein Balls?
The more the merrier! Feel free to switch up the mix-ins. You can substitute dark chocolate chips for the mini ones, add dried fruits like raisins or cranberries for natural sweetness, or even toss in seeds like pumpkin or sunflower for extra nutrition. Have fun experimenting!
Irresistible No-Bake Protein Balls You’ll Make Again and Again
Ingredients
Equipment
Method
- Mix Dry Ingredients: In a mixing bowl, combine rolled oats, protein powder, chia seeds, and a pinch of salt. Stir until well combined.
- Add Wet Ingredients: Add natural peanut butter, honey (or maple syrup), and vanilla extract to the dry mixture. Mix until a thick, sticky dough forms.
- Fold in Chocolate Chips: Gently fold in mini chocolate chips until evenly distributed.
- Portion and Roll Dough: Using a tablespoon or cookie scoop, portion out dough and roll into 1-inch balls. Place on a parchment-lined baking sheet.
- Chill to Set: Refrigerate for at least 30 minutes to firm up.
- Store or Serve: Enjoy chilled or at room temperature. Store in an airtight container for up to one week.
Leave a Reply