
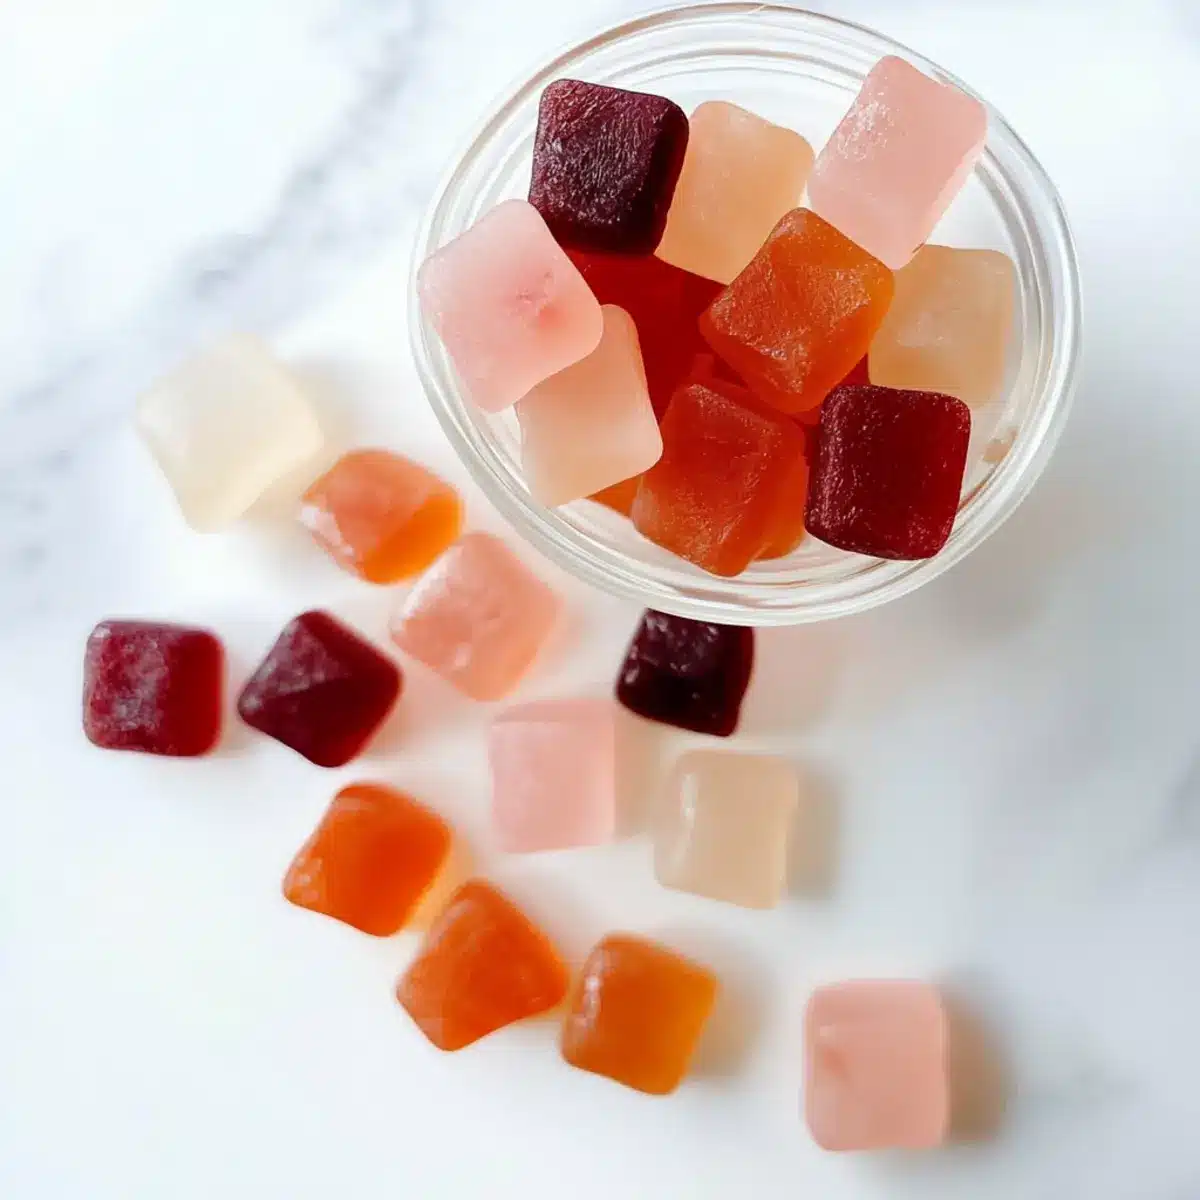
As I stirred the vibrant mix of juices and gelatin, the kitchen filled with a sweet, fruity aroma that immediately whisked me back to childhood days spent indulging in chewy candies. But these aren’t just any treats; these are Gut Healing Gummies! Not only do they pack a powerful punch for gut health, but they’re also a breeze to whip up with just four simple ingredients. Perfect for those of us seeking a healthier snack alternative, these gummies are naturally gluten-free, dairy-free, and nut-free—making them a versatile addition to any dietary lifestyle. Imagine satisfying your sweet tooth while nourishing your body; it’s truly a win-win! Ready to explore the fruity flavor combinations and start your journey to better gut health? Let’s dive in!
Why are Gut Healing Gummies a Must-Try?
Unique Benefits: These gummies combine the joy of candy with gut health support, making indulgence guilt-free.
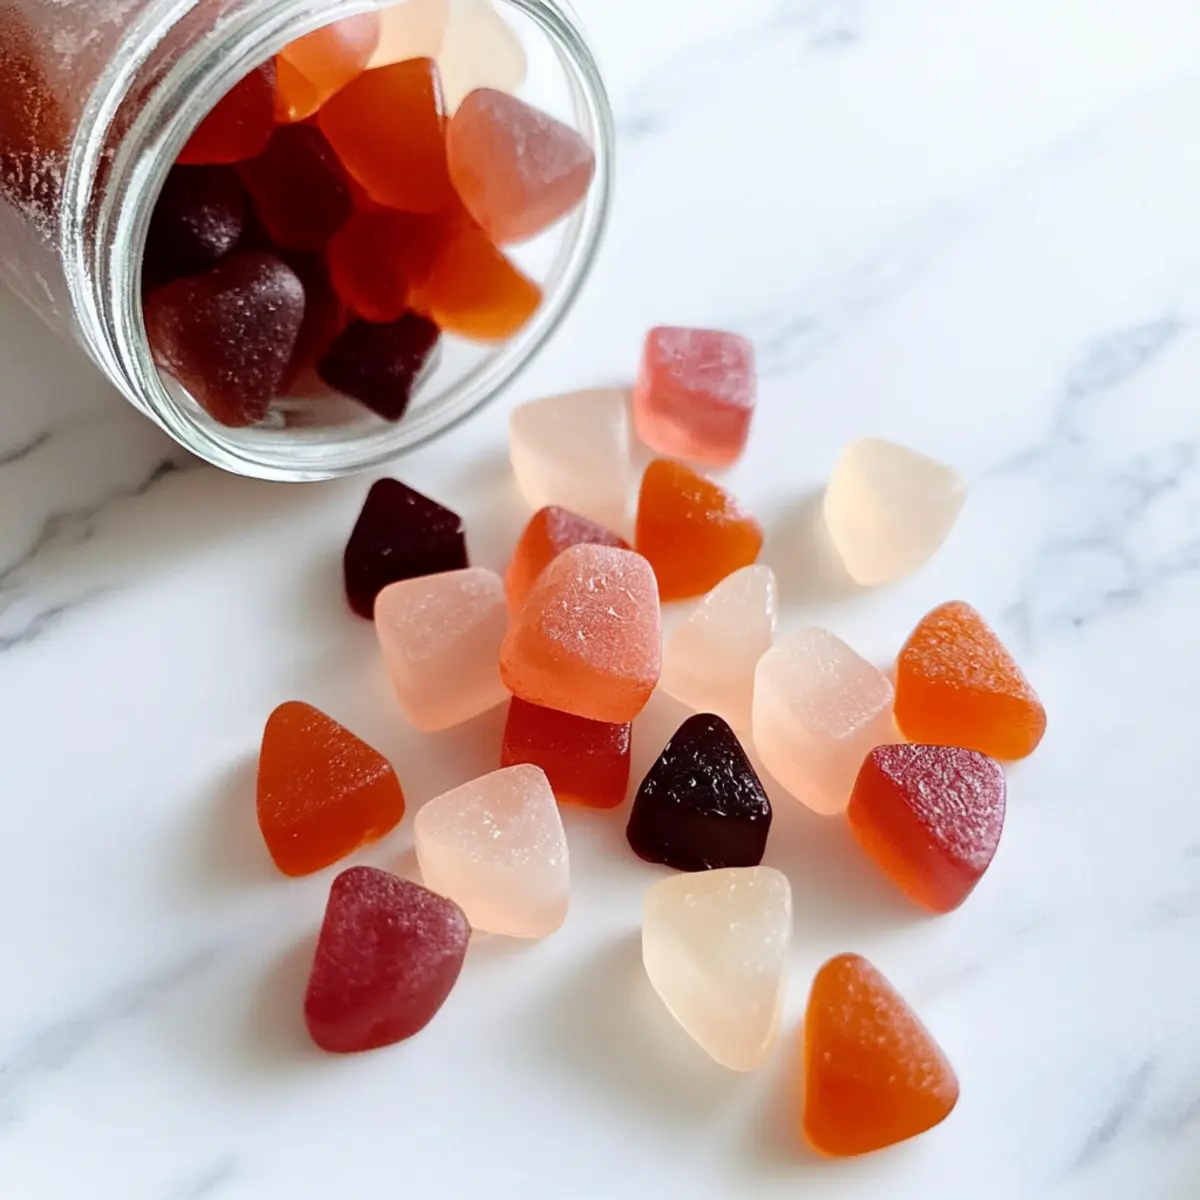
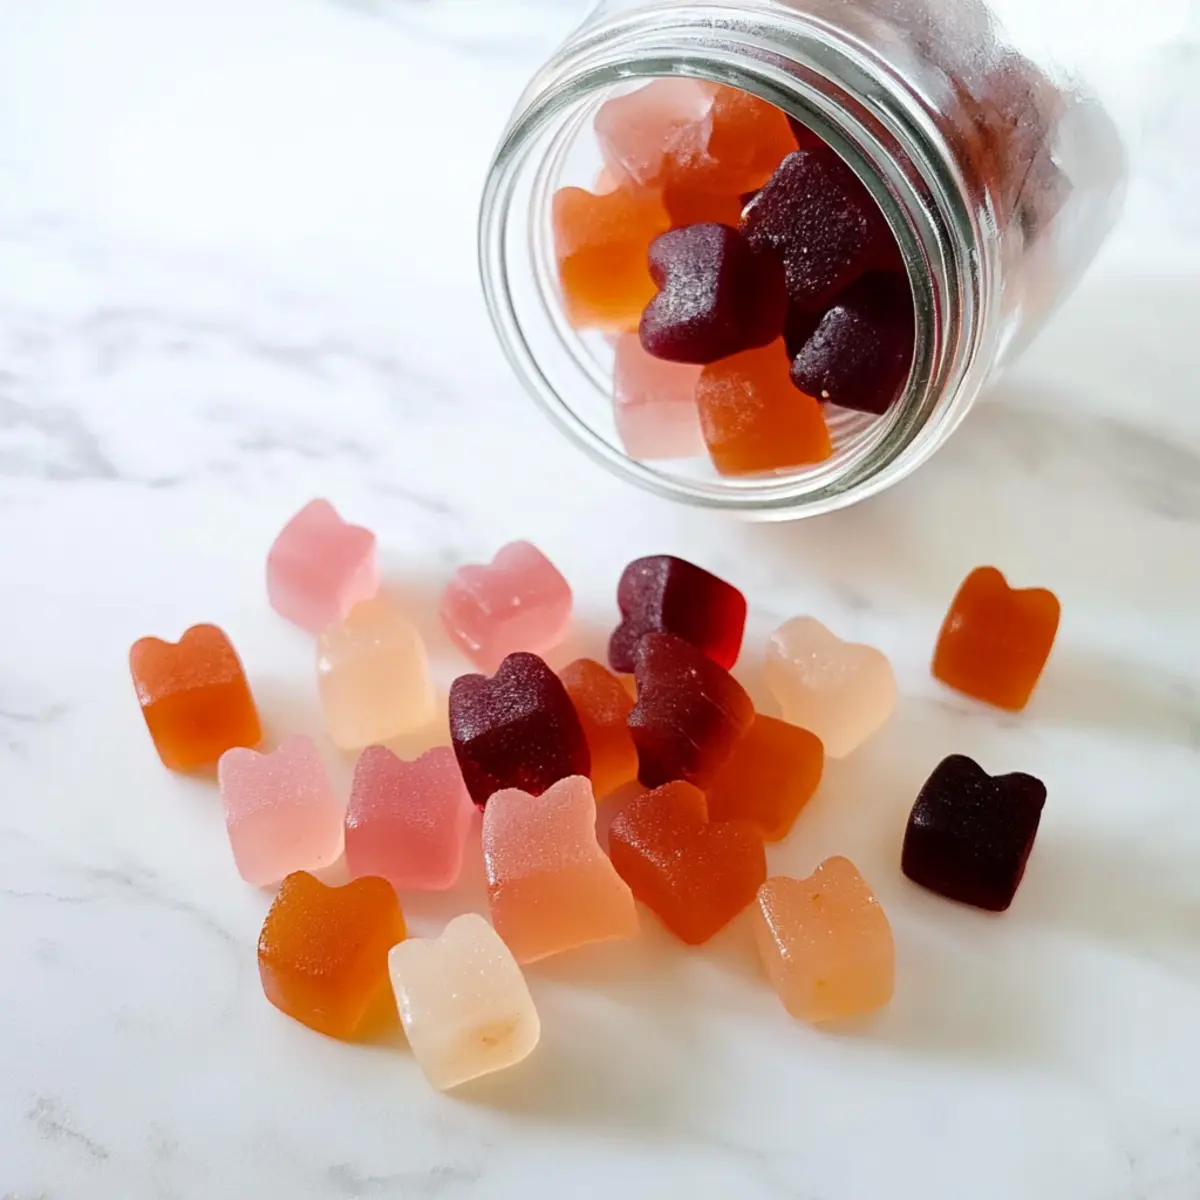
Flavor Variability: With endless flavor combinations like tropical mango or zesty cranberry, you can customize these treats to suit every palate.
Health-Conscious Choice: They’re gluten-free, dairy-free, and nut-free, catering to various dietary needs without compromising on taste.
Simplicity in Preparation: With just four ingredients, these gummies are super easy to make, ideal for busy lifestyles.
Crowd-Pleasing Snack: Perfect for sharing, they’re bound to impress friends and family while offering a healthier alternative to commercial candies.
Nutritional Punch: Not only do they taste great, but each serving also packs essential vitamins, making them a snack you can feel proud of! Want to up your health game with another delicious treat? Check out these nutritious smoothie recipes!
Gut Healing Gummies Ingredients
For the Gummies
- Coconut oil – Prevents sticking to the pan; you can use any neutral oil for greasing.
- Juice (4 cups, divided) – Provides flavor and natural sweetness; avoid pineapple juice as it inhibits gelatin setting—try cranberry, watermelon, or mango instead!
- Gelatin (8 tablespoons) – The key gelling agent that gives structure to the gummies; Vital Proteins is preferred, but alternatives like agar agar may not hold as well.
These Gut Healing Gummies are sure to bring delightful flavor and health benefits into your life!
Step‑by‑Step Instructions for Gut Healing Gummies
Step 1: Grease the Pan
Begin by greasing an 8”x8” baking pan with a light coat of coconut oil. This step is essential to prevent the gummies from sticking after they set, ensuring easy removal later. Use a paper towel or your fingers to spread the oil evenly across the bottom and sides of the pan.
Step 2: Bloom the Gelatin
In a shallow bowl, sprinkle the 8 tablespoons of gelatin over 3 cups of your chosen juice. Let it sit undisturbed for 3–5 minutes, during which time it will absorb the juice and thicken. This blooming process is crucial for achieving the perfect texture in your Gut Healing Gummies.
Step 3: Heat the Juice
Next, pour 1 cup of juice into a medium saucepan and place it over medium-low heat. Warm the juice until it’s steaming, not boiling, about 3–5 minutes. Stir it occasionally to ensure even heating without scalding, which sets the stage for dissolving the gelatin effectively.
Step 4: Combine the Mixtures
Once the juice is warm, add the bloomed gelatin mixture to the saucepan. Stir continuously for about 2–3 minutes, or until the gelatin is completely dissolved and the mixture has a smooth consistency. It should be clear and free from any lumps, indicating readiness for the next step.
Step 5: Pour into the Pan
Carefully pour the gelatin juice mixture into the greased 8”x8” pan, tilting the pan slightly to ensure an even spread. Use a spatula if necessary to help guide the mixture. This step sets the foundation for your Gut Healing Gummies, so ensure the surface is level before refrigeration.
Step 6: Refrigerate to Set
Place the pan in the refrigerator and allow the mixture to set for 4-5 hours. After this time, the gummies will firm up and be ready for cutting. To check if they’re set, gently press the surface; it should be firm yet slightly springy when they’re ready to slice.
Step 7: Cut and Enjoy
Once fully set, remove the pan from the refrigerator and cut the gummies into bite-sized pieces or your desired shapes. If using fun molds, gently flex them to release the gummies. These Gut Healing Gummies are now ready to be enjoyed as a healthy snack packed with nutrients!
Step 8: Storage Tips
Store any leftover gummies in an airtight container in the refrigerator for up to a week. Keep in mind that while these tasty treats are likely to be devoured quickly, proper storage helps maintain their chewy texture and flavor for maximum enjoyment!
What to Serve with Gut Healing Gummies
These delightful, chewy treats make for an exciting addition to any snack table, pairing perfectly with various flavors and meals.
- Fresh Fruit Salad: A refreshing mix of fruits complements the gummies while adding vibrant colors and textures to your table.
- Nutty Granola Bars: The crunch of these bars contrasts beautifully with the chewy gummies, creating a delightful snack experience.
- Coconut Yogurt: Creamy and tangy, coconut yogurt serves as a delicious dip for your gummies, enhancing the overall sweetness.
- Herbal Tea: A warm cup of herbal tea provides a soothing balance to the fruity flavors of the gummies, perfect for a cozy afternoon treat.
- Dark Chocolate Squares: The rich taste of dark chocolate pairs wonderfully, offering a decadent indulgence alongside the healthful gummies.
- Granola Parfaits: Layer gut healing gummies with yogurt and granola for a fun and nutritious breakfast or snack option that everyone will love.
Each of these pairings not only complements the flavors of your Gut Healing Gummies but also adds variety and excitement to your healthy snacking routine!
Expert Tips for Gut Healing Gummies
• Bloom Correctly: Make sure to properly bloom the gelatin to avoid a grainy texture in your Gut Healing Gummies; don’t rush this step!
• Choose the Right Juice: Avoid using pineapple juice since it prevents gelatin from setting; opt for cranberry, mango, or watermelon for best results.
• Use Silicone Molds: If you’re looking for fun shapes, silicone molds are your best friend; they make gummy removal a breeze!
• Slice Uniformly: Cut your gummies into uniform sizes; this ensures even enjoyment and helps manage portion control since they’re surprisingly filling.
• Store Properly: Keep your gummies in an airtight container in the fridge for up to a week to maintain their freshness and chewy texture.
Make Ahead Options
These Gut Healing Gummies are perfect for making ahead of time, especially for those busy weeknights when you need a nutritious snack on hand! You can prepare the complete gummy mixture up to 24 hours in advance; simply complete steps 1-5, then refrigerate the mixture in the greased pan. To maintain their delightful flavor and texture, ensure they’re stored in an airtight container after setting and consume them within a week. When you’re ready to enjoy your gut-loving treats, just cut them into your desired shapes and serve. With this make-ahead method, you’ll savor the benefits of homemade gummy goodness with minimal preparation time!
How to Store and Freeze Gut Healing Gummies
Fridge: Store your Gut Healing Gummies in an airtight container in the refrigerator for up to 7 days to maintain their chewy texture and delicious flavor.
Freezer: If you want to extend their shelf life, freeze the gummies in an airtight container for up to 3 months. Thaw in the fridge before enjoying.
Cutting: Consider cutting the gummies into small, uniform pieces before storing; this makes them easy to grab for quick snacks while ensuring portion control.
Reheating: There’s no need to reheat these gummies—enjoy them cold straight from the fridge or freezer for a refreshing treat!
Gut Healing Gummies: Flavor Variations
Feel free to get creative with your Gut Healing Gummies; weaving in flavors and ingredients to suit your taste buds is part of the fun!
-
Tropical Twist: Use a combination of mango and pineapple juice for a sunny, tropical flavor.
Dive into vacation vibes right from your kitchen with this fruity blend! -
Berry Blast: Opt for a mix of cranberry and raspberry juice for a tangy and refreshing treat.
These berries are not only delicious but also loaded with antioxidants! -
Fruity Fusion: Combine two or more juices, like watermelon and peach, to create a delicious, sweet medley.
The result? A flavor explosion that’s both satisfying and exciting! -
Spicy Heat: Add a pinch of cayenne pepper to your juice mix for a surprising kick.
This hint of heat pairs well with sweet fruit flavors, making for an invigorating snack. -
Citrus Burst: Use orange and lemon juices for a zingy, bright flavor that wakes up your taste buds.
This combination is refreshing and offers a good dose of vitamin C! -
Nut-Free Add-ins: Add natural flavorings like vanilla extract for a warm, sweet undertone to your gummies.
It adds a delightful depth without any allergens! -
Agar Agar Swap: For a vegan alternative, substitute gelatin with agar agar; follow the package instructions for best results.
Incorporating this plant-based gelling agent allows everyone to enjoy these gummies while maintaining gut health.
If you’re looking for even more ways to enhance your snacks, check out these delicious smoothie recipes for a nutrient-packed treat!
Gut Healing Gummies Recipe FAQs
What type of juice should I use for the gummies?
Avoid pineapple juice as it inhibits gelatin from setting. Opt for any refreshing juice like cranberry, watermelon, mango, or peach for the best results, and feel free to mix and match flavors!
How long do Gut Healing Gummies last in the fridge?
Store your gummies in an airtight container in the refrigerator for up to 7 days. They’re likely to be enjoyed before then, but proper storage helps maintain that delightful chewy texture and fruity flavor!
Can I freeze Gut Healing Gummies?
Absolutely! To extend their shelf life, freeze the gummies in an airtight container for up to 3 months. When you’re ready to enjoy, simply thaw them in the fridge overnight.
What should I do if my gummies are too soft?
If your gummies turn out too soft, it might be due to not dissolving the gelatin properly or using too much juice. To troubleshoot, you can try adding more gelatin to the mixture when reheating—1 tablespoon for every cup of juice works well. Make sure to bloom the gelatin again for best results!
Are Gut Healing Gummies suitable for kids and pets?
These gummies are generally safe for kids, but always check for any juice allergies first. As for pets, sugar isn’t great for them, so it’s best to keep these gummies away from furry friends to avoid any tummy trouble!
Can I make these gummies vegan?
You can experiment with agar agar as a substitute for gelatin to make a vegan version. However, keep in mind that the texture may differ. Start by using the same amount of agar agar as the gelatin and follow package instructions for blooming and dissolving.
Delicious Gut Healing Gummies for a Vibrant, Healthy You
Ingredients
Equipment
Method
- Grease an 8"x8" baking pan with coconut oil to prevent sticking.
- Sprinkle the gelatin over 3 cups of juice in a shallow bowl and let it bloom for 3–5 minutes.
- Warm 1 cup of juice in a saucepan over medium-low heat until steaming.
- Add the bloomed gelatin mixture to the warm juice, stirring continuously until dissolved.
- Pour the mixture into the greased pan, tilting for an even spread.
- Refrigerate for 4-5 hours until firm.
- Cut the gummies into pieces and enjoy!
- Store leftovers in an airtight container in the refrigerator for up to a week.
Leave a Reply