
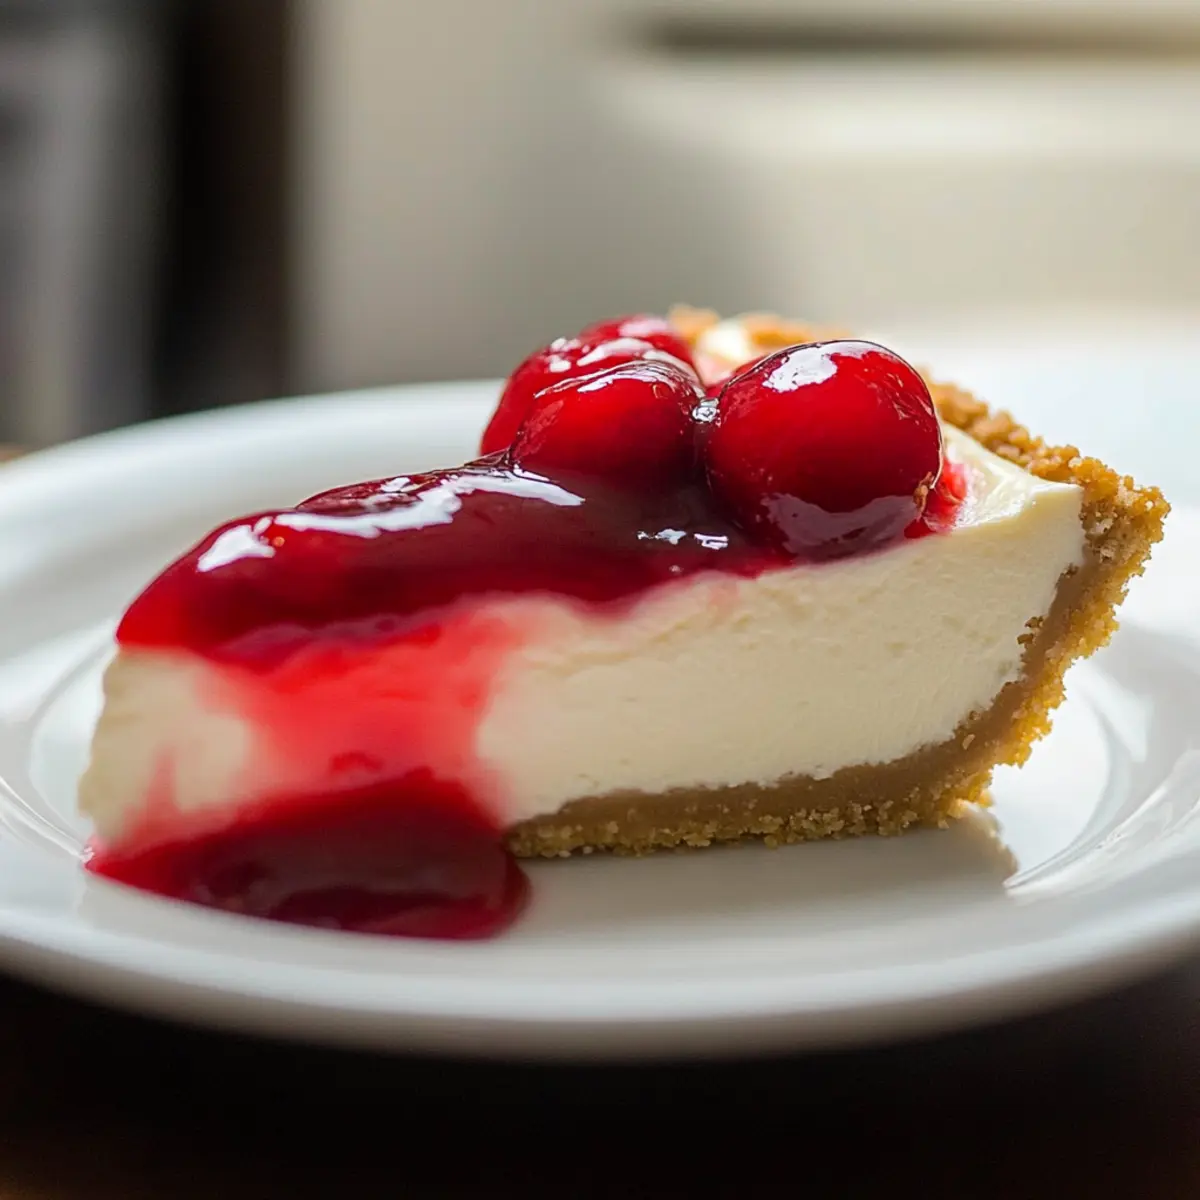
In the heart of summer, on a lazy afternoon, I found myself longing for something sweet but didn’t want to heat up the kitchen. That’s when I stumbled upon an enchanting solution—a creamy Easy No-Bake Cheesecake! This delightful dessert captures the essence of indulgence without requiring a single minute in the oven. It’s perfect for busy weeknights or spontaneous gatherings, allowing you to whip up a crowd-pleaser in no time. With a silky cream cheese filling resting on a buttery graham cracker crust, it’s a comforting treat that can easily be personalized with your favorite toppings. Imagine serving it chilled, topped with luscious berries or a drizzle of chocolate—pure bliss! Are you ready to dive into the world of effortless desserts? Let’s make your next gathering sweetly memorable!
Ready for an Effortless Dessert?
Simplicity at its Best: This Easy No-Bake Cheesecake is incredibly straightforward, making it the ideal recipe for both novice and seasoned bakers.
Rich, Creamy Texture: With a luscious cream cheese filling and a buttery graham cracker crust, every bite melts in your mouth, offering pure indulgence.
Customizable Toppings: Whether you prefer fresh berries or a decadent chocolate drizzle, this cheesecake adapts to your cravings and mood, delivering timeless flavor with a personal touch.
Quick Preparation: Perfect for busy weeknights, this recipe requires no baking, letting you create a crowd-pleaser in no time.
Make-Ahead Convenience: Prepare it 1-2 days in advance, allowing the flavors to meld beautifully while saving you time for other party preparations.
Looking for more outdoor-friendly recipes? Don’t miss my Shrimp Broccoli Delightfully or Everything Bagel Stuffed peppers for easy entertaining!
Easy No-Bake Cheesecake Ingredients
For the Crust
- Graham cracker crumbs – Creates a buttery crust base; substitute with crushed digestive biscuits for a unique twist.
- Butter (melted) – Binds the crust together; feel free to use margarine for a non-dairy option.
For the Filling
- Cream cheese (softened) – The star of the filling, providing that creamy texture; ensure it’s at room temperature for easy mixing.
- Granulated sugar – Sweetens the cheesecake beautifully; coconut sugar works as a healthier alternative.
- Vanilla extract – Amplifies flavor richness; you can swap it for vanilla bean paste for a gourmet touch.
- Heavy cream (cold) – Whipped to impart lightness; coconut cream can serve as a dairy-free substitute for those who prefer it.
For the Topping
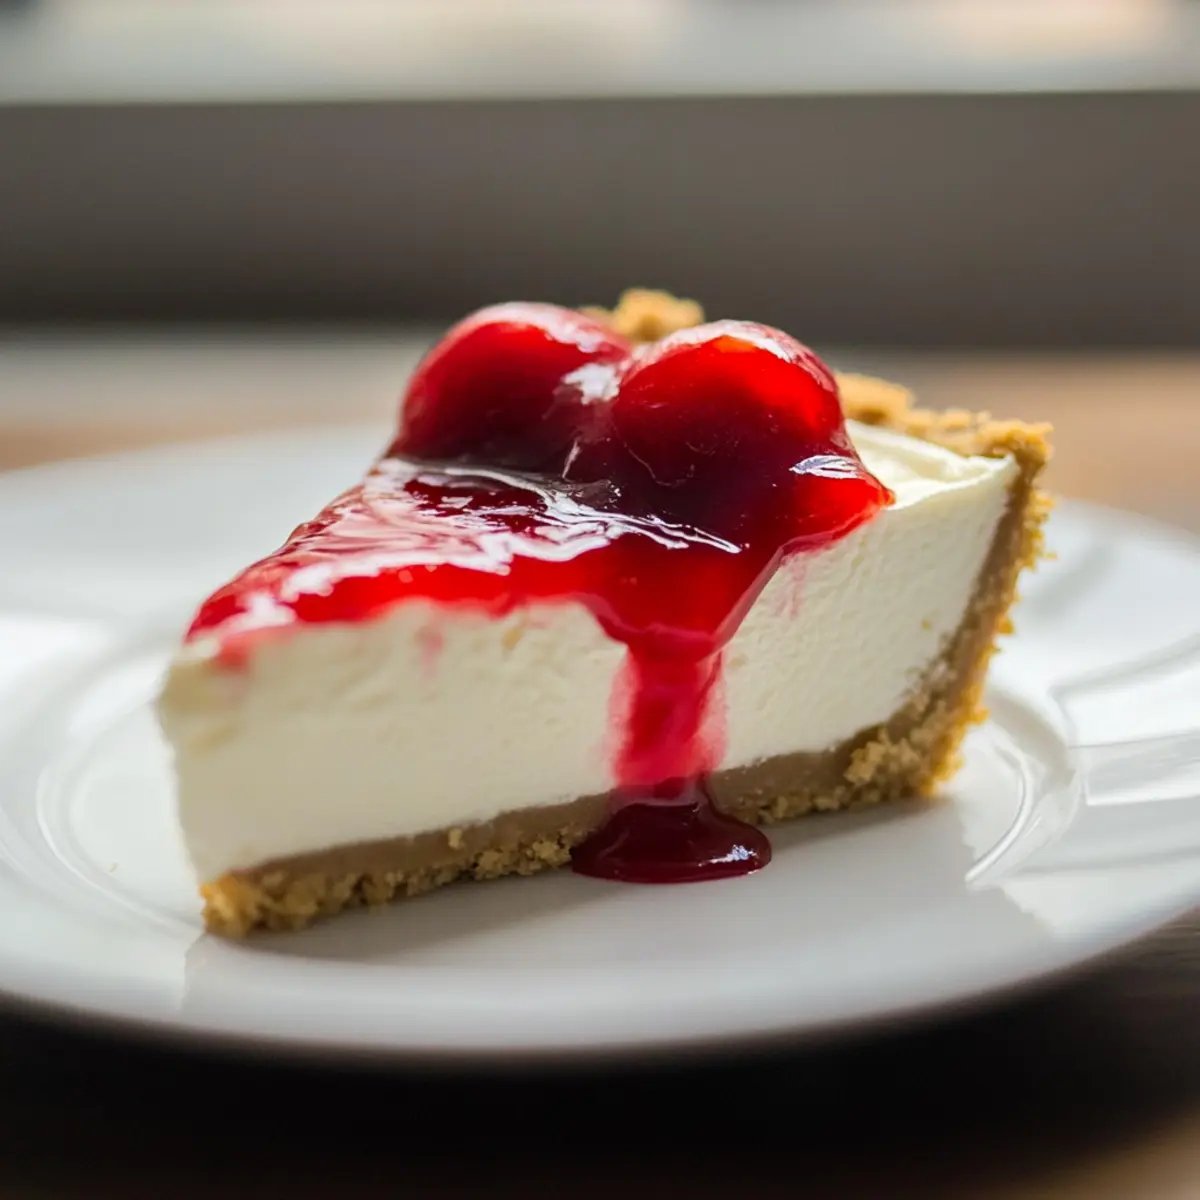
- Canned pie filling (e.g., cherry, blueberry) – A delightful topping choice; fresh fruit or a dollop of whipped cream will work wonders too.
Dive into this Easy No-Bake Cheesecake masterpiece and treat yourself to a slice of heaven today!
Step‑by‑Step Instructions for Easy No-Bake Cheesecake
Step 1: Prepare the Crust
In a small bowl, combine graham cracker crumbs with melted butter until fully mixed and crumbly. Using a 9-inch pie plate, press the mixture firmly and evenly along the bottom and up the sides. Aim for a compact crust to hold the filling. Place the crust in the refrigerator for about 30 minutes to set and become firm.
Step 2: Mix the Filling
In a large mixing bowl, use an electric mixer to beat the softened cream cheese and granulated sugar together on medium speed. Continue mixing until the blend is smooth and creamy, about 2-3 minutes. Don’t forget to scrape down the sides of the bowl to ensure even mixing—this is crucial for your Easy No-Bake Cheesecake’s texture.
Step 3: Incorporate the Vanilla and Cream
Next, add the vanilla extract to the cream cheese mixture. Gradually, while mixing on low speed, add the cold heavy cream in four parts, allowing each addition to incorporate before adding the next. Watch for the mixture to thicken and become light and fluffy—a perfect mark of readiness for your cheesecake filling.
Step 4: Assemble the Cheesecake
Once your filling is ready, retrieve the chilled crust from the refrigerator. Pour the luscious cheesecake filling into the crust, smoothing the top with a spatula for an even surface. Cover the entire cheesecake with plastic wrap to prevent any odors from absorbing and place it back in the refrigerator to chill for at least 2 hours, or overnight for the best flavor.
Step 5: Serve and Enjoy
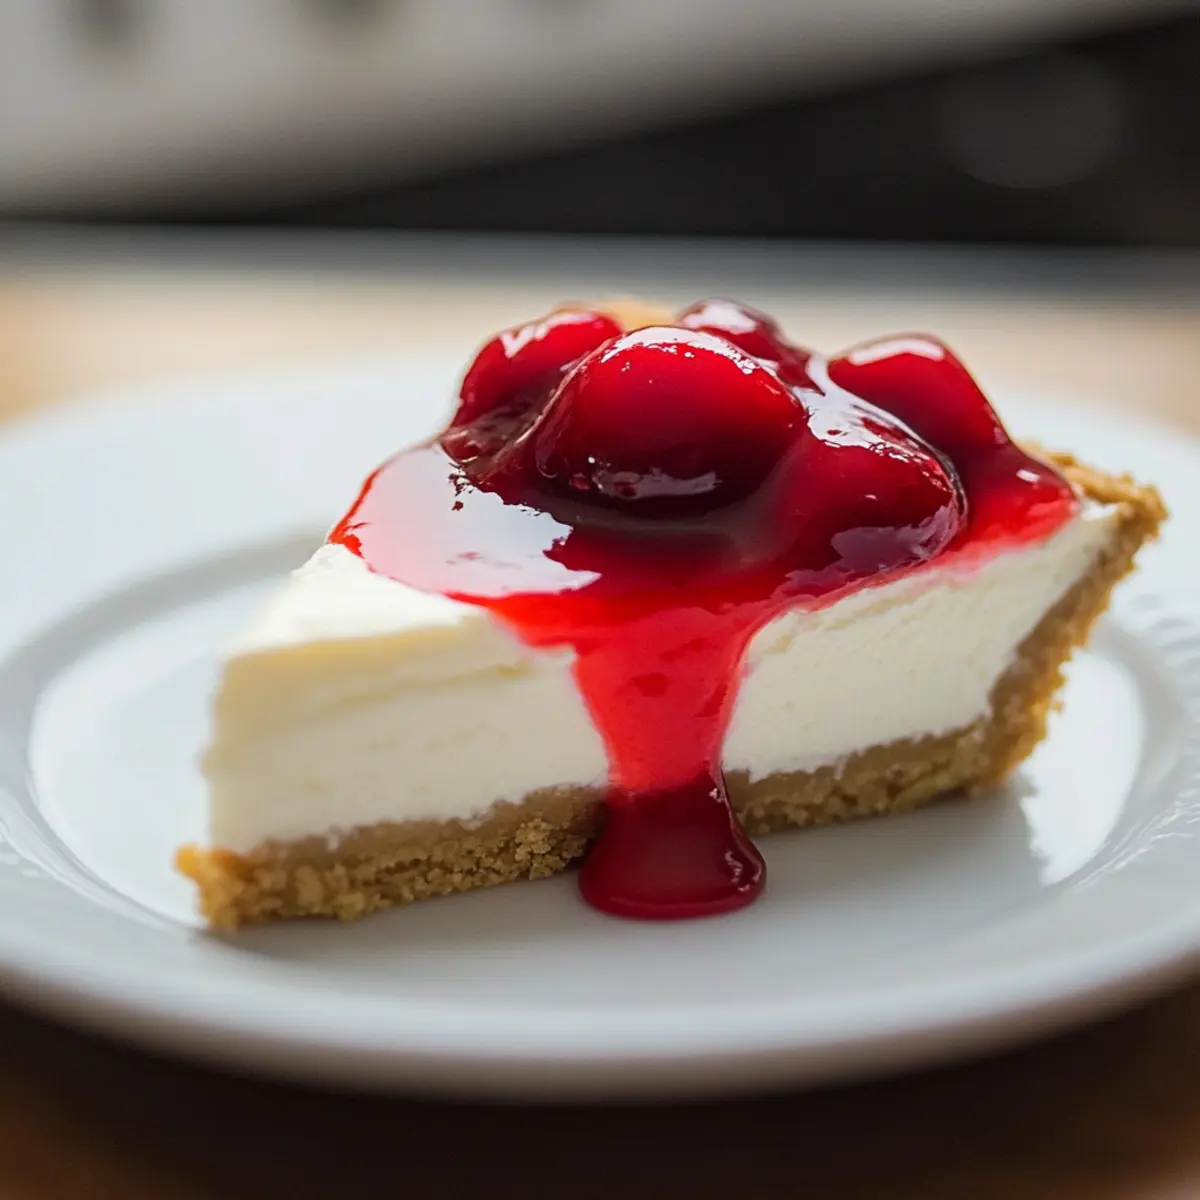
When you’re ready to impress your guests, remove the cheesecake from the refrigerator. Slice it into wedges to serve, and feel free to add your favorite toppings, like canned pie filling or a drizzle of whipped cream. Each bite of your Easy No-Bake Cheesecake should showcase that creamy filling and buttery crust—pure indulgence!
How to Store and Freeze Easy No-Bake Cheesecake
Fridge: Keep any leftover cheesecake tightly covered in plastic wrap or in an airtight container for up to 3-5 days. This preserves its creamy texture and rich flavor.
Freezer: For longer storage, slice the cheesecake and wrap individual pieces tightly in plastic wrap, then place them in a sealed freezer bag. They’ll stay fresh for up to one month!
Thawing: To enjoy your frozen Easy No-Bake Cheesecake, simply transfer it to the refrigerator a few hours before serving. This gradual thawing will maintain the creamy consistency.
Reheating: There’s no need to reheat this dessert; serve it chilled for the best texture and flavor experience.
Make Ahead Options
These Easy No-Bake Cheesecake creations are perfect for meal prep enthusiasts! You can prepare the crust and filling up to 24 hours in advance, allowing the flavors to meld beautifully. Simply follow the first three steps, and then refrigerate the assembled crust separately while preparing the filling. Store the crust in an airtight container to maintain its texture. When it’s time to serve, pour the cheesecake filling into the crust, smooth the top, and refrigerate it for at least two hours or overnight for the best result. With just a bit of planning, you’ll have a delightful and impressive dessert ready with minimal effort, ensuring you’re free to enjoy the moment!
Easy No-Bake Cheesecake Variations
Feel free to make this recipe your own with these delightful twists and substitutions!
-
Dairy-Free: Substitute cream cheese and heavy cream with vegan cream cheese and coconut cream for a completely dairy-free dessert.
-
Citrus Zest: Add lemon or lime zest to the filling for a refreshing burst of flavor that’ll brighten up each bite.
-
Chocolate Indulgence: Drizzle chocolate ganache over the top for a rich, decadent flair that chocolate lovers will adore.
-
Nutty Crust: Swap graham crackers for crushed almonds or hazelnuts in the crust for an unexpected and delicious nutty flavor.
-
Fruit Infusion: Fold in pureed fruit, like strawberries or raspberries, to the filling before pouring it into the crust for a fruity surprise.
-
Spiced Variations: Sprinkle cinnamon or nutmeg into the crust or filling for an aromatic twist that adds warmth to the cheesecake.
-
Sugar Alternatives: For a healthier version, use maple syrup or agave nectar instead of granulated sugar to sweeten the filling.
-
Layered Delight: Create a layered cheesecake by adding a fruity layer between the crust and the cream cheese filling; it’s visually stunning and delicious!
Experimenting with these variations can make your Easy No-Bake Cheesecake perfect for any occasion—enjoy every bite! And if you’re looking for more delightful recipes, check out my Strawberry Cheesecake Protein balls for a nutritious snack or my Bake Cheesecake Wow for a classic twist!
Expert Tips for Easy No-Bake Cheesecake
Room Temperature Cream Cheese: Ensure your cream cheese is at room temperature for a smooth filling. Cold cream cheese can lead to lumps in your Easy No-Bake Cheesecake.
Avoid Over-Mixing: Once the heavy cream is added, stop mixing as soon as it reaches a thick and fluffy consistency. Over-mixing may cause the filling to deflate.
Chill for Best Results: Allowing the cheesecake to chill overnight enhances flavors and texture. If short on time, refrigerate for at least 2 hours for a good set.
Use Quality Ingredients: High-quality vanilla extract and fresh ingredients substantially improve the overall flavor of your cheesecake. It’s worth the little extra investment!
Leftover Storage: Store any leftover cheesecake in the refrigerator covered tightly with plastic wrap. Enjoy it within 3-5 days for optimal freshness!
What to Serve with Easy No-Bake Cheesecake?
Indulging in a slice of creamy cheesecake invites joyful memories, enhanced by flavorful pairings that elevate your dessert experience.
-
Fresh Berries: The tartness of raspberries or strawberries cuts through the richness, adding a refreshing burst of flavor. A beautiful garnish, they also create a visually stunning presentation.
-
Whipped Cream Dollops: Light and airy, whipped cream adds an elegant touch and balances the cheesecake’s density, making each bite simply heavenly. It invites the perfect contrast!
-
Chocolate Sauce Drizzle: A drizzle of rich chocolate sauce introduces a decadent element, enriching the cheesecake’s flavors and creating a delightful sweet-tooth sensation.
-
Coffee or Espresso: A cup of warm coffee provides a lovely contrast to the cold cheesecake, enhancing its sweetness and complementing the creamy texture beautifully.
-
Chilled Lemonade: The zesty aroma and citrus notes of lemonade cleanse the palate, making it the perfect companion during warm-weather gatherings.
-
Chocolate-Covered Strawberries: Nothing screams celebration like these bite-sized treats! They are not only visually appealing but the combination of sweet and fruity adds excitement alongside your cheesecake.
-
Ice Cream: Opt for vanilla or berry-flavored ice cream to create a symphony of textures and flavors that embrace classic dessert vibes while introducing an indulgent twist.
-
Canned Pie Filling: Add a fun and colorful layer to each slice! The sweetness of cherry or blueberry filling pairs perfectly, making your dessert a feast for both the eyes and palate.
-
Sparkling Wine: A glass of bubbly enhances the occasion, uplifting the flavors of the cheesecake while offering a sophisticated touch to your gathering.
These delightful pairings will create a memorable dessert experience that leaves everyone craving more!
Easy No-Bake Cheesecake Recipe FAQs
What kind of graham crackers should I use for the crust?
Absolutely! You can use any brand of graham crackers you prefer. If you’re feeling adventurous, try substituting them with crushed digestive biscuits for a slightly different flavor profile.
How should I store leftover cheesecake?
For any leftovers, wrap the cheesecake tightly with plastic wrap and store it in the refrigerator. It will stay fresh for about 3-5 days. Make sure it’s well-covered to prevent it from absorbing any odors from the fridge!
Can I freeze the cheesecake?
Yes, you can! For freezing, slice the cheesecake into individual portions, wrap each slice tightly in plastic wrap, and place them in a sealed freezer bag. This way, they can be perfectly stored for up to one month! To thaw, simply place the slices in the refrigerator for a few hours before serving.
What if my cheesecake filling is too runny?
If you notice that your filling is too runny, it might be due to under-whipping the heavy cream. Ensure you’re beating it until it holds stiff peaks before folding it into the cream cheese mixture. If this happens, return the mixture to the mixer and whip it again until desired thickness is achieved!
Is this cheesecake safe for people with allergies?
The Easy No-Bake Cheesecake contains dairy and gluten, mainly from cream cheese and graham crackers. For a dairy-free option, you can use coconut cream and a gluten-free alternative for the crust. Always check labels when using substitutes to avoid allergens!
How can I customize my cheesecake toppings?
Very! Get creative with toppings! You can incorporate fresh fruits like strawberries and blueberries, drizzle with chocolate sauce, or even add a homemade fruit compote. One of my favorites is using lemon zest mixed into the filling for an extra zing! Just remember, personal touches make this dessert even more delightful!
Indulge in Creamy Easy No-Bake Cheesecake Today
Ingredients
Equipment
Method
- In a small bowl, combine graham cracker crumbs with melted butter until fully mixed and crumbly. Using a 9-inch pie plate, press the mixture firmly and evenly along the bottom and up the sides. Aim for a compact crust to hold the filling. Place the crust in the refrigerator for about 30 minutes to set and become firm.
- In a large mixing bowl, use an electric mixer to beat the softened cream cheese and granulated sugar together on medium speed until smooth and creamy, about 2-3 minutes.
- Next, add the vanilla extract to the cream cheese mixture. Gradually, while mixing on low speed, add the cold heavy cream in four parts, allowing each addition to incorporate before adding the next.
- Once your filling is ready, pour the cheesecake filling into the crust, smoothing the top with a spatula. Cover with plastic wrap and chill in the refrigerator for at least 2 hours, or overnight for the best flavor.
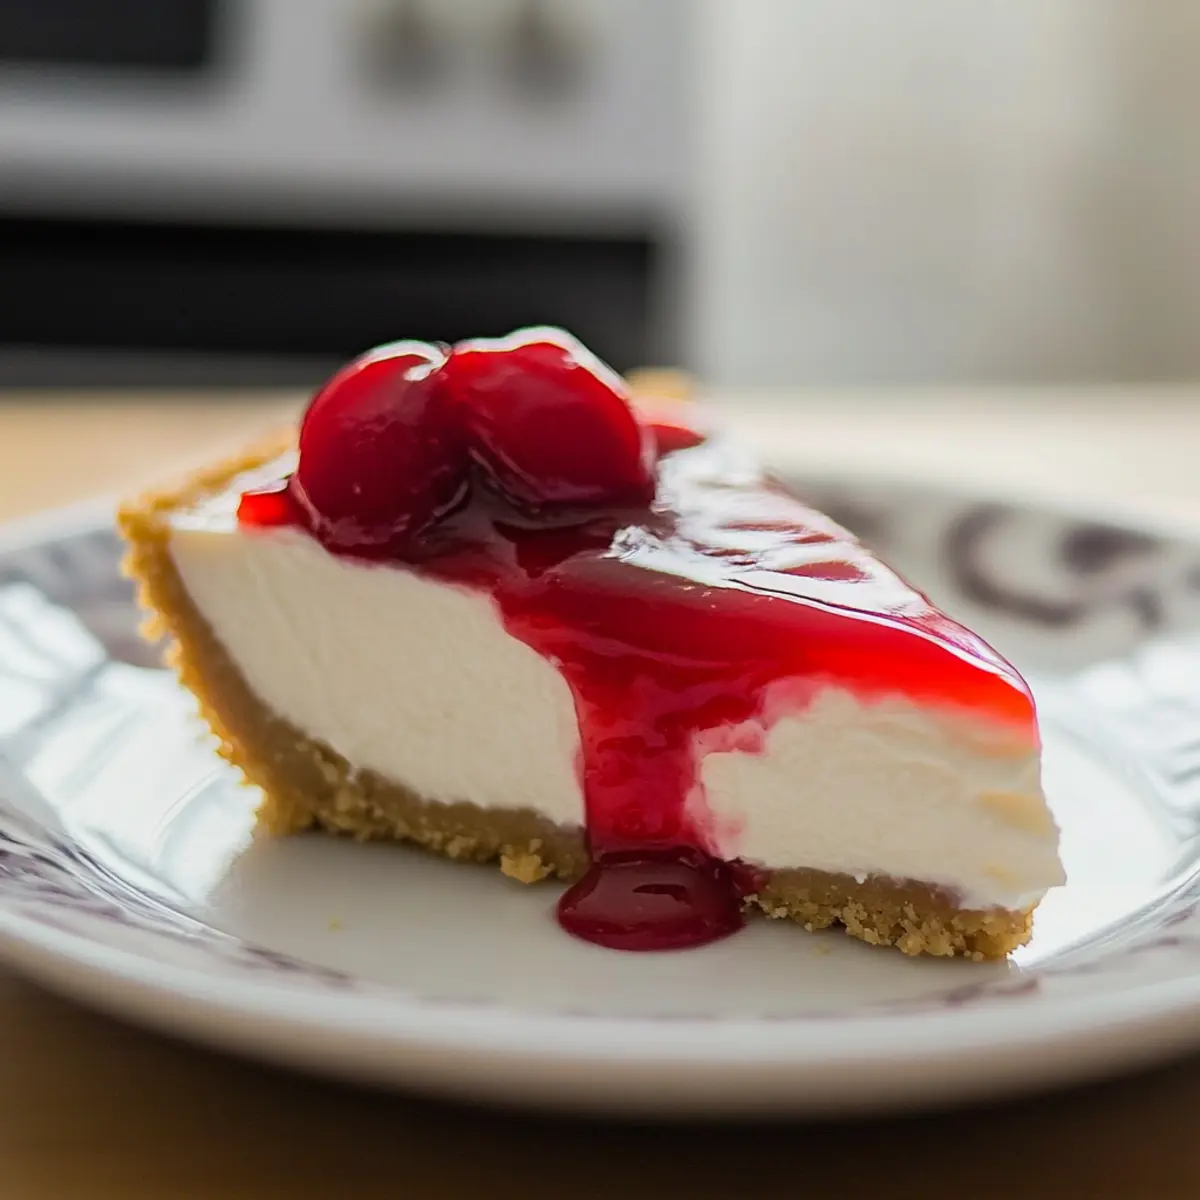
- When you're ready to serve, slice the cheesecake into wedges, and add your favorite toppings. Enjoy the creamy filling and buttery crust!
Leave a Reply