
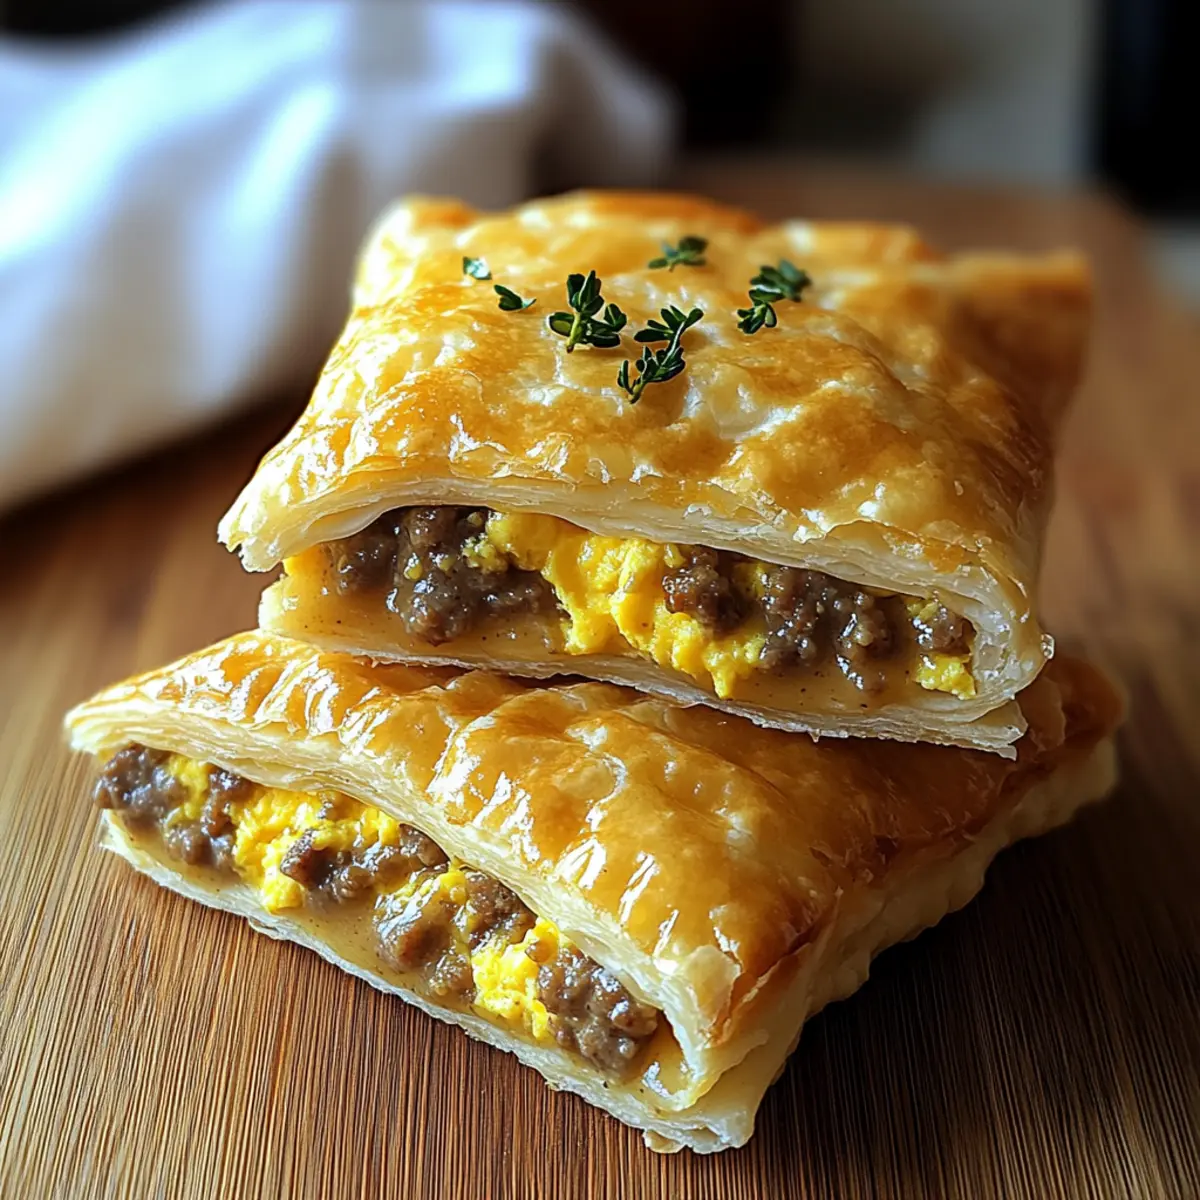
The aroma of freshly baked pastries filled my kitchen this morning, and I couldn’t resist the urge to whip up a batch of Homemade Savory Breakfast Pop-Tarts. These little wonders are not your average breakfast; they combine a flaky, buttery crust with mouthwatering fillings like sausage gravy and cheesy eggs. The best part? They’re freezer-friendly and perfectly suited for meal prep, making them a go-to option for those hectic mornings or cozy brunches with friends. With the ability to customize your fillings—whether you prefer crispy bacon, sautéed veggies, or a sprinkle of herbs—these pop-tarts are a versatile culinary canvas waiting for your creative touch. Ready to elevate your breakfast game? Let’s dive into this delicious recipe together!
Why Are These Breakfast Pop-Tarts Unique?
Customization, the beauty of these pop-tarts lies in their adaptability! You can mix and match fillings to suit your mood—think sausage gravy one day, cheesy scrambled eggs the next. Convenience is key; they freeze beautifully, allowing you to prepare meals in advance. Hearty Flavor from quality ingredients ensures you’ll savor every bite. Quick Preparation means you’ll spend less time in the kitchen during busy mornings, and for those craving a fresh twist on traditional flavors, these pop-tarts provide a Creative Spin that’s sure to impress family and friends. Looking for more breakfast inspiration? Check out Overnight Croissant Breakfast or Mini Breakfast Omelets for delightful options!
Breakfast Pop-Tarts Ingredients
For the Pastry Dough
- All-Purpose Flour – The foundation of your flaky crust; whole wheat flour can be used for a healthier twist.
- Salt – Enhances the flavor; don’t skip it!
- Vegetable Shortening – Creates that perfect flaky texture; substitute with unsalted butter if desired.
- Cold Butter – Adds richness and tenderness; keep it cold for the best results.
- Egg – Binds the dough and provides a lovely golden color when brushed on top.
- White Vinegar – Helps tenderize the dough; can be omitted if you’re in a pinch.
- Cold Water – Essential for forming the dough; keep it cold to maintain the texture.
For the Sausage Gravy Filling
- Breakfast Sausage – The star of the filling; swap with bacon, ham, or a plant-based alternative for variety.
- All-Purpose Flour (for gravy) – Thickens the gravy to a creamy consistency.
- Whole Milk – Ensures a rich gravy; avoid low-fat options for the best flavor.
- Seasoned Salt & Black Pepper – Elevates flavor; season to taste.
- Herbs (Optional) – Fresh rosemary and dried sage can add a delightful aroma to your filling.
For the Egg Filling
- Eggs (for filling) – Scramble them to your liking, adding protein and richness.
- Shredded Cheese – Optional, but it brings melty goodness; consider cheddar, pepper jack, or mozzarella for a flavor boost.
These Breakfast Pop-Tarts not only make mornings magical but are also a deliciously comforting way to start your day! Enjoy making them with your unique twist!
Step‑by‑Step Instructions for Homemade Savory Breakfast Pop-Tarts
Step 1: Prepare Sausage Gravy
In a skillet over medium heat, brown 1 pound of breakfast sausage until fully cooked, about 5-7 minutes. Sprinkle in ¼ cup of all-purpose flour, stirring for 1-2 minutes until golden. Gradually whisk in 1 cup of whole milk, continuing to stir until thickened, roughly 3-5 minutes. Season with seasoned salt and black pepper to taste; then set aside to cool slightly.
Step 2: Scramble Eggs
In a separate non-stick skillet over medium heat, crack and scramble 4 large eggs until just set, about 3-4 minutes. For a creamier texture, add a splash of milk and season with salt and pepper. Once cooked to your liking, remove from heat and allow to cool slightly. This flavorful egg filling will elevate your Homemade Breakfast Pop-Tarts.
Step 3: Make Pastry Dough
In a large mixing bowl, whisk together 2 cups of all-purpose flour and ½ teaspoon of salt. Cut in ½ cup of cold vegetable shortening and ½ cup of cold butter with a pastry cutter until the mixture resembles coarse crumbs. In a small bowl, whisk 1 egg, 1 teaspoon of white vinegar, and 6-8 tablespoons of cold water, then drizzle into the flour mixture, stirring until the dough forms.
Step 4: Roll and Cut Dough
On a floured surface, roll out the chilled pastry dough to about ¼-inch thickness. Using a sharp knife or pastry cutter, cut the dough into rectangles, typically 3×5 inches. Be sure to make an even number of rectangles, as each will form a top and a bottom for the Breakfast Pop-Tarts. Gather scraps and reroll to maximize dough usage.
Step 5: Assemble Pop-Tarts
On half of the rectangles, layer the cooled sausage gravy, scrambled eggs, and a sprinkle of shredded cheese if desired. Be careful not to overfill to prevent leaks during baking. Place the remainder of the rectangles on top, gently pressing down to seal the edges. Use a fork to crimp the edges securely, ensuring a good seal for your Homemade Savory Breakfast Pop-Tarts.
Step 6: Apply Egg Wash
Preheat your oven to 375°F (190°C) while you prepare the pop-tarts for baking. In a small bowl, whisk together 1 egg with a teaspoon of water to create an egg wash. Brush the egg wash generously over the tops of the assembled pop-tarts for a beautiful golden color. Optionally, sprinkle with cheese or your favorite seasoning for added flavor.
Step 7: Bake
Place the assembled pop-tarts on a parchment-lined baking sheet, ensuring they have space between each for even baking. Bake in the preheated oven for 25 minutes, or until they are golden brown and flaky. Keep an eye on them; a perfect crust should be lightly crisped and aromatic to indicate they’re ready.
Step 8: Cool and Store
Once out of the oven, allow the pop-tarts to cool on the baking sheet for about 5 minutes before transferring to a wire rack. This helps them firm up a bit more. Store any leftovers in an airtight container in the refrigerator for up to 4 days. Reheat in a toaster oven or air fryer for the best crispiness before enjoying your Homemade Breakfast Pop-Tarts again.

What to Serve with Homemade Savory Breakfast Pop-Tarts
These delightful pastries are a perfect centerpiece for a memorable breakfast or brunch experience, tantalizing your senses and inviting delightful pairings.
- Fresh Fruit Salad: A bright mix of seasonal fruits adds a refreshing contrast to the savory pop-tarts, cleansing the palate and brightening your morning.
- Crispy Hash Browns: Their golden, crunchy exterior and fluffy interior make a satisfying side that complements the rich flavors of the pop-tarts beautifully.
- Yogurt Parfait: Layering creamy yogurt with granola and berries offers a dynamic textural balance and brings a touch of sweetness to your plate.
- Smoothie Bowl: A thick smoothie topped with nuts and fruits provides a nutritious, refreshing option that pairs perfectly with the hearty pop-tarts.
- Coffee or Tea: A warm cup of coffee or herbal tea enhances the comforting aspect of breakfast, inviting you to linger just a bit longer over your meal.
- Mixed Green Salad: Tossed with a light vinaigrette, this fresh side brings a peppery crunch, ensuring a well-rounded meal that feels nourishing and complete.
- Breakfast Sausage Links: For sausage lovers, adding savory links on the side boosts the heartiness and keeps the flavor theme consistent.
- Hot Sauce: Offering a small bowl for those who crave a kick adds excitement and personalization to each bite of your homemade breakfast pop-tarts.
How to Store and Freeze Breakfast Pop-Tarts
Fridge: Store leftover Breakfast Pop-Tarts in an airtight container for up to 4 days. Reheat them in a toaster oven or air fryer to restore crispiness.
Freezer: For long-term storage, freeze baked pop-tarts in a single layer on a baking sheet, then transfer to a sealed freezer bag for up to 3 months.
Make-Ahead: Assemble pop-tarts and freeze before baking. When ready to enjoy, simply bake from frozen, adding a few extra minutes to the cooking time.
Cooling Tips: Allow freshly baked pop-tarts to cool completely before storing to maintain their flaky texture and prevent sogginess.
Make Ahead Options
These Homemade Savory Breakfast Pop-Tarts are perfect for busy mornings and meal prep enthusiasts! You can prepare and assemble the pop-tarts up to 24 hours in advance. Simply make the pastry dough and fillings (like the sausage gravy and scrambled eggs) ahead of time, then layer them and seal your pop-tarts. Store them in the fridge until you’re ready to bake. For longer storage, freeze the assembled pop-tarts for up to 3 months. Just bake them directly from the freezer for 30-35 minutes at 375°F, adding a few extra minutes if needed, and they’ll be just as delicious. This approach not only saves you time but ensures you have a hearty breakfast ready to go anytime!
Expert Tips for Breakfast Pop-Tarts
-
Keep Ingredients Cold: Ensure your butter and shortening are cold when making the pastry dough. This is essential for achieving that flaky texture everyone loves in your Breakfast Pop-Tarts.
-
Avoid Overfilling: Less is more when layering your fillings! Overfilling can lead to leaks during baking, so be mindful to leave some space at the edges for sealing.
-
Experiment with Flavors: Don’t hesitate to explore! Mix different meats, cheeses, and veggies to create unique filling combinations that make your Breakfast Pop-Tarts truly your own.
-
Seal Securely: Crimping the edges well is crucial to keeping the filling intact. A good seal ensures your delicious savory filling stays inside during baking.
-
Perfect Timing: Keep an eye on the baking time; ovens vary! You want them to be golden brown and flaky, so adjust accordingly. Enjoy the comforting aroma as they bake!
Breakfast Pop-Tarts Variations & Substitutions
Feel free to get creative and personalize these delightful pop-tarts with various fillings and twists!
-
Meat Options: Swap out breakfast sausage for crumbled bacon, diced ham, or turkey sausage for a flavor change. Each meat brings its unique character to the dish!
-
Dairy-Free: Use plant-based butter and your favorite non-dairy milk in the gravy to create a delightful dairy-free version that doesn’t compromise on flavor.
-
Cheese Swaps: Experiment with an array of cheeses like feta, Gruyère, or even a spicy pepper jack for added zip. Different cheeses can transform the taste experience!
-
Veggie Additions: Enhance your fillings with sautéed spinach, mushrooms, or finely chopped bell peppers for a touch of vibrant color and nutrition. They not only add flavor but also a beautiful presentation.
-
Dough Alternatives: If you’re in a pinch for time, use store-bought crescent roll dough or puff pastry to create a faster version of your Breakfast Pop-Tarts. They’ll still be delightful!
-
Sweet Twists: For a breakfast dessert, fill them with sweet cream cheese and fruit preserves. Serve these with a dusting of powdered sugar for a fabulous twist on the classic pop-tart!
-
Spice It Up: Add a pinch of crushed red pepper flakes or diced jalapeños to your filling if you’re looking for a little heat. A touch of spice can elevate the overall flavor profile!
-
Herb Boost: Fold in fresh herbs, like basil or cilantro, into your egg mixture for a refreshing taste. These herbs can brighten the filling and add a pop of flavor to each bite.
With so many variations to explore, your Breakfast Pop-Tarts can be a new adventure every time you make them. Looking for more breakfast ideas? Check out Breakfast Taquitos Busy or Mini Breakfast Omelets for easy, delicious options!

Homemade Savory Breakfast Pop-Tarts Recipe FAQs
What is the best type of flour for making the pastry dough?
Using all-purpose flour is ideal for a flaky crust, but if you’re looking for a healthier option, whole wheat flour works great too! Just keep in mind that the texture will be slightly denser.
How should I store leftover Breakfast Pop-Tarts?
Store any leftover Breakfast Pop-Tarts in an airtight container in the fridge for up to 4 days. To maintain that delicious crispiness, reheat them in a toaster oven or air fryer.
Can I freeze the Homemade Breakfast Pop-Tarts?
Absolutely! Freeze the baked pop-tarts by placing them in a single layer on a baking sheet. Once they’re solid, transfer them to a sealed freezer bag, where they can be stored for up to 3 months. When you’re ready to enjoy them, simply bake directly from frozen, adding a few extra minutes to the cooking time.
How can I prevent my pop-tarts from leaking during baking?
To prevent leaks, avoid overfilling your pop-tarts! Use just enough filling to cover the base, ensuring you leave at least a half-inch border around the edges for sealing. Additionally, crimp the edges well to secure the filling inside.
Are there any dietary considerations for these Breakfast Pop-Tarts?
Yes! You can customize these pop-tarts to fit various dietary needs. For a vegetarian option, use plant-based sausage. If someone has allergies, pay attention to common allergens like dairy in cheese and use gluten-free flour for the pastry. It’s all about making them work for you!
How can I tell when the pop-tarts are done baking?
Your Homemade Breakfast Pop-Tarts are ready when they are golden brown and flaky, which usually takes around 25 minutes at 375°F (190°C). Keep an eye on them towards the end of the baking time to achieve that perfect crust!

Homemade Breakfast Pop-Tarts That Make Mornings Magical
Ingredients
Equipment
Method
- In a skillet over medium heat, brown the sausage until fully cooked, about 5-7 minutes.
- Sprinkle in all-purpose flour, stirring for 1-2 minutes until golden.
- Gradually whisk in whole milk, continuing to stir until thickened, roughly 3-5 minutes.
- Season with salt and pepper to taste; then set aside to cool slightly.
- In a separate non-stick skillet over medium heat, crack and scramble eggs until just set, about 3-4 minutes.
- For a creamier texture, add a splash of milk and season with salt and pepper.
- Remove from heat and allow to cool slightly.
- In a large mixing bowl, whisk together flour and salt.
- Cut in shortening and cold butter with a pastry cutter until resembling coarse crumbs.
- In a small bowl, whisk the egg, vinegar, and cold water; drizzle into flour mixture, stirring until dough forms.
- On a floured surface, roll out the chilled pastry dough to about ¼-inch thickness.
- Cut the dough into rectangles, typically 3x5 inches, ensuring an even number.
- Gather scraps and reroll to maximize dough usage.
- On half of the rectangles, layer the cooled sausage gravy, scrambled eggs, and shredded cheese if desired.
- Place the remainder of the rectangles on top, gently pressing down to seal the edges.
- Use a fork to crimp the edges securely.
- Preheat your oven to 375°F (190°C) while you prepare the pop-tarts.
- In a small bowl, whisk together the egg with a teaspoon of water to create an egg wash.
- Brush the egg wash over the tops of the assembled pop-tarts.
- Place the assembled pop-tarts on a parchment-lined baking sheet.
- Bake in the preheated oven for 25 minutes, or until golden brown and flaky.
- Allow the pop-tarts to cool on the baking sheet for about 5 minutes before transferring to a wire rack.
- Store any leftovers in an airtight container in the refrigerator for up to 4 days.
Leave a Reply